82 # koa-bodyparser 中间件的使用以及实现
准备工作
安装依赖
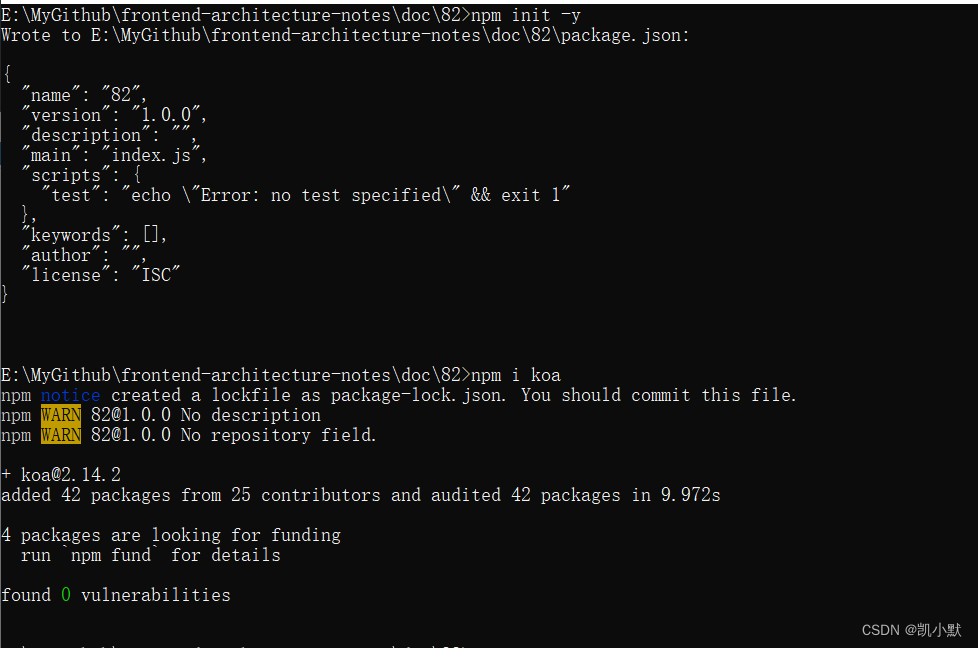
npm init -y
npm i koa
koa 文档:https://koajs.cn/#
koa 中不能用回调的方式来实现,因为 async 函数执行的时候不会等待回调完成
app.use(async (ctx, next) => {
    console.log(ctx.path, ctx.method);
    if (ctx.path == "/login" && ctx.method === "POST") {
        const arr = [];
        ctx.req.on("data", function (chunk) {
            arr.push(chunk);
        });
        ctx.req.on("end", function () {
            const result = Buffer.concat(arr).toString();
            console.log("result---->", result);
            ctx.body = result;
        });
    } else {
        next();
    }
});
koa 中所有的异步都必须是 promise,只有 promise 才有等待效果,必须所有的 next 方法前需要有 await、return 否则没有等待效果
app.use(async (ctx, next) => {
    console.log(ctx.path, ctx.method);
    if (ctx.path == "/login" && ctx.method === "POST") {
        await new Promise((resolve, reject) => {
            const arr = [];
            ctx.req.on("data", function (chunk) {
                arr.push(chunk);
            });
            ctx.req.on("end", function () {
                const result = Buffer.concat(arr).toString();
                console.log("result---->", result);
                ctx.body = result;
                resolve();
            });
        });
    } else {
        await next();
    }
});
实现一个表单提交功能 server.js:
const Koa = require("koa");

const app = new Koa();

app.use((ctx, next) => {
    // 路径是 /login get 方式
    // ctx 包含了 request response req res
    console.log(ctx.path, ctx.method);
    if (ctx.path == "/login" && ctx.method === "GET") {
        ctx.body = `
            <form action="/login" method="post">
                用户名:<input type="text" name="username"/><br/>
                密码:<input type="password" name="password"/><br/>
                <button>提交</button>
            </form>
        `;
    } else {
        return next();
    }
});

app.use(async (ctx, next) => {
    console.log(ctx.path, ctx.method);
    if (ctx.path == "/login" && ctx.method === "POST") {
        await new Promise((resolve, reject) => {
            const arr = [];
            ctx.req.on("data", function (chunk) {
                arr.push(chunk);
            });
            ctx.req.on("end", function () {
                const result = Buffer.concat(arr).toString();
                console.log("result---->", result);
                ctx.body = result;
                resolve();
            });
        });
    } else {
        await next();
    }
});

app.on("error", function (err) {
    console.log("error----->", err);
});

app.listen(3000);
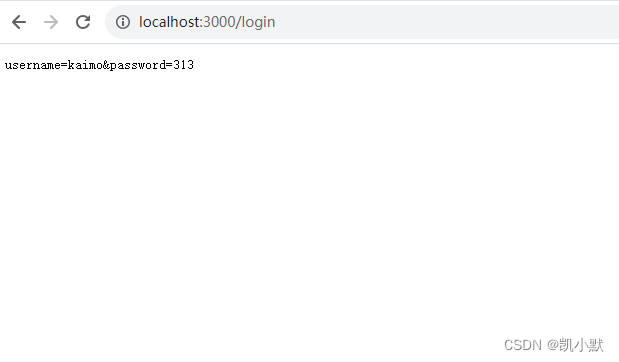
启动服务,访问 http://localhost:3000/login
nodemon server.js

输入账号密码,点击提交
koa-bodyparser
下面使用 koa-bodyparser 简化逻辑,安装 koa-bodyparser,https://www.npmjs.com/package/koa-bodyparser
npm i koa-bodyparser
用法:
const Koa = require('koa');
const bodyParser = require('koa-bodyparser');

const app = new Koa();
app.use(bodyParser());

app.use(async ctx => {
  // the parsed body will store in ctx.request.body
  // if nothing was parsed, body will be an empty object {}
  ctx.body = ctx.request.body;
});
业务里添加逻辑
const Koa = require("koa");
const bodyParser = require("koa-bodyparser");
const app = new Koa();
app.use(bodyParser());

app.use((ctx, next) => {
    // 路径是 /login get 方式
    // ctx 包含了 request response req res
    console.log(ctx.path, ctx.method);
    if (ctx.path == "/login" && ctx.method === "GET") {
        ctx.body = `
            <form action="/login" method="post">
                用户名:<input type="text" name="username"/><br/>
                密码:<input type="password" name="password"/><br/>
                <button>提交</button>
            </form>
        `;
    } else {
        return next();
    }
});

app.use(async (ctx, next) => {
    console.log(ctx.path, ctx.method);
    if (ctx.path == "/login" && ctx.method === "POST") {
        ctx.body = ctx.request.body;
    } else {
        await next();
    }
});

app.on("error", function (err) {
    console.log("error----->", err);
});

app.listen(3000);
效果也是一样的
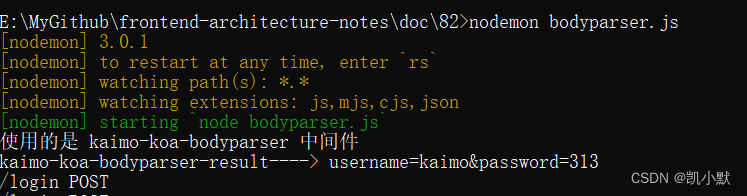
下面自己实现 koa-bodyparser
const querystring = require("querystring");
console.log("使用的是 kaimo-koa-bodyparser 中间件");
// 中间件的功能可以扩展属性、方法
module.exports = function () {
    return async (ctx, next) => {
        await new Promise((resolve, reject) => {
            const arr = [];
            ctx.req.on("data", function (chunk) {
                arr.push(chunk);
            });
            ctx.req.on("end", function () {
                if (ctx.get("content-type") === "application/x-www-form-urlencoded") {
                    const result = Buffer.concat(arr).toString();
                    console.log("kaimo-koa-bodyparser-result---->", result);
                    ctx.request.body = querystring.parse(result);
                }
                resolve();
            });
        });
        await next(); // 完成后需要继续向下执行
    };
};
将业务代码的引用自己实现的
// 使用自己实现的 koa-bodyparser
const bodyParser = require("./kaimo-koa-bodyparser");
启动服务,效果一样: