51单片机实验七:EEPROM AT24C02 与单片机的通信实例
目录
一、实验环境与实验器材
二、实验内容及实验步骤
三、proteus复位电路
1.改电阻的阻值(方法一)
2.改电阻的属性(方法2)
一、实验环境与实验器材
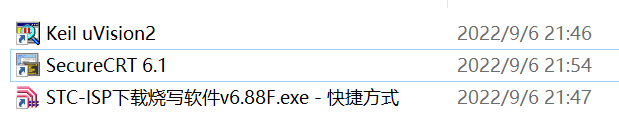
环境:Keli,STC-ISP烧写软件,Proteus.
器材:TX-1C单片机(STC89C52RC)、电脑。
二、实验内容及实验步骤
用C语言编写程序,在TX-1C实验板上实现如下功能:利用定时器产生一个0~99秒变化的秒表,并且显示在数码管1上,每过一秒将这个变化的数写入板上AT24C02内部。当关闭实验板电源,并再次打开实验板电源时,单片机先从AT24C02中将原来写入的数读取出来,接着此数继续变化并显示在数码管上。
代码:
#include<reg52.h>
#define uchar unsigned char
#define uint unsigned int
bit write=0;//定义了一个单个的二进制位,这个位的值初始是0,然后要么1要么0
sbit sda=P2^0;
sbit scl=P2^1;
sbit dula=P2^6;
sbit wela=P2^7;
uchar sec,tcnt;
uchar code table[]={0x3f, 0x06, 0x5b, 0x4f, 0x66, 0x6d, 0x7d, 0x07, 0x7f, 0x6f, 0x77, 0x7c, 0x39, 0x5e, 0x79, 0x71};
void delay(){;;}
void delay1ms(uint z)
{uint x,y;for(x=z;x>0;x--)for(y=110;y>0;y--);
}
void start()//启动信号
{sda=1;delay();scl=1;delay();sda=0;delay();
}
void stop()//停止信号
{sda=0;delay();scl=1;delay();sda=1;delay();
}
void respons()//应答信号
{unsigned char i;scl=1;delay();while((sda==1)&&(i<250)){i++;}scl=0;delay();
}
void init()//总线初始化
{scl=1;delay();sda=1;delay();
}
void write_byte(uchar date)//写操作
{unsigned char i,temp;temp=date;for(i=0;i<8;i++){temp=temp<<1;scl=0;delay();sda=CY;delay();scl=1;delay();}scl=0;delay();sda=1;delay();
}
uchar read_byte()
{unsigned char i,k;scl=0;delay();sda=1;delay();for(i=0;i<8;i++){scl=1;delay();k=(k<<1)|sda;scl=0;delay();}delay();return k;
}
void write_add(uchar address,uchar date)//字节写入格式格式
{start();write_byte(0xa0);//10100000respons();write_byte(address);respons();write_byte(date);respons();stop();
}
uchar read_add(uchar address)
{uchar date;start();write_byte(0xa0);respons();write_byte(address);respons();start();write_byte(0xa1);respons();date=read_byte();stop();return date;
}
void display(uchar bai_c,uchar sh_c)//显示程序
{dula=0;P0=table[bai_c];//显示第一位dula=1;dula=0;wela=0;P0=0x7e;//11111101wela=1;wela=0;delay1ms(50); // 延时仿真50,单片机5dula=0;P0=table[sh_c];//显示第二位dula=1;dula=0;wela=0;P0=0x7d;//11111110wela=1;wela=0;delay1ms(100);	// 延时仿真50,单片机5
}
void main()
{init();sec=read_add(2);//读出保存的数据赋予secif (sec>100)//防止首次读取出现错误{sec=0;}TMOD=0x01;//定时器工作在方式1ET0=1;EA=1;TH0=(65536-50000)/256;TL0=(65536-50000)%256;//定时器0.05秒中断一次TR0=1;//启动定时器while(1){display(sec/10,sec%10);if(write==1)//判断计时器是否计时1秒{write=0;//清0write_add(2,sec);//在24c02的地址2中写入数据sec}}
}
void t0() interrupt 1//定时器中断服务函数
{TH0=(65536-50000)/256;TL0=(65536-50000)%256;tcnt++;//每过50ms,tcnt加1if(tcnt==20){tcnt=0;//重新再计sec++;write=1;//1秒写一次24c02if(sec==100)//定时100秒,再从零开始计时{sec=0;}}
}
在80时关闭单片机电源,重启后单片机从80开始计时。
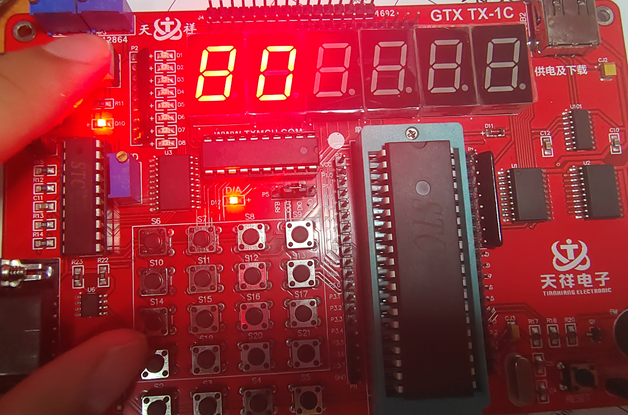
图2.1 单片机重启前后计数一致
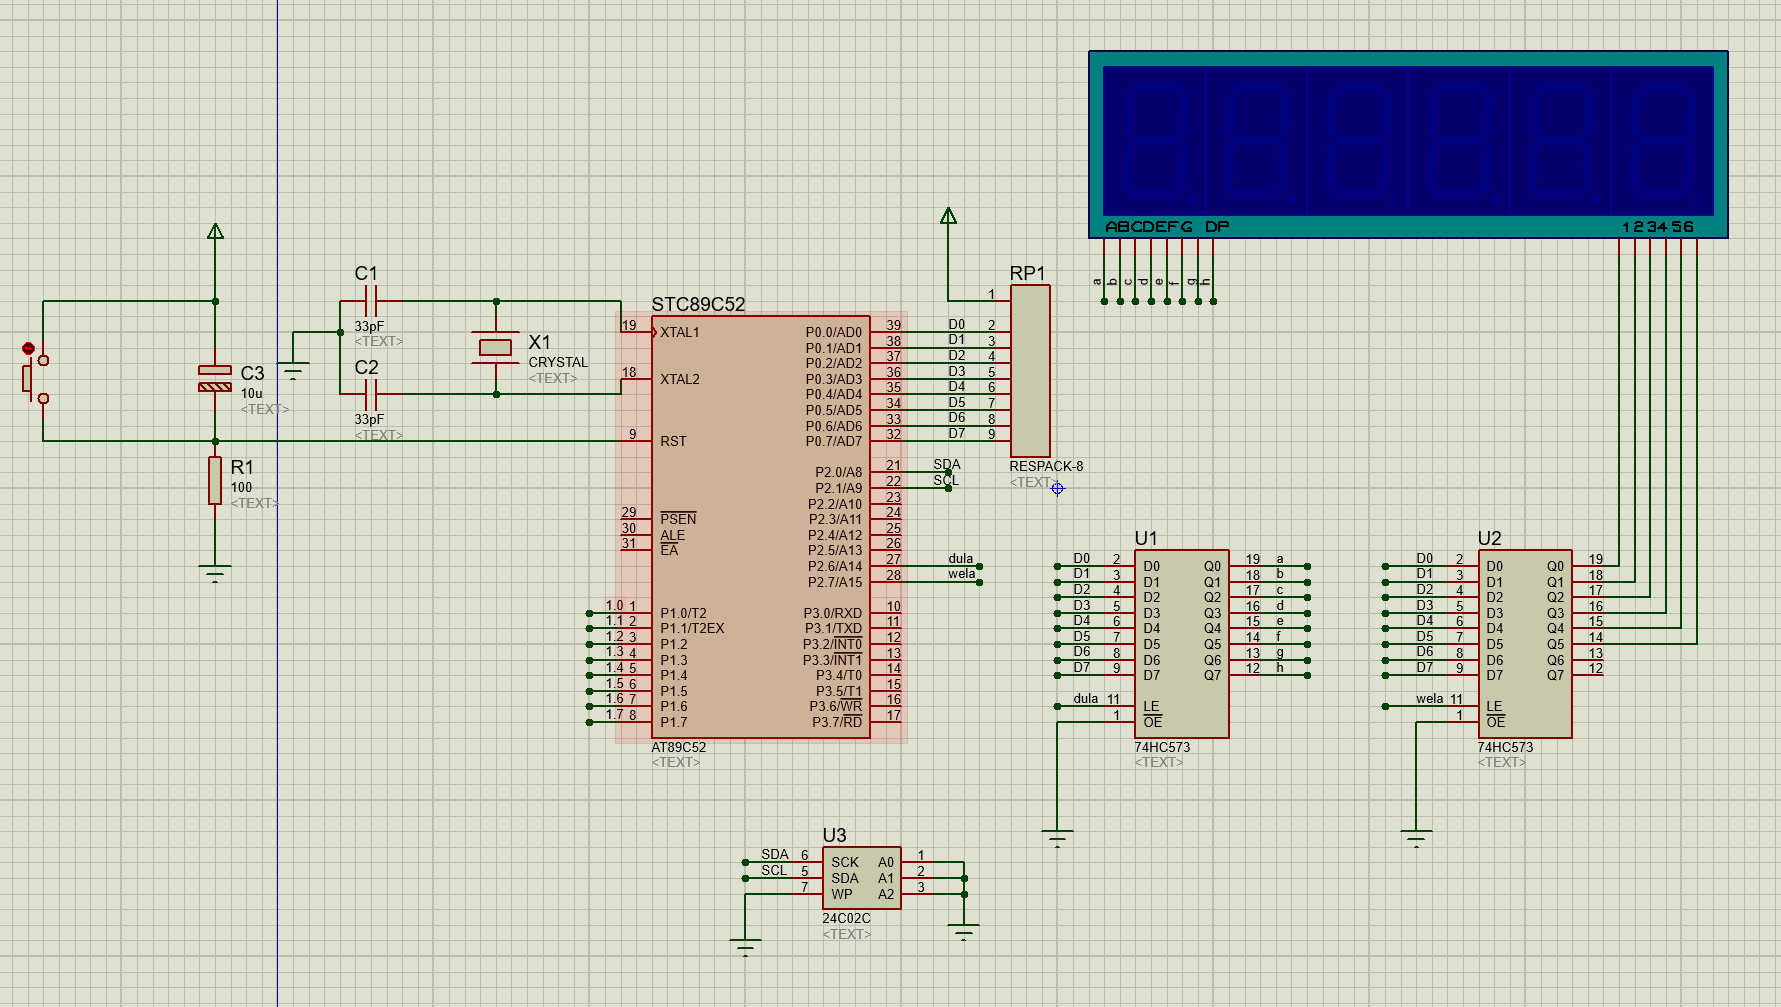
图2.2 仿真图
EEPROM是一种非易失的存储器,常用当做数据存储器,在程序运行当中所需要的数据,配置等等。在STC当中,把Flash当做EEPROM,并不是真正的EEPROM。
基本操作包括字写入/只读取/块擦除三种, 这些是STC特有的,一般并不能用仿真来实现 ,用Proteus来仿真,或许可以,但是效果不太好,得到一条经验,那就是在硬件允许的情况下,应该首先考虑用硬件来验证程序。
三、proteus复位电路
Protues 搭建了 51 的最小系统电路,在实物中好用的复位电路,到仿真里不能正常复位了。
解决方法:
1.改电阻的阻值(方法一)
将复位电路的电阻改为 100Ω
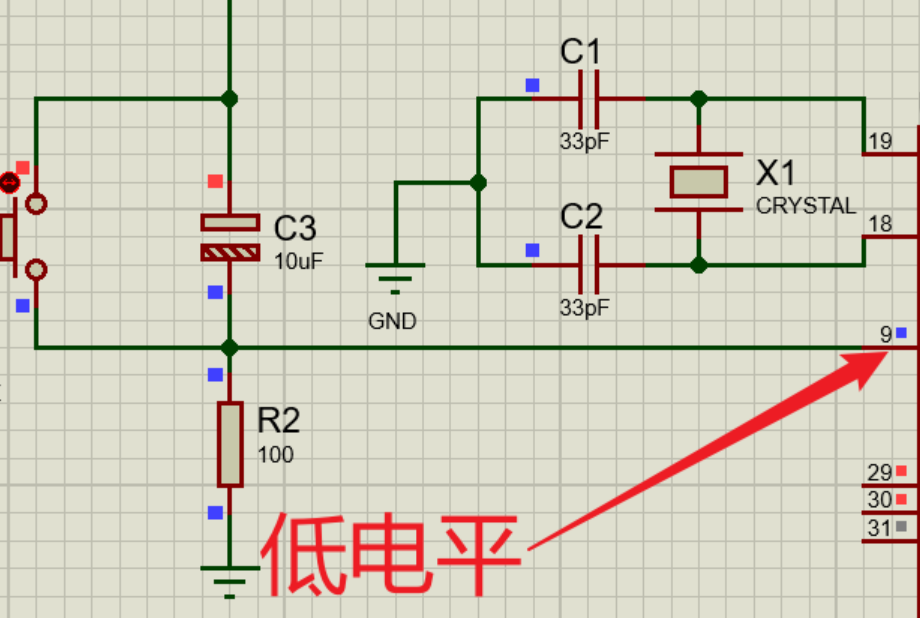
图3.1.1 改R2 阻值为100
2.改电阻的属性(方法2)
双击复位电路的电阻,找到 Model Type ,下拉选择 DIGITAL
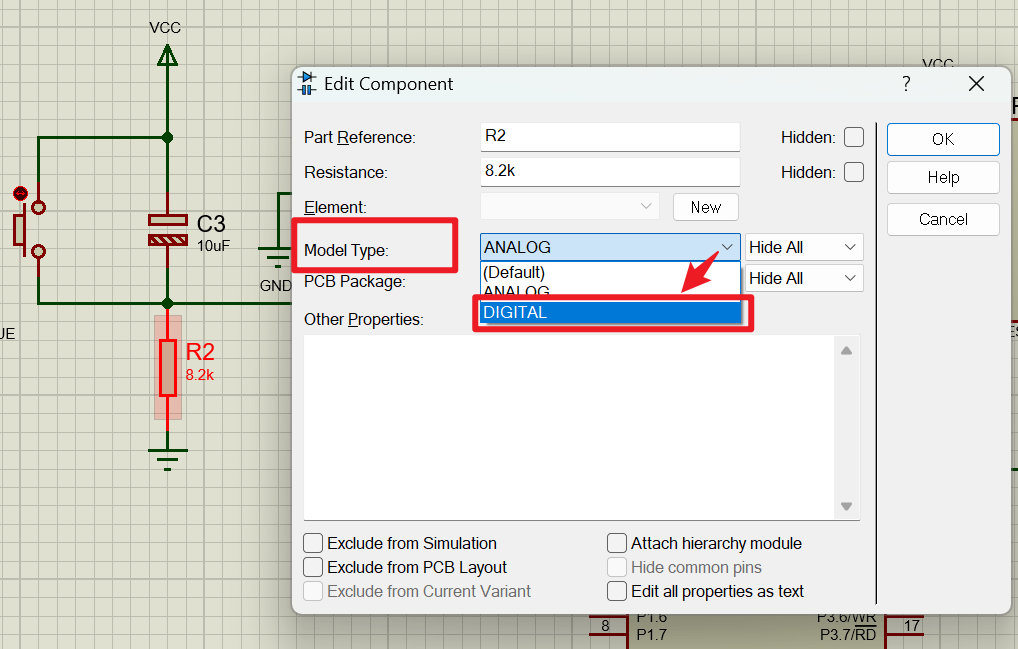
图3.2.1 改model Type
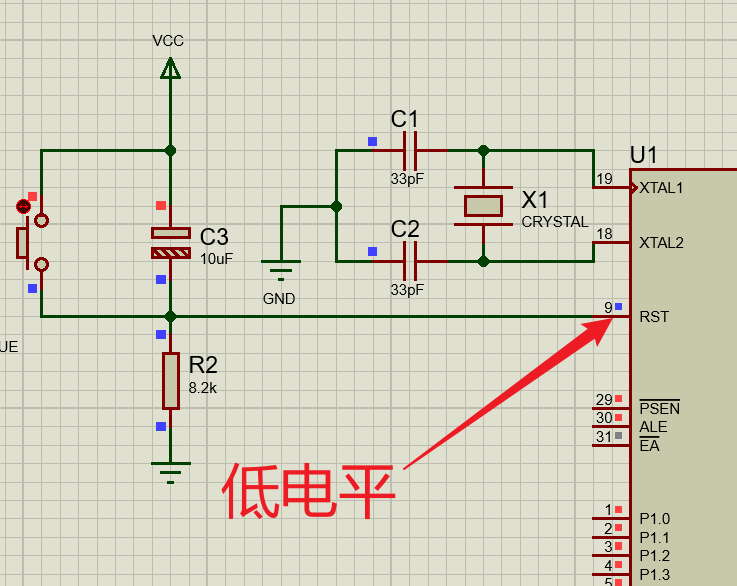
图3.2.2 复位电路有用的