Gitlab runner 安装和注册
Gitlab Runner
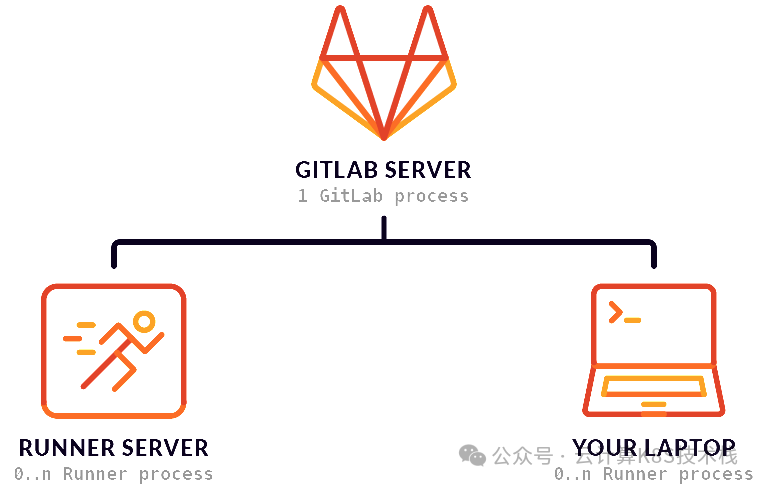
GitLab Runner是一个用于运行GitLab CI/CD流水线作业的软件包,由GitLab官方开发,完全开源。你可以在很多主流的系统环境或平台上安装它,如Linux、macOS、Windows和Kubernetes。如果你熟悉Jenkins 的话,你可以把它理解为Jenkins slave节点。
Gitlab Runner 架构
安装GitLab Runner
没有GitLab Runner,GitLab CI/CD的流水线就无法运行,现在我们就在一台计算机上安装GitLab Runner。GitLab Runner的安装方式有很多,二进制安装,docker安装。今天我介绍一下二进制安装。
1. 下载安装包
sudo curl -L --output /usr/local/bin/gitlab-runner "https://s3.dualstack.us-east-1.amazonaws.com/gitlab-runner-downloads/latest/binaries/gitlab-runner-linux-amd64"
2. 添加执行权限
#sudo chmod +x /usr/local/bin/gitlab-runner3. 创建 GitLab CI 用户
#useradd --comment 'Gitlab runner' --create-home gitlab-runner --shell /bin/bash4. 作为服务安装
sudo gitlab-runner install --user=gitlab-runner --working-directory=/home/gitlab-runnersudo gitlab-runner start
5. 注册到Gitlab 服务器
当然你如果有自己的gitlab 服务器的话,也可以注册到自己的gitlab 服务器。
gitlab-runner registerRuntime platform arch=amd64 os=linux pid=47871 revision=44feccdf versionRunning in system-mode.Enter the GitLab instance URL (for example, https://gitlab.com/):https://gitlab.comEnter the registration token:xxxxxxxxxxxxxxxx //请替换成自己的tokenEnter a description for the runner:[gitlab01]: linuxEnter tags for the runner (comma-separated):linuxEnter optional maintenance note for the runner:This is only for testing.WARNING: Support for registration tokens and runner parameters in the 'register' command has been deprecatert for authentication tokens. For more information, see https://docs.gitlab.com/ee/ci/runners/new_creation_Registering runner... succeeded runner=GR134894157Z-kVdLEnter an executor: instance, custom, ssh, parallels, docker-windows, docker+machine, shell, virtualbox, doc[shddd]: dockerEnter the default Docker image (for example, ruby:2.7):alpine:latestRunner registered successfully. Feel free to start it, but if it's running already the config should be automatically reloaded!Configuration (with the authentication token) was saved in "/etc/gitlab-runner/config.toml"
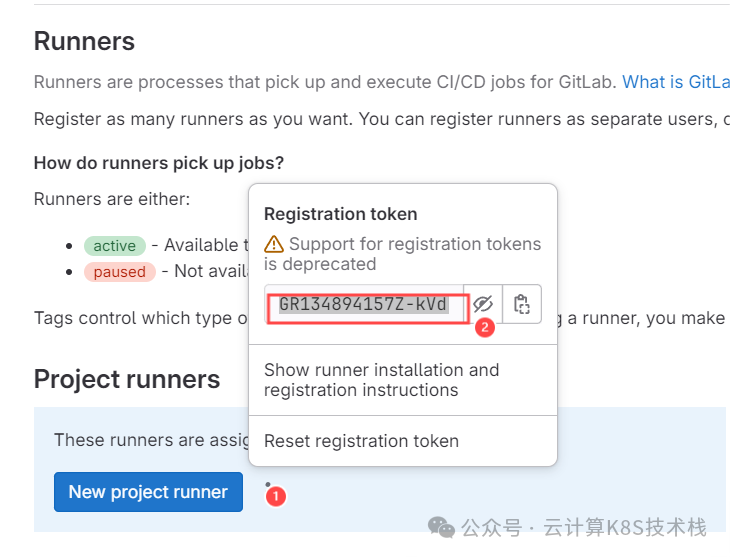
通过下面的步骤可以查看token
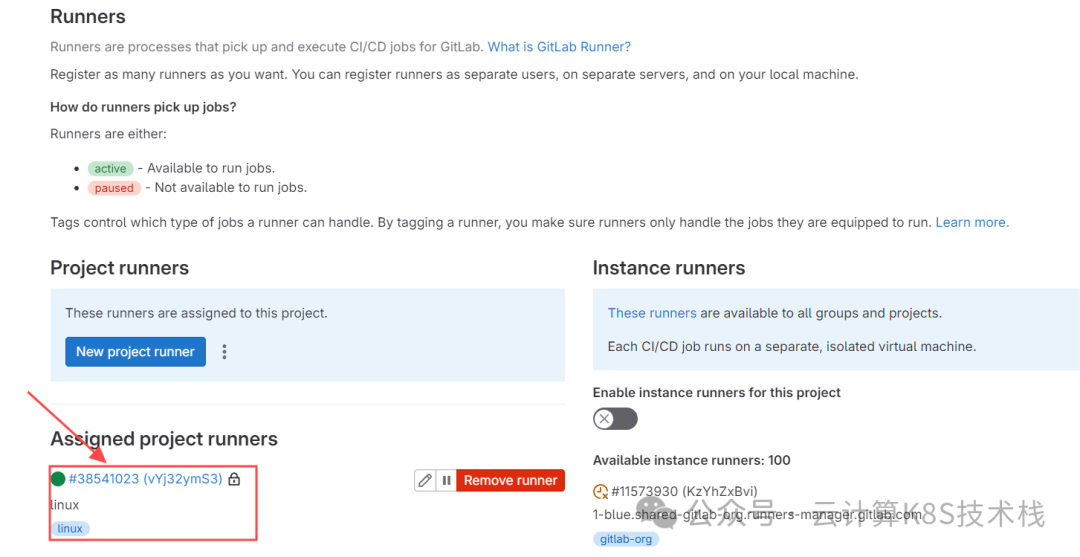
注册成功后,可以登录gitlab.com来查看该runner
运行pipeline
在你的project 中创建一个.gitlab-ci.yml文件
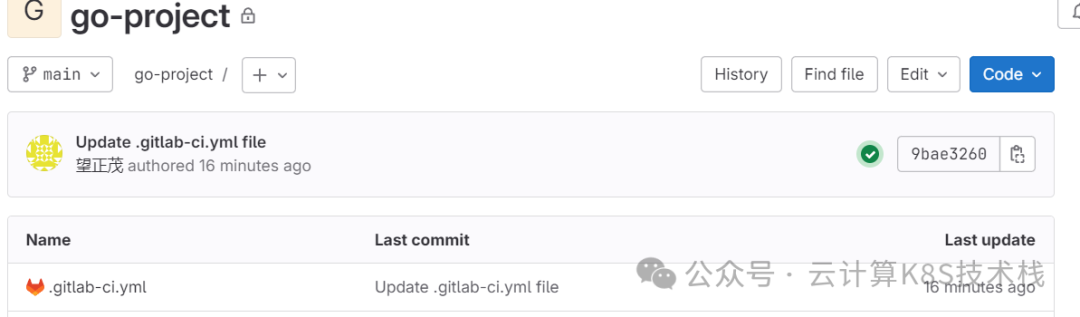
复制下面的代码并提交更改,然后pipeline开始工作。
build-job:stage: buildscript:- echo "Hello, $GITLAB_USER_LOGIN!"test-job1:stage: testscript:- echo "This job tests something"test-job2:stage: testscript:- echo "This job tests something, but takes more time than test-job1."- echo "After the echo commands complete, it runs the sleep command for 20 seconds"- echo "which simulates a test that runs 20 seconds longer than test-job1"- sleep 20deploy-prod:stage: deployscript:- echo "This job deploys something from the $CI_COMMIT_BRANCH branch."environment: production
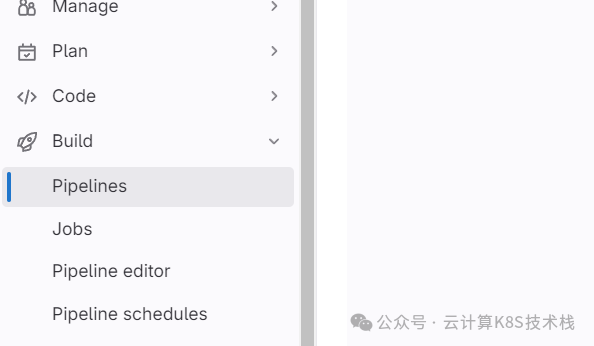
选择Build-Pipelines,你可以看到三个阶段的pipepline:

点击pipeline id,可以看到图形化的pipeline。
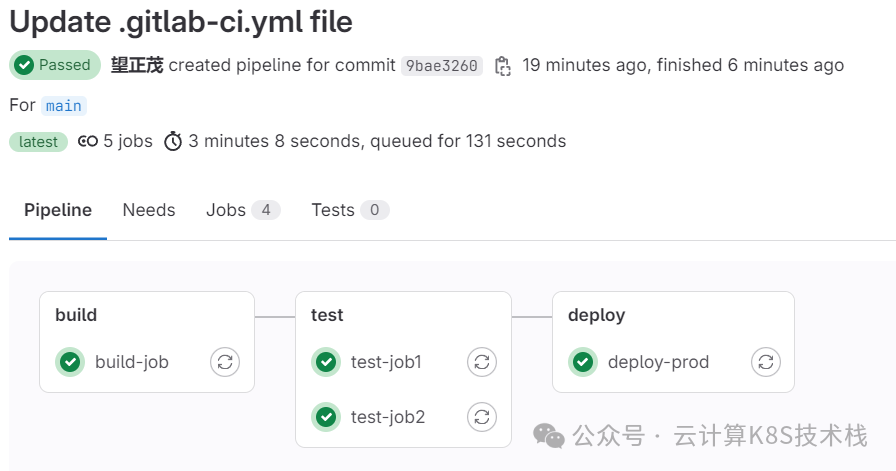
选择其中的一个job,点击该job名称可以看到job的详细信息。

到此为止,你已经在gitlab 中成功运行第一个CICD pipeline。
总结
今天我们了解的 Gitlab CI/CD 中负责执行脚本的 Gitlab Runner 的设计结构,介绍了它的安装(二进制),注册流程。最后我们演示了如何运行一个 CICD pipeline。