Jenkins plugin 的用法和示例
今天介绍一下比较常见的Jenkins plugin 的使用方法
1. 通过AWS s3 upload 插件上传文件到AWS S3 存储桶
前提条件:
- 安装AWS pipeline step插件
- 在Jenkins 中创建credentials,包含access_key_id和secret_key_id
- 创建S3 存储桶
脚本:
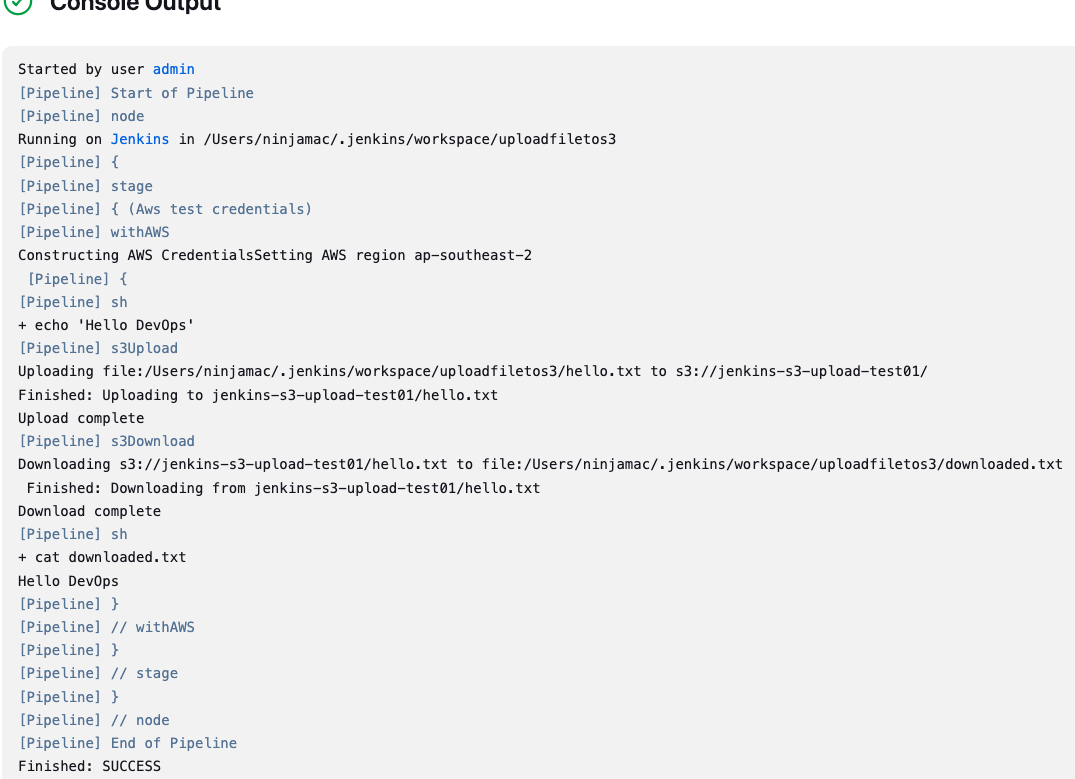
pipeline{agent { label 'master' } stages{stage("Aws test credentials"){steps{withAWS(credentials: 'jenkins-test', region: 'ap-southeast-2'){sh 'echo "Hello DevOps" > hello.txt's3Upload (acl: 'Private' , bucket: 'jenkins-s3-upload-test01' , file: 'hello.txt')s3Download(file:'downloaded.txt', bucket:'jenkins-s3-upload-test01', path:'hello.txt',force:true) sh "cat downloaded.txt"}}}}
}
效果:

2. 在Jenkins pipeline 中assume AWS role
前提条件:
- 创建IAM role 并设置trust relationship
{"Version": "2012-10-17","Statement": [{"Sid": "Statement1","Effect": "Allow","Principal": {"AWS": "arn:aws:iam::654654314383:user/jenkins-test"},"Action": ["sts:AssumeRole"]}]
}
- 确保您assume 的 IAM 角色具有在管道内执行 AWS CLI 命令所需的权限。
脚本:
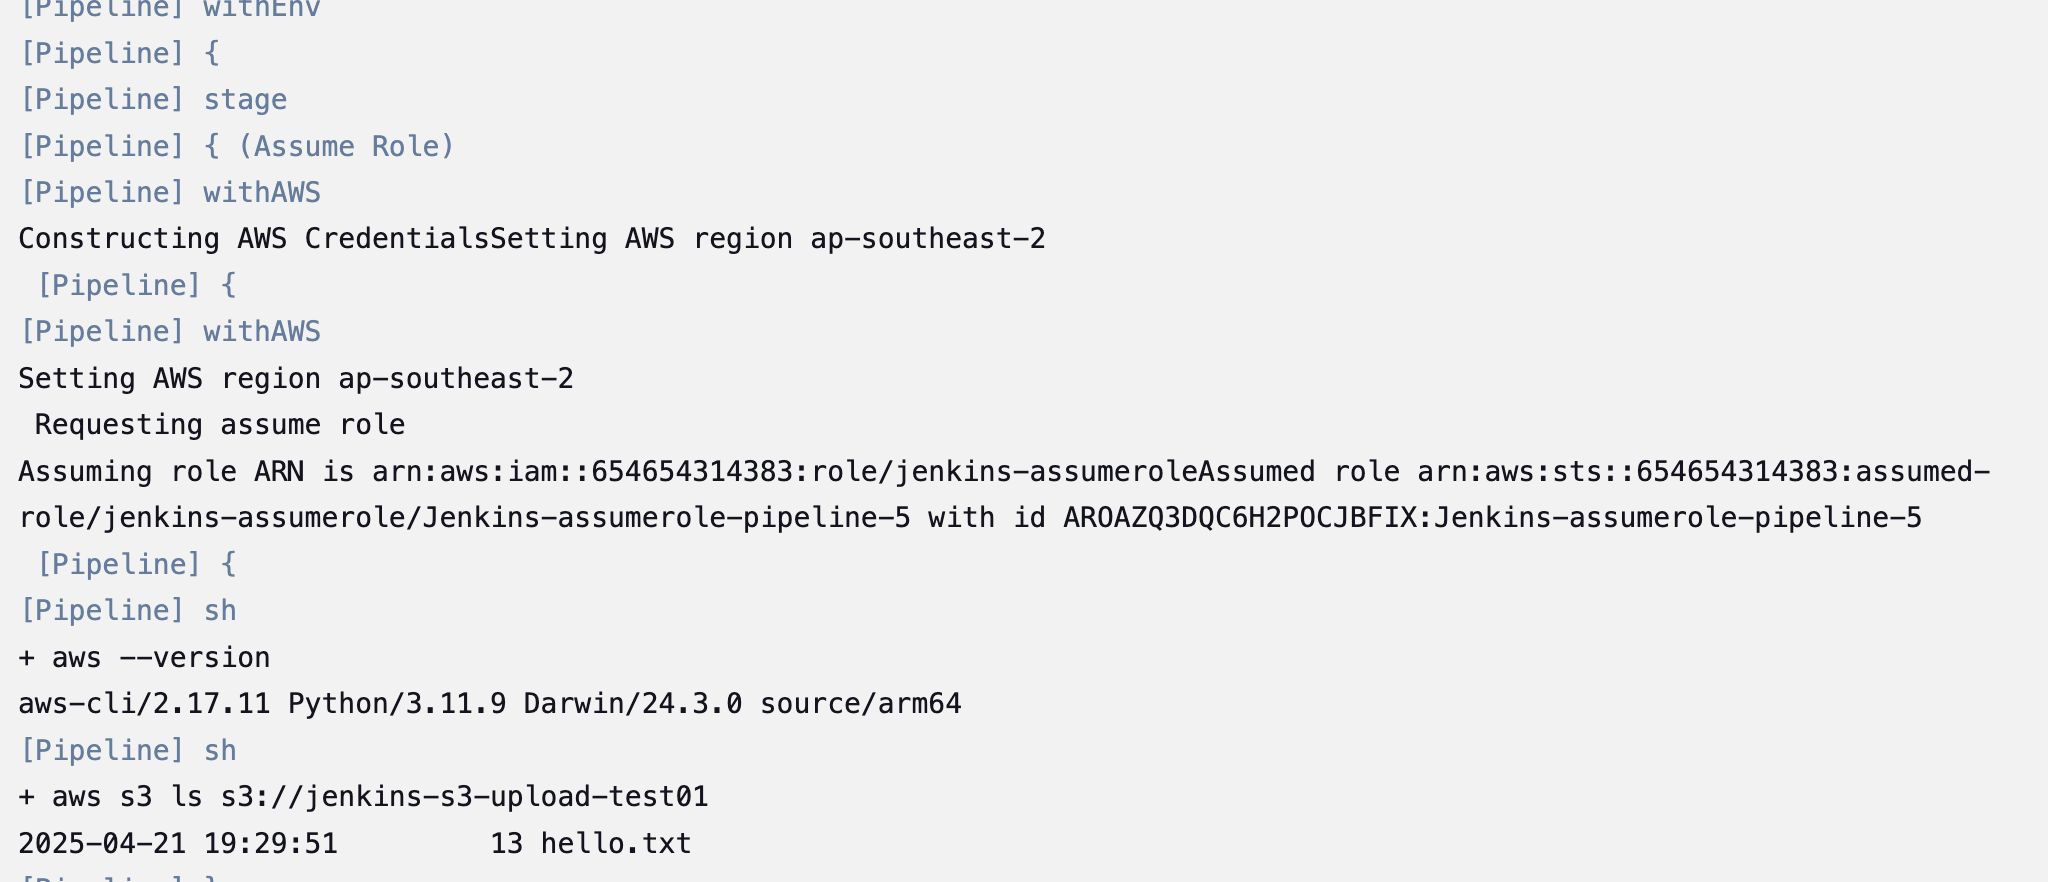
pipeline {agent {label 'master'}environment {PATH = "/opt/homebrew/bin:$PATH"}stages {stage('Assume Role') {steps {withAWS(credentials: 'jenkins-test', , region: 'ap-southeast-2') {withAWS(role: 'arn:aws:iam::654654314383:role/jenkins-assumerole', region: 'ap-southeast-2') {sh 'aws --version'sh 'aws s3 ls s3://jenkins-s3-upload-test01'  // Example S3 CLI command}}}}}
}
验证:
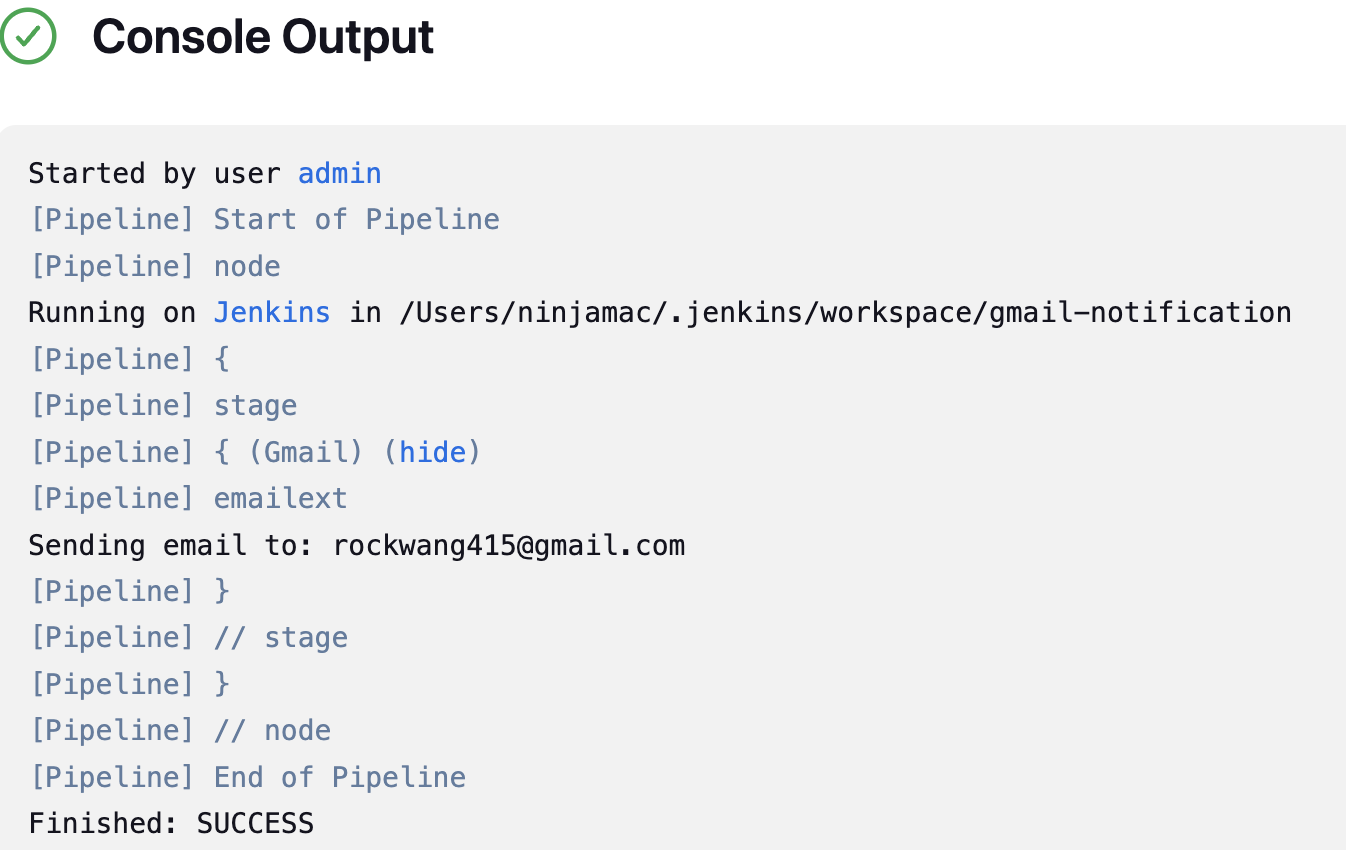
3. 通过Email ext 插件发送邮件通知
前提条件:
- 安装Email ext plugin
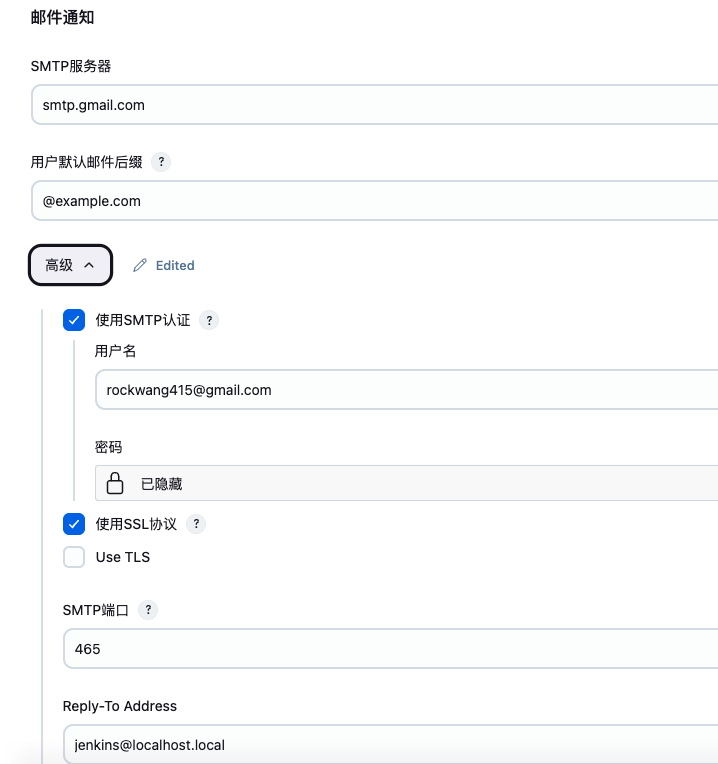
- 在Jenkins 上配置SMTP 邮件服务器,并保证可以测试成功
脚本:
pipeline{agent { label 'master' } stages {stage('Gmail')
{steps{emailext body: "*${currentBuild.currentResult}:* Job Name: ${env.JOB_NAME} || Build Number: ${env.BUILD_NUMBER}\nMore information at: ${env.BUILD_URL}",subject: 'Declarative Pipeline Build Status',to: 'rockwang415@gmail.com'}}}
}
验证:

4. Docker plugin for Jenkins
许多组织使用 Docker 来统一跨机器的构建和测试环境,并提供高效的应用程序部署机制。从 Pipeline 2.5 及更高版本开始,Pipeline 内置了在 Jenkinsfile 中与 Docker 交互的支持。
前提条件:
- 安装docker plugin
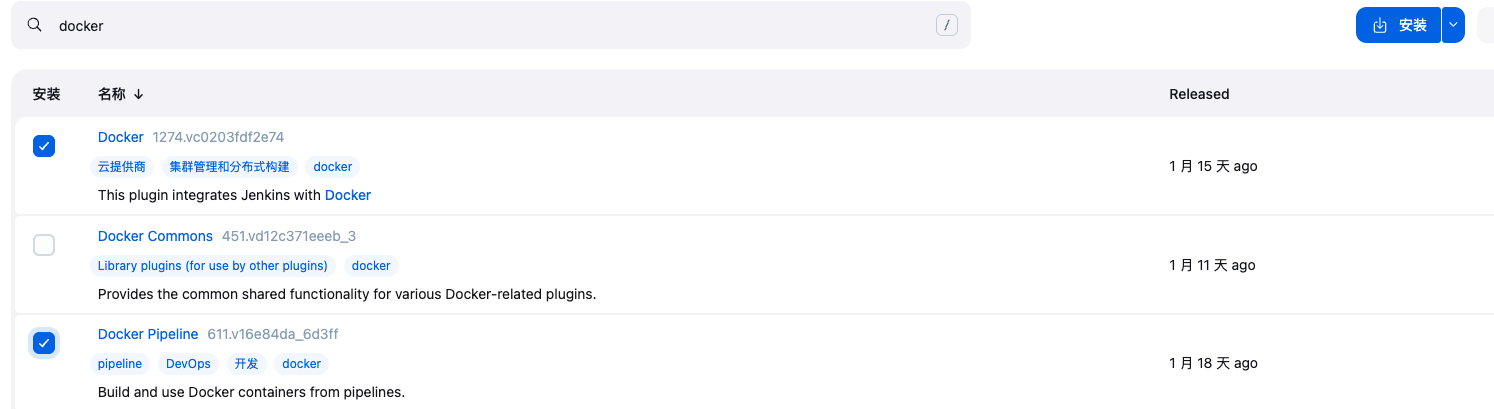
- 在salve 节点上安装docker
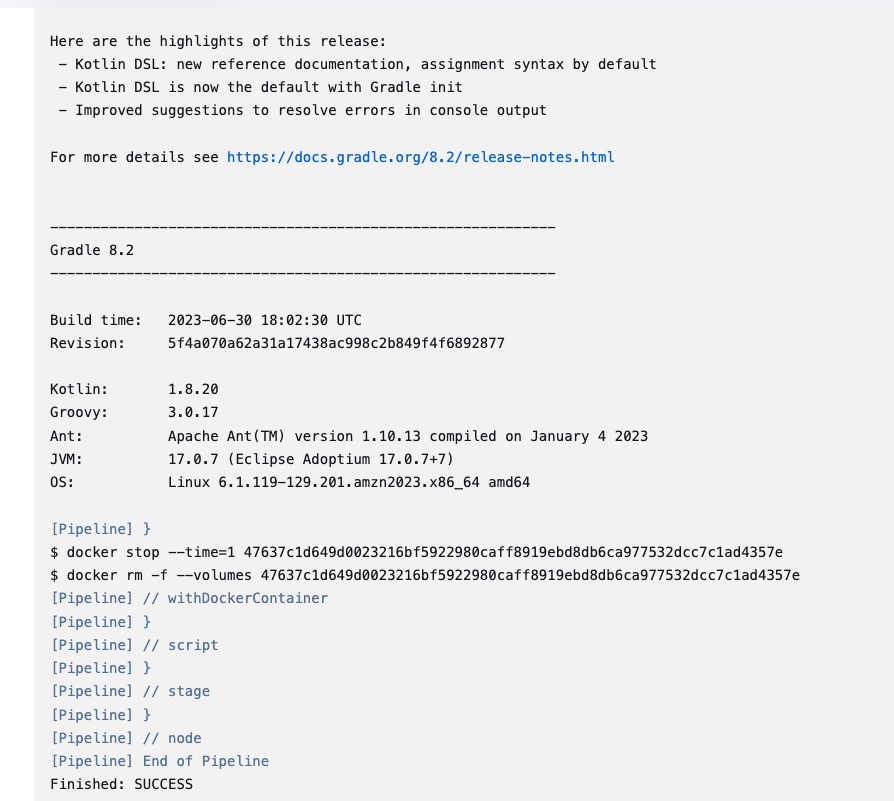
pipeline {agent anystages {stage('Build') {steps {script {// Run in a Docker containerdocker.image('gradle:8.2.0-jdk17-alpine').inside {// Run the build commandsh 'gradle --version'}}}}}
}
验证:
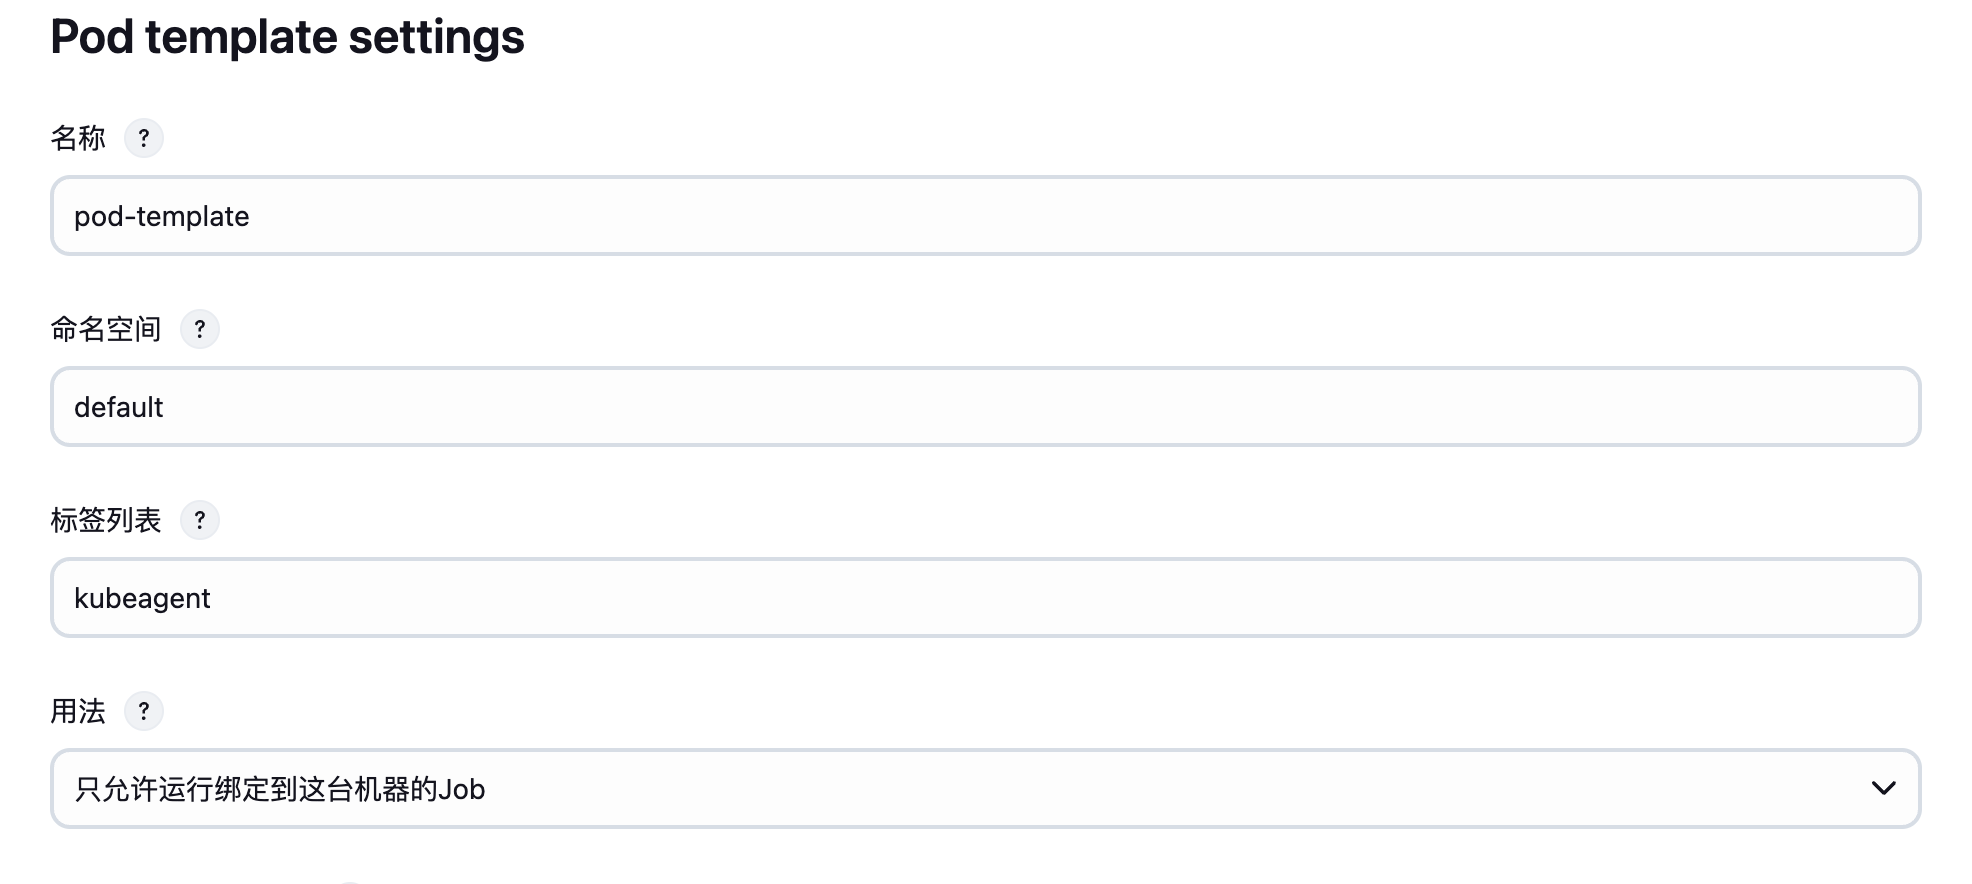
5. Kubernetes plugin for Jenkins
前提条件
- 安装kubernetes 插件
- 创建kubernetes secret file(kubeconfig)
- 添加kubernetes 节点到Jenkins cloud,并确保可以正常连接到kubernetes

- 创建 POD 和容器模板
脚本:
podTemplate(containers: [containerTemplate(name: 'jnlp', image: 'jenkins/inbound-agent:latest')
]) {node('kubeagent') { // Replace POD_LABEL with 'kubeagent'stage('Get a Maven project') {container('jnlp') {stage('Shell Execution') {sh '''echo "Hello! I am executing shell"'''}}}}
}
验证:
Started by user admin
[Pipeline] Start of Pipeline (hide)
[Pipeline] podTemplate
[Pipeline] {
[Pipeline] node
Still waiting to schedule task
‘pod-template-vc6lb’ is offline
Agent pod-template-vc6lb is provisioned from template pod-template
---
apiVersion: "v1"
kind: "Pod"
metadata:annotations:kubernetes.jenkins.io/last-refresh: "1745298965608"labels:jenkins: "slave"jenkins/label-digest: "ffa3ba115a1a18165cef0867902fabef92179d38"jenkins/label: "kubeagent"kubernetes.jenkins.io/controller: "http___192_168_1_2_8080x"name: "pod-template-vc6lb"namespace: "default"
spec:containers:- env:- name: "JENKINS_SECRET"value: "********"- name: "REMOTING_OPTS"value: "-noReconnectAfter 1d"- name: "JENKINS_AGENT_NAME"value: "pod-template-vc6lb"- name: "JENKINS_NAME"value: "pod-template-vc6lb"- name: "JENKINS_AGENT_WORKDIR"value: "/home/jenkins/agent"- name: "JENKINS_URL"value: "http://192.168.1.2:8080/"image: "jenkins/inbound-agent:latest"imagePullPolicy: "Always"name: "jnlp"resources: {}tty: falsevolumeMounts:- mountPath: "/home/jenkins/agent"name: "workspace-volume"readOnly: falseworkingDir: "/home/jenkins/agent"hostNetwork: falsenodeSelector:kubernetes.io/os: "linux"restartPolicy: "Never"volumes:- emptyDir:medium: ""name: "workspace-volume"Running on pod-template-vc6lb in /home/jenkins/agent/workspace/kubernetes-2
[Pipeline] {
[Pipeline] stage
[Pipeline] { (Get a Maven project)
[Pipeline] container
[Pipeline] {
[Pipeline] stage
[Pipeline] { (Shell Execution)
[Pipeline] sh
+ echo Hello! I am executing shell
Hello! I am executing shell
[Pipeline] }
[Pipeline] // stage
[Pipeline] }
[Pipeline] // container
[Pipeline] }
[Pipeline] // stage
[Pipeline] }
[Pipeline] // node
[Pipeline] }
[Pipeline] // podTemplate
[Pipeline] End of Pipeline
Finished: SUCCESS
6. 多容器 Pod 模板
前提条件:
添加多个container template:
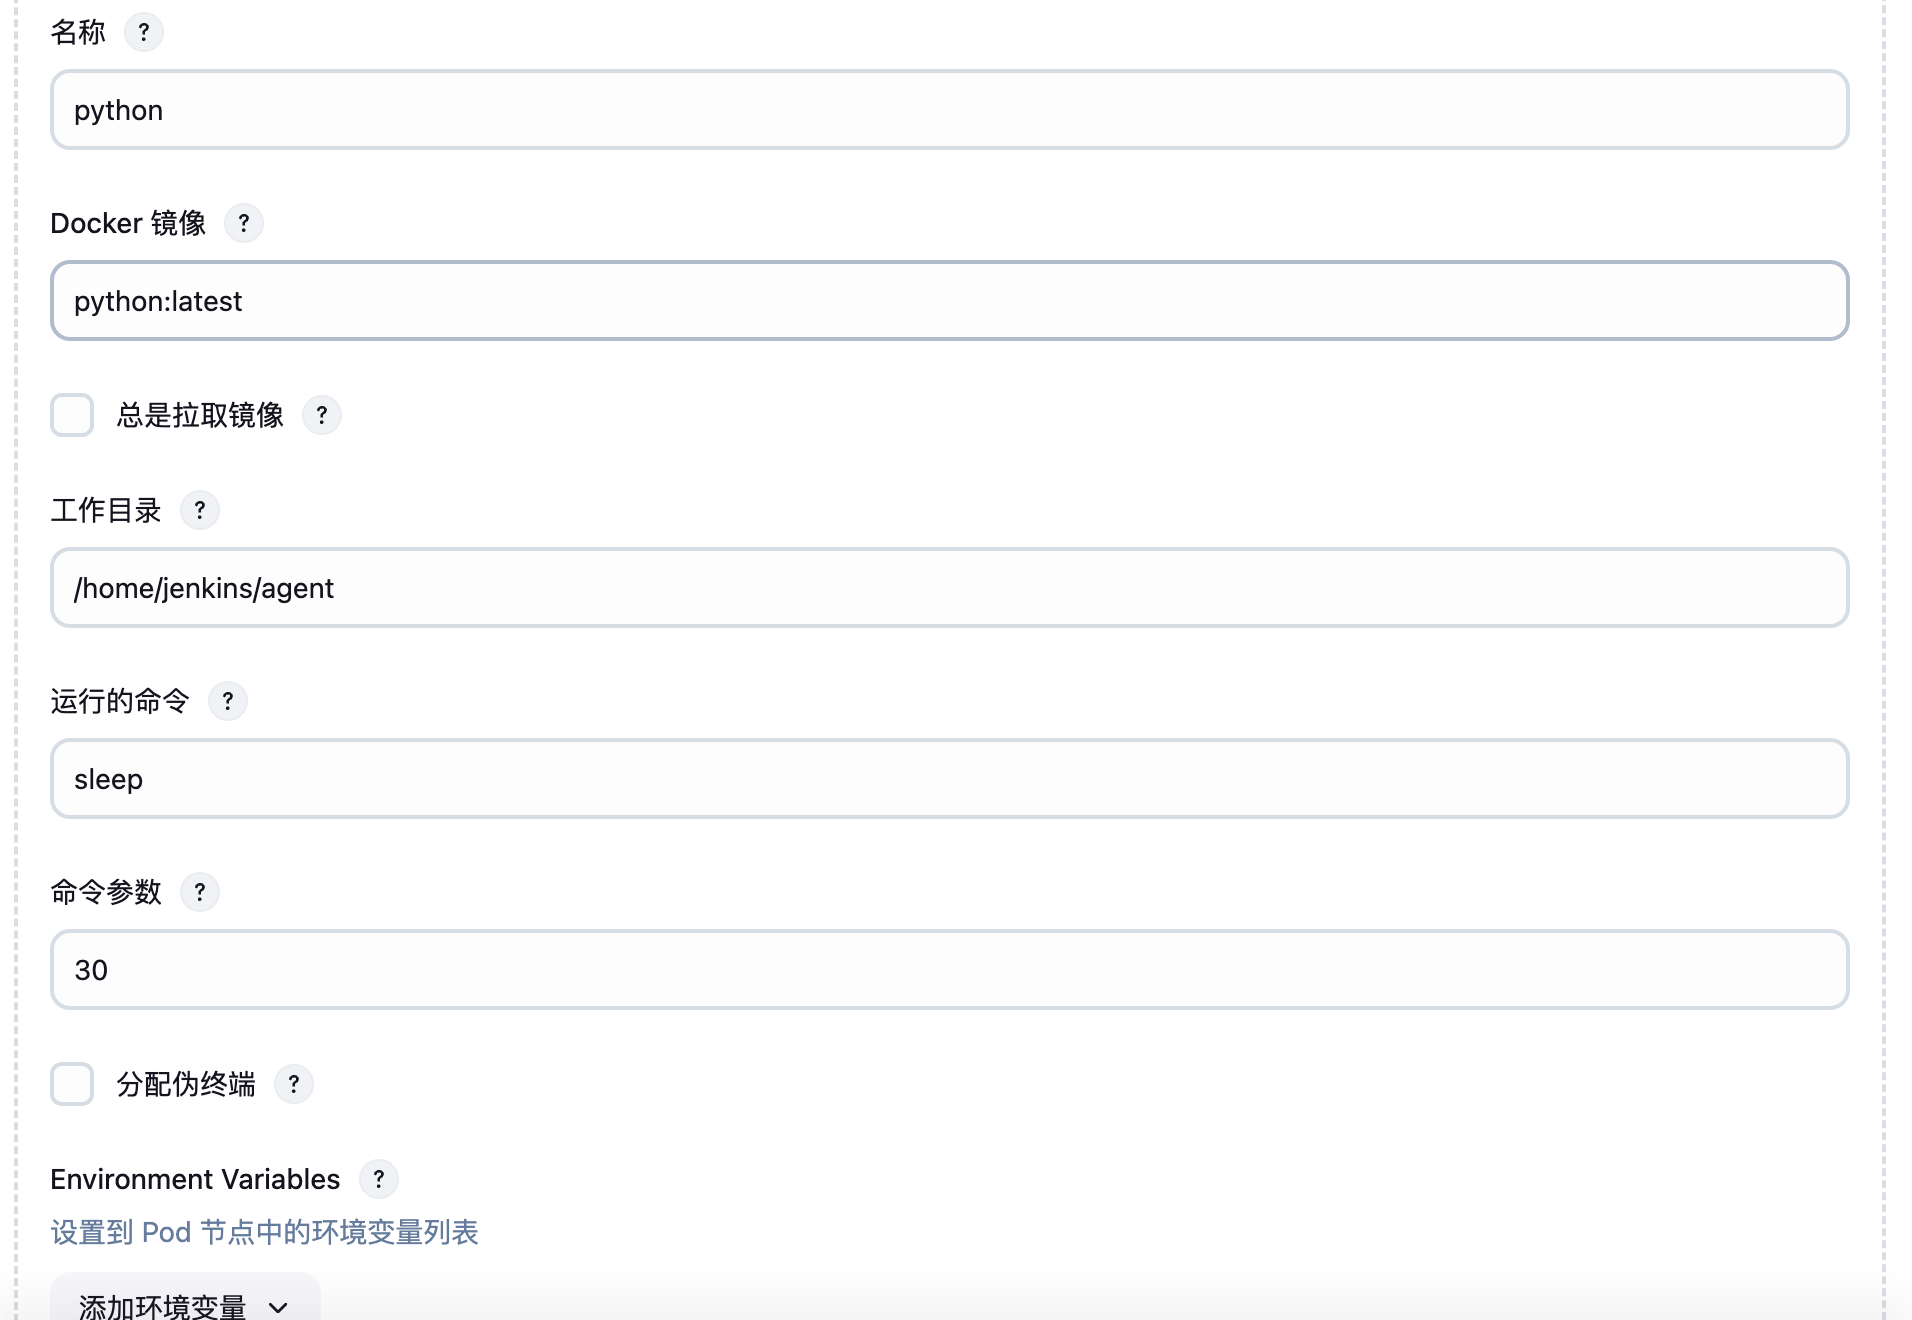
脚本:
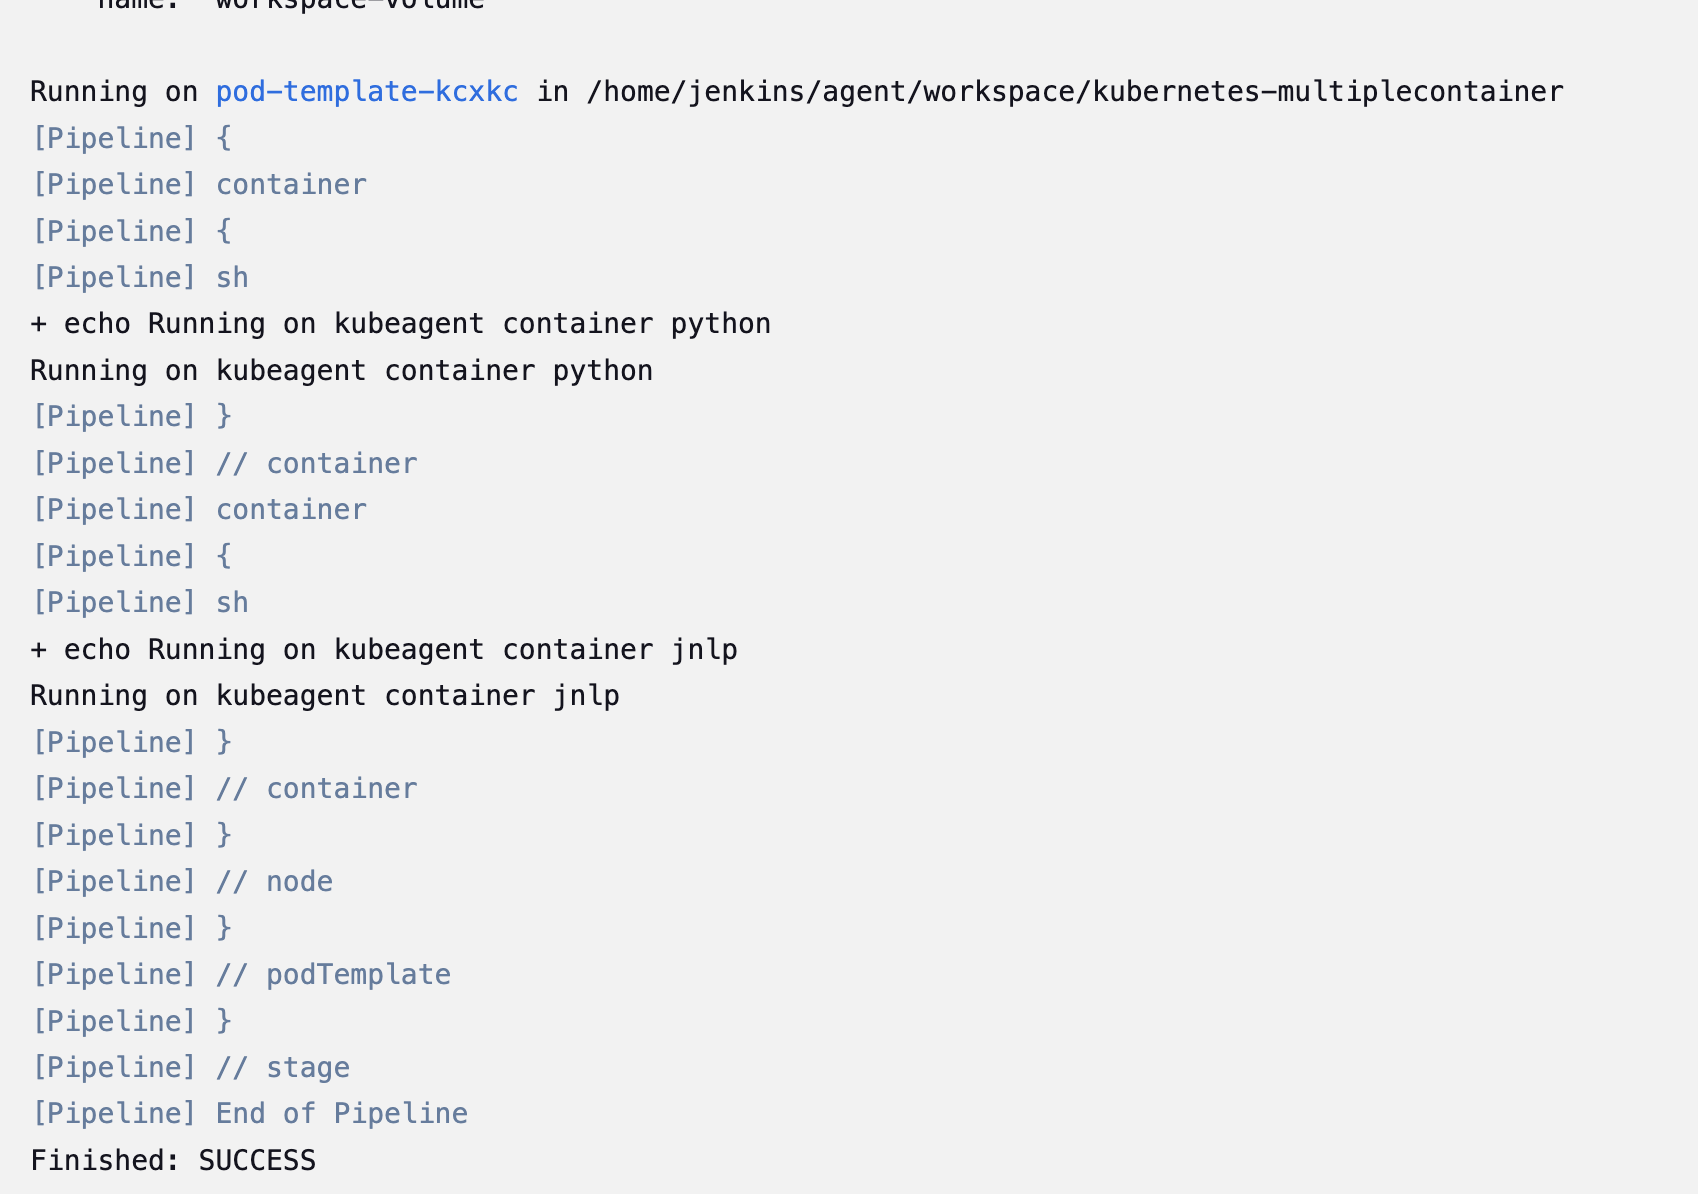
pipeline {agent nonestages {stage('Deploy') {steps {podTemplate(label: 'kubeagent', containers: [containerTemplate(name: 'jnlp', image: 'jenkins/inbound-agent:latest'),containerTemplate(name: 'python',image: 'python:latest')]) {node('kubeagent') {container('python') {// Invoke commands or build steps here using kubeagentsh 'echo "Running on kubeagent container python"'}container('jnlp') {// Invoke commands or build steps here using kubeagentsh 'echo "Running on kubeagent container jnlp"'}}}}}}
}
验证: