基于kitti格式纯点云数据的centerpoint目标检测模型的转换(.pth转.onnx和.plan,更新中)
之前写过OpenPcedt下实现自定义纯点云kitti格式数据集的训练,得到了pth格式的模型。参考原文https://blog.csdn.net/m0_64293675/article/details/144294201?spm=1001.2014.3001.5501
本文将给出.pth文件转换成2个onnx模型和后续onnx转plan模型的方法,便于实现tensorrt的部署,【全程需要在上面文章中提到的虚拟环境(pcdet)中进行】。
参考了如下的项目:
- https://github.com/CarkusL/CenterPoint/tree/main
- https://github.com/NVIDIA-AI-IOT/Lidar_AI_Solution/tree/master/CUDA-CenterPoint
2个onnx模型分别是
- 3d稀疏卷积网络onnx模型
- neck+head 网络onnx模型
首先需要新建一个文件夹,比如就叫centerpoit_export。
一、3d稀疏卷积网络onnx模型的生成
将代码拉取到本地,并将其中的det3d拷贝到centerpoit_export文件夹中
git clone https://github.com/CarkusL/CenterPoint.git
cp -r det3d/ -d centerpoit_export/
还需要修改一些代码以及编译一个扩展模块:
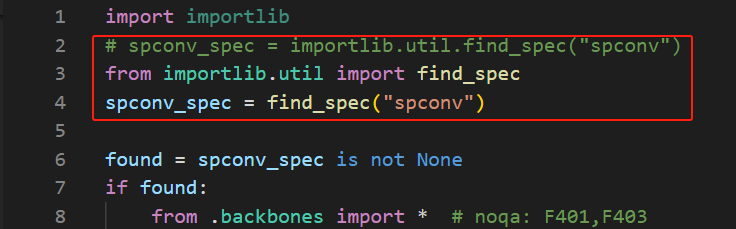
1、修改centerpoit_export/det3d/models/init.py
将spconv_spec = importlib.util.find_spec("spconv")注释,并改成
from importlib.util import find_spec
spconv_spec = find_spec("spconv")
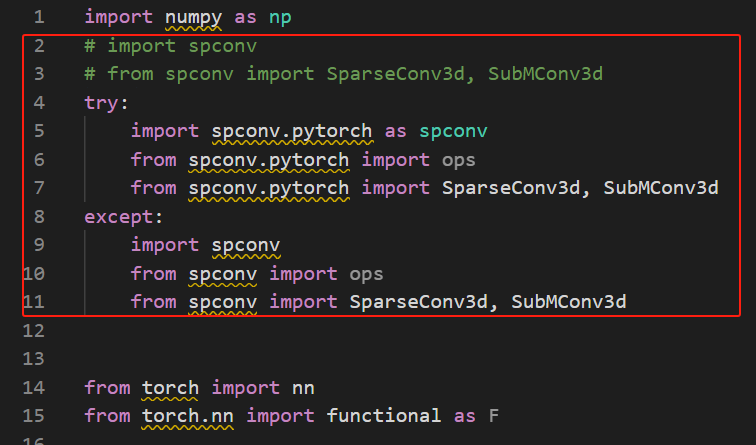
2、修改centerpoit_export/det3d/models/backbones/scn.py
将import spconv和from spconv import SparseConv3d, SubMConv3d注释,改成
try:
    import spconv.pytorch as spconv
    from spconv.pytorch import ops
    from spconv.pytorch import SparseConv3d, SubMConv3d
except:
    import spconv
    from spconv import ops
    from spconv import SparseConv3d, SubMConv3d
3、编译iou3d_nms_cuda扩展模块(将3D IOU和 NMS 算子编译为 PyTorch 可调用的扩展模块)
cd 到centerpoit_export/det3d/ops/iou3d_nms路径下,将setup.py中的cuda路径修改成自己电脑中的cuda路径,然后运行下面的命令,等待编译完成。(只有编译完成了才可以import iou3d_nms_cuda)
python setup.py develop
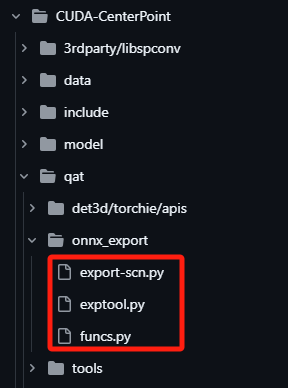
4、拉取这个项目 https://github.com/jonygu/Lidar_AI_Solution/tree/8b71cb006d434b4c20317c66121da59b99b4508e/CUDA-CenterPoint 中的以下三个文件到centerpoit_export文件夹中
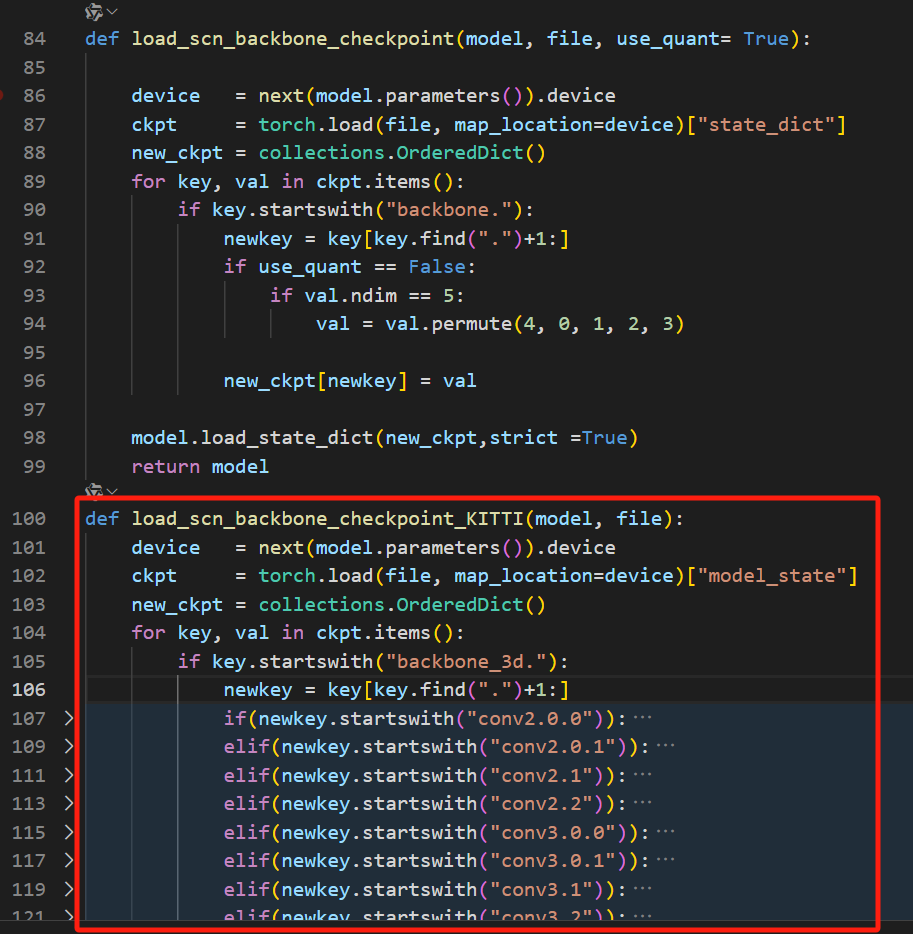
5、修改centerpoit_export/funcs.py
- 在
load_scn_backbone_checkpoint函数后面新增下面的内容:
def load_scn_backbone_checkpoint_KITTI(model, file):
    device   = next(model.parameters()).device
    ckpt     = torch.load(file, map_location=device)["model_state"]
    new_ckpt = collections.OrderedDict()
    for key, val in ckpt.items():
        if key.startswith("backbone_3d."):
            newkey = key[key.find(".")+1:]
            if(newkey.startswith("conv2.0.0")):
                newkey = "conv2.0" + newkey.split("conv2.0.0")[-1]
            elif(newkey.startswith("conv2.0.1")):
                newkey = "conv2.1" + newkey.split("conv2.0.1")[-1]
            elif(newkey.startswith("conv2.1")):
                newkey = "conv2.3" + newkey.split("conv2.1")[-1]
            elif(newkey.startswith("conv2.2")):
                newkey = "conv2.4" + newkey.split("conv2.2")[-1]
            elif(newkey.startswith("conv3.0.0")):
                newkey = "conv3.0" + newkey.split("conv3.0.0")[-1]
            elif(newkey.startswith("conv3.0.1")):
                newkey = "conv3.1" + newkey.split("conv3.0.1")[-1]
            elif(newkey.startswith("conv3.1")):
                newkey = "conv3.3" + newkey.split("conv3.1")[-1]
            elif(newkey.startswith("conv3.2")):
                newkey = "conv3.4" + newkey.split("conv3.2")[-1]
            elif(newkey.startswith("conv4.0.0")):
                newkey = "conv4.0" + newkey.split("conv4.0.0")[-1]
            elif(newkey.startswith("conv4.0.1")):
                newkey = "conv4.1" + newkey.split("conv4.0.1")[-1]
            elif(newkey.startswith("conv4.1")):
                newkey = "conv4.3" + newkey.split("conv4.1")[-1]
            elif(newkey.startswith("conv4.2")):
                newkey = "conv4.4" + newkey.split("conv4.2")[-1]
            elif(newkey.startswith("conv_out")):
                newkey = "extra_conv" + newkey.split("conv_out")[-1]
            else:
                print("backbone3d key is matching:", newkey)

            new_ckpt[newkey] = val
    model.load_state_dict(new_ckpt)
    return model
- 修改函数
new_sparse_basic_block_forward中的内容
def new_sparse_basic_block_forward(self, is_fuse_relu=True):
    def sparse_basic_block_forward(x):
        identity = x
        out = self.conv1(x)
        if is_fuse_relu == False:
            out = out.replace_feature(self.relu(out.features))#####note train only

        out = self.conv2(out)

        if self.downsample is not None:
            identity = self.downsample(x)

        # if hasattr(self, 'quant_add'):
        #     out = out.replace_feature(self.quant_add(out.features, identity.features))
        # else:
        #     out = out.replace_feature(out.features + identity.features)

        out = out.replace_feature(out.features + identity.features)
        out = out.replace_feature(self.relu(out.features))
        return out
    return sparse_basic_block_forward
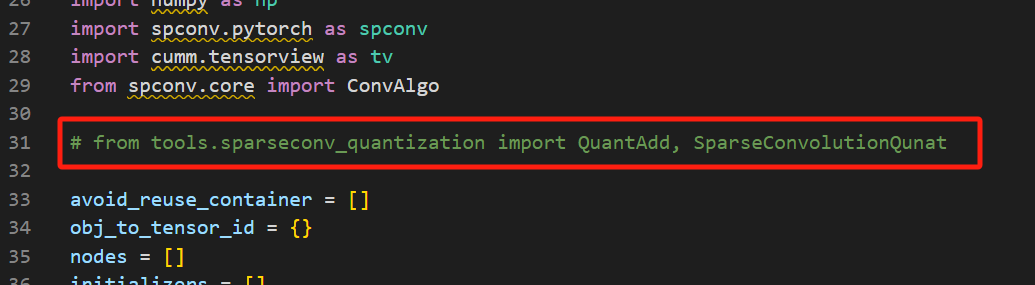
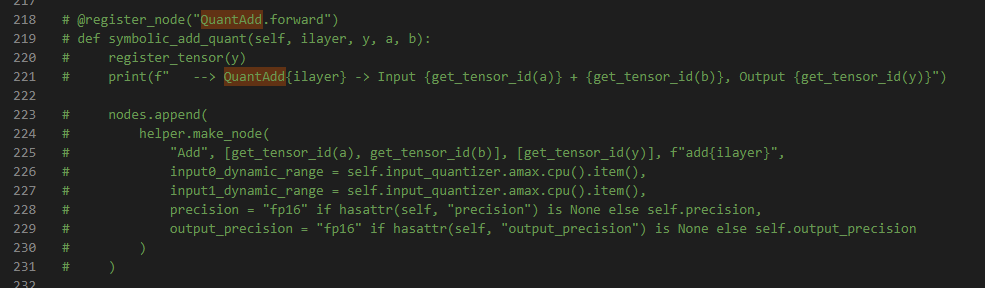
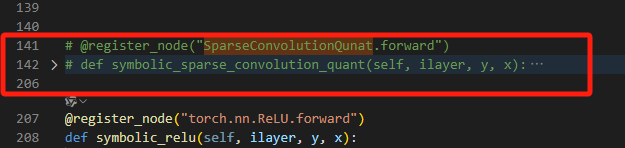
6、修改exptool.py
注释 from tools.sparseconv_quantization import QuantAdd, SparseConvolutionQunat ,以及相关的函数
7、修改export-scn.py
注释from tools.sparseconv_quantization import initialize, disable_quantization, quant_sparseconv_module, quant_add_module

将 main下的代码改成如下内容:
if __name__ == "__main__":
    parser = argparse.ArgumentParser(description="Export scn to onnx file")
    parser.add_argument("--in-channel", type=int, default=4, help="SCN num of input channels")
    parser.add_argument("--ckpt", type=str, default="(这里填.pth模型的路径,比如centerpoint.pth)", help="SCN Checkpoint (scn backbone checkpoint)")
    parser.add_argument("--input", type=str, default=None, help="input pickle data, random if there have no input")
    parser.add_argument("--save-onnx", type=str, default="(这里填转换后的.scn.onnx模型的路径+文件名,比如centerpoint_pre.csn.onnx)", help="output onnx")
    parser.add_argument("--save-tensor", type=str, default=None, help="Save input/output tensor to file. The purpose of this operation is to verify the inference result of c++")

    args = parser.parse_args()
    # FP16 build 稀疏模型
    model = SpMiddleResNetFHD(args.in_channel).cuda().eval().half()

    print("🔥export original model🔥")
    if args.ckpt:
        model = funcs.load_scn_backbone_checkpoint_KITTI(model, args.ckpt)
         # 进行层融合
    model = funcs.layer_fusion_bn_relu(model)
    print("Fusion model:")
    print(model)

    if args.input:
        with open(args.input, "rb") as f:
            voxels, coors, spatial_shape, batch_size = pickle.load(f)
            voxels = torch.tensor(voxels).half().cuda()
            coors  = torch.tensor(coors).int().cuda()
    else:
        voxels = torch.zeros(1, args.in_channel).half().cuda()
        coors  = torch.zeros(1, 4).int().cuda()
        batch_size    = 1
        # spatial_shape计算公式举例:(需要根据自己训练模型时的参数去计算)
        # POINT_CLOUD_RANGE: [0, -50, -10, 150, 80, 10]
        # VOXEL_SIZE: [0.2, 0.2, 0.4]
        # spatial_shape = [(150-0)/0.2, (80-(-50))/0.2, (10-(-10))/0.4] = [750,650,50]
        spatial_shape = [750,650,50]
    exptool.export_onnx(model, voxels, coors, batch_size, spatial_shape, args.save_onnx, args.save_tensor)
全部修改完成之后,运行python export-scn.py,即可生成3d稀疏卷积网络onnx模型
二、neck+head 网络onnx模型的生成
(有时间再写。。。)