实践001-Gitlab基础项目准备
文章目录
- 准备springboot项目
- 基于SpringBoot项目
- 创建单元测试
- 准备VUE项目
- 基于VUE创建前端项目
- 安装node.js
- 创建vue项目
- 准备pytest项目
- 基于pytest项目
- 创建自动化测试实例
- 创建一个测试脚本
- 运行测试脚本
- devops流水线
- devops流水线设计
- 后端项目流水线
- 前端项目流水线
- 自动化测试流水线
准备springboot项目
基于SpringBoot项目
使用 IntlliJ IDEA 创建一个项目,新建项目。
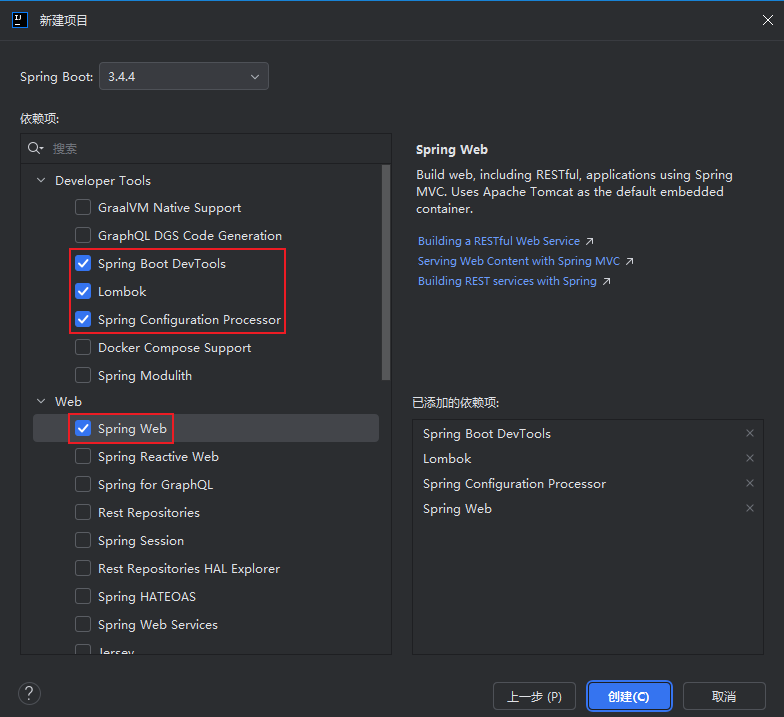
设置 Spring Boot ,名称、位置,核对相应的 Java 版本。

设置相关依赖。
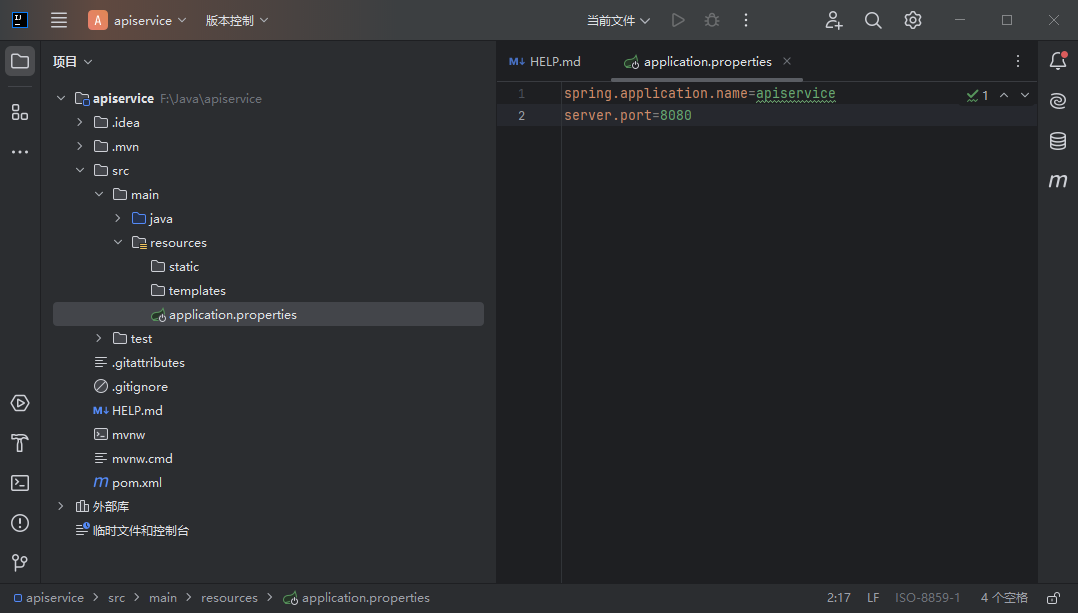
在 application.properties 中增加一行配置代码,即设置服务的端口为 8080 。
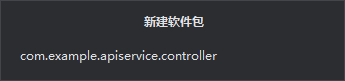
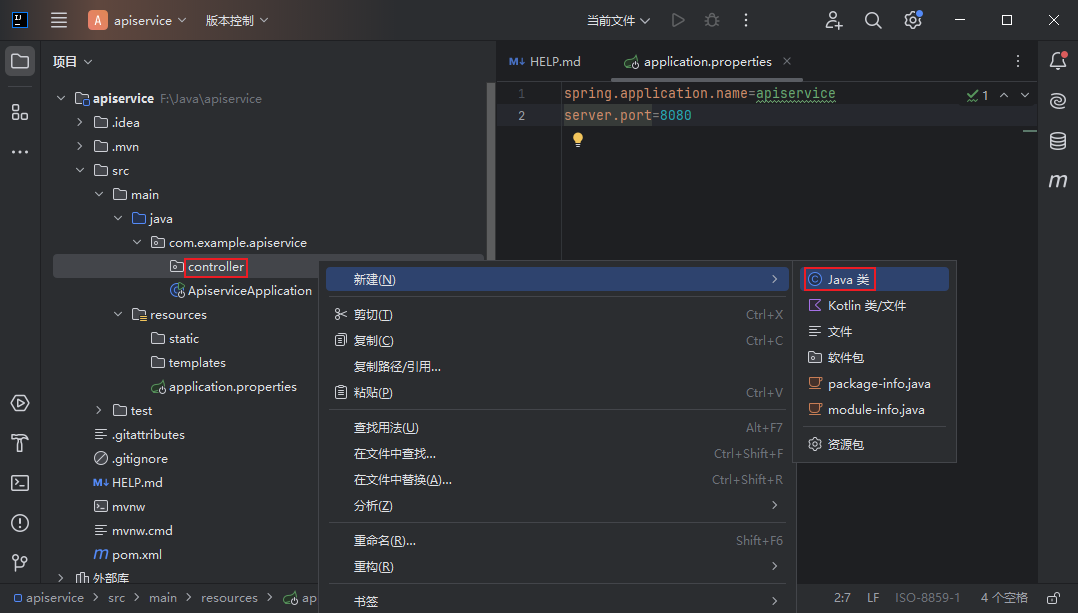
在 com.example.apiservice 下新建一个 controller 软件包。
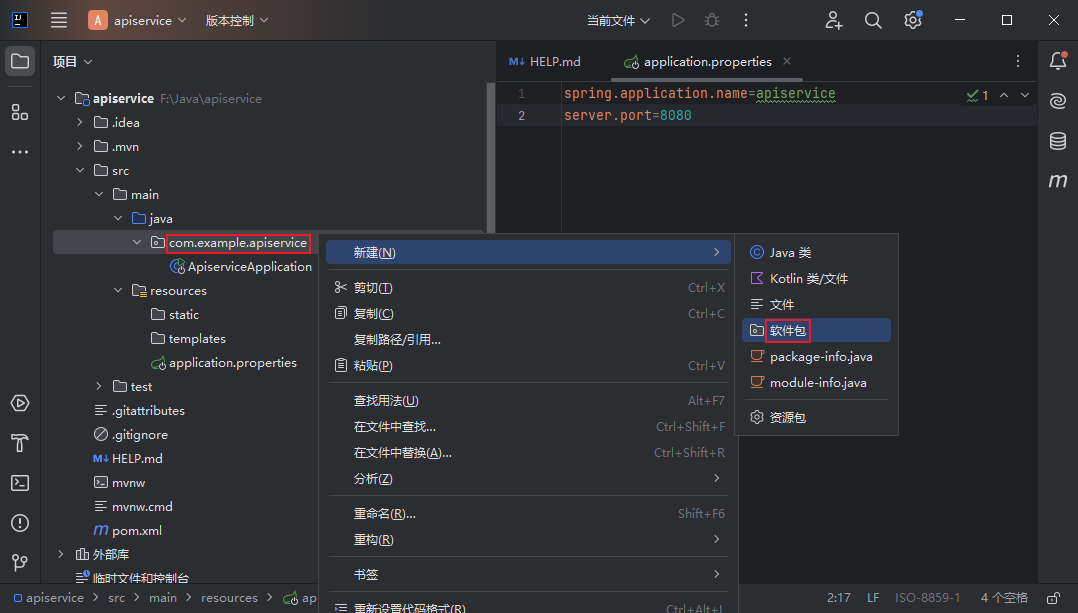
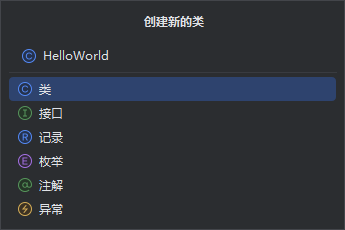
新建一个 Java 类。
设置类名为 HelloWorld 。
编写 HelloWorld 代码如下:
package com.example.apiservice.controller;
import org.springframework.web.bind.annotation.RequestMapping;
import org.springframework.web.bind.annotation.RestController;
@RestController
@RequestMapping("/demo")
public class HelloWorld {@RequestMapping("/hello")public String hello() {return "Hello World!";}
}
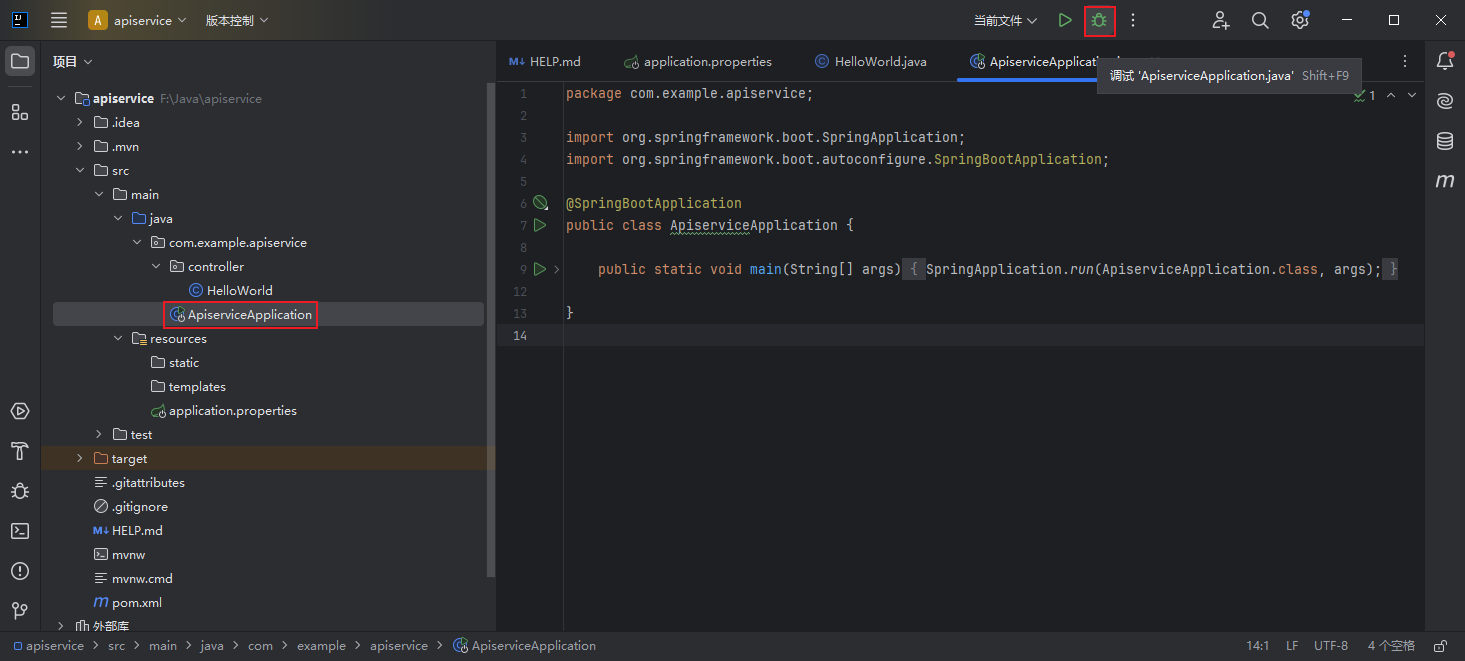
测试运行,需要运行主类 ApiServiceApplication 。
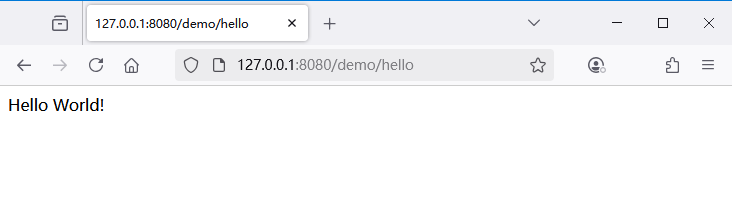
浏览器访问 http://127.0.0.1:8080/demo/hello 进行验证。
创建单元测试
搭建后续用于单元测试流水线的模块。
在 HelloWorld 类右侧代码中右键单击 ——> 生成。

勾选对应的函数成员。
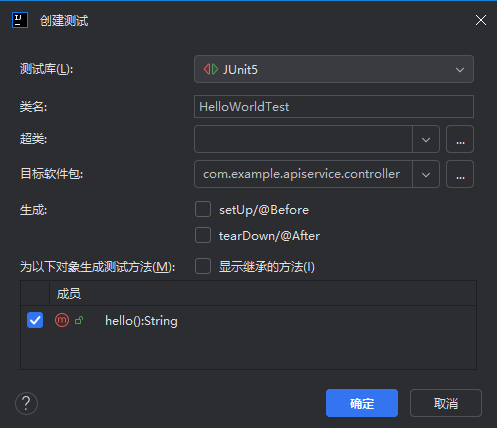
确认创建完成。

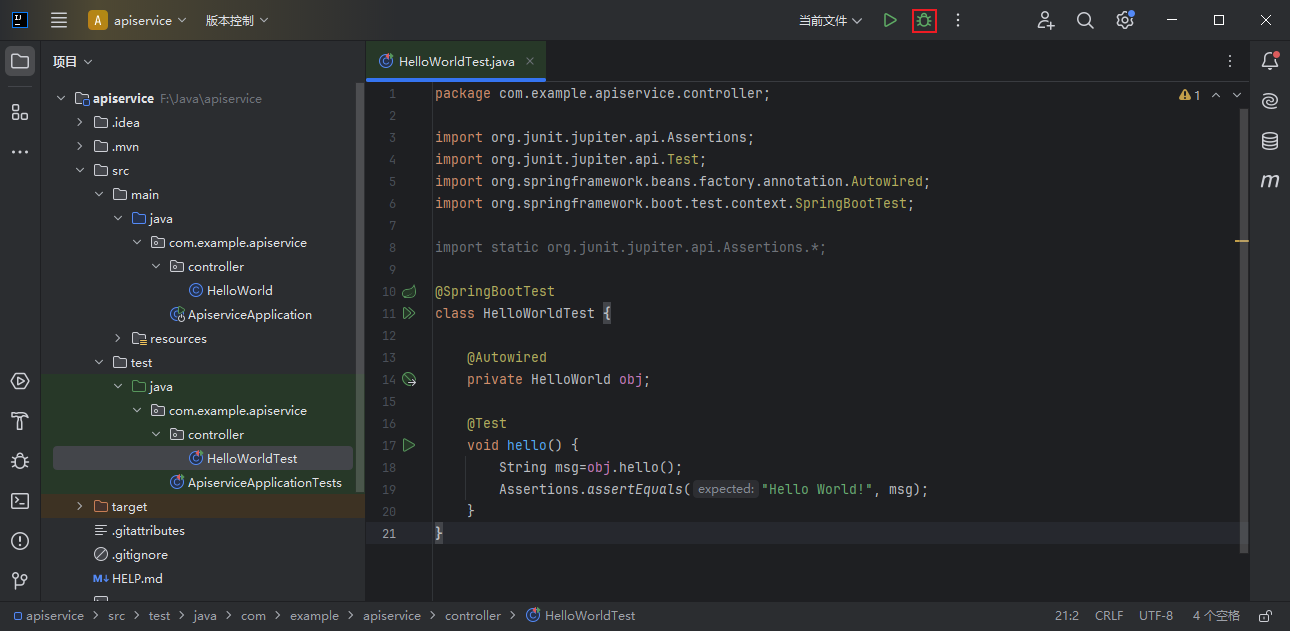
编写 HelloWorldTest 代码:
package com.example.apiservice.controller;import org.junit.jupiter.api.Assertions;
import org.junit.jupiter.api.Test;
import org.springframework.beans.factory.annotation.Autowired;
import org.springframework.boot.test.context.SpringBootTest;import static org.junit.jupiter.api.Assertions.*;@SpringBootTest
class HelloWorldTest {@Autowiredprivate HelloWorld obj;@Testvoid hello() {String msg=obj.hello();Assertions.assertEquals("Hello World!", msg);}
}
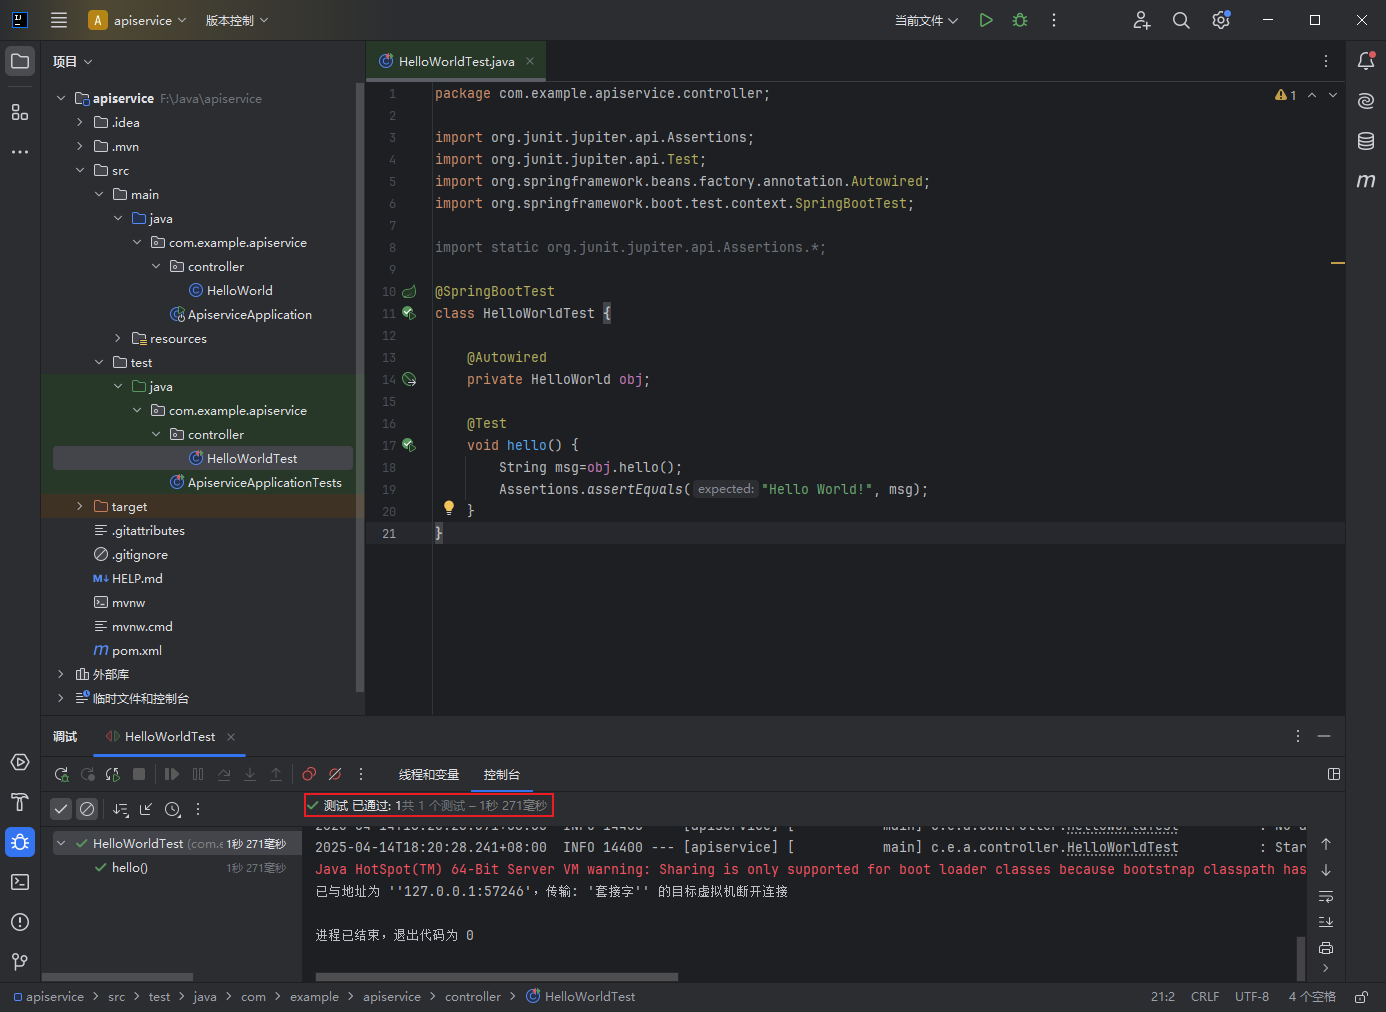
运行测试:
观察测试结果,测试已通过。
准备VUE项目
基于VUE创建前端项目
安装node.js
下载 node.js ,node.js Windows客户端 ,安装过程略。
创建vue项目
安装 node.js 后,进行 Windows 的 PowerShell ,然后运行如下命令安装 vue/cli 。
Microsoft Windows [版本 10.0.19045.5737]
(c) Microsoft Corporation。保留所有权利。C:\Windows\system32>
C:\Windows\system32>
C:\Windows\system32>npm install -g @vue/cli
……
npm notice
npm notice New major version of npm available! 10.9.2 -> 11.3.0
npm notice Changelog: https://github.com/npm/cli/releases/tag/v11.3.0
npm notice To update run: npm install -g npm@11.3.0
npm notice
安装 vue/cli 后创建 vue 项目,选择 vue 3 。
C:\Windows\system32>E:E:\>vue create webuiVue CLI v5.0.8
? Please pick a preset: Default ([Vue 3] babel, eslint)Vue CLI v5.0.8
✨  Creating project in E:\webui.
🗃  Initializing git repository...
⚙️  Installing CLI plugins. This might take a while...added 830 packages in 48s105 packages are looking for fundingrun `npm fund` for details
🚀  Invoking generators...
📦  Installing additional dependencies...added 88 packages in 10s117 packages are looking for fundingrun `npm fund` for details
⚓  Running completion hooks...📄  Generating README.md...🎉  Successfully created project webui.
👉  Get started with the following commands:$ cd webui$ npm run serveWARN  Skipped git commit due to missing username and email in git config, or failed to sign commit.You will need to perform the initial commit yourself.
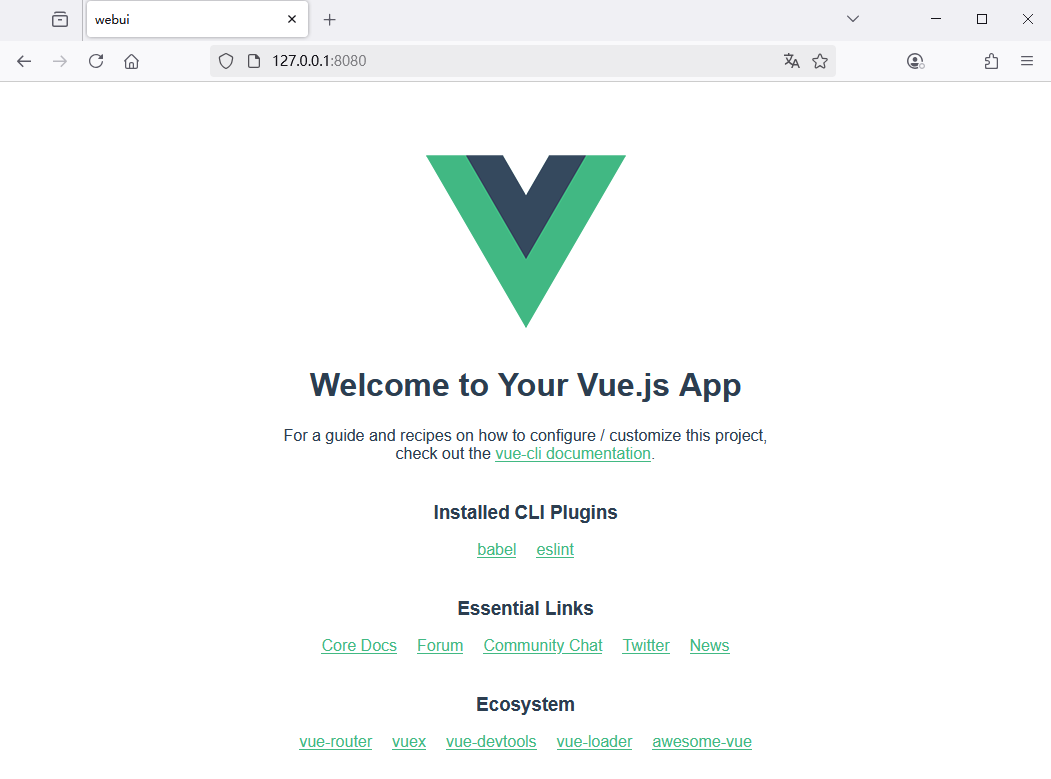
运行 vue 项目,创建 vue 项目后,开始运行:
E:\>cd webuiE:\webui>npm run serve> webui@0.1.0 serve
> vue-cli-service serveINFO  Starting development server...DONE  Compiled successfully in 13310ms                                                                         01:41:06App running at:- Local:   http://localhost:8080/- Network: http://192.168.0.26:8080/Note that the development build is not optimized.To create a production build, run npm run build.
关闭 spring boot 运行的后端应用,然后浏览器访问 http://127.0.0.1:8080 进行确认验证,默认情况下前后端端口都为 8080 。
总结:后端采用 spring boot 创建了一个 apiserver 应用,前端采用 vue 创建了一个 webui 应用。
准备pytest项目
基于pytest项目
pytest 自动化测试框架是一个开源且基于 Python 语言的自动化测试框架,其定位是"全栈测试工具链平台",覆盖单元测试、集成测试、端到端测试等多种场景。
Pytest测试框架具有简单、灵活、易于扩展等特点,被广泛应用于Python项目的测试工作中。
Pytest主要特点:
简单易用:Pytest测试框架的API简单易用,可以快速编写测试用例。
灵活多样:Pytest测试框架支持多种测试方式,包括函数式测试、类式测试、参数化测试、fixture测试等。
插件机制:Pytest测试框架支持插件机制,可以通过插件扩展测试框架的功能。
断言机制:Pytest测试框架支持多种断言方式,包括assert语句、assert关键字、assert表达式等。
报告机制:Pytest测试框架支持生成多种测试报告,包括控制台报告、HTML报告、JUnit报告等。
创建自动化测试实例
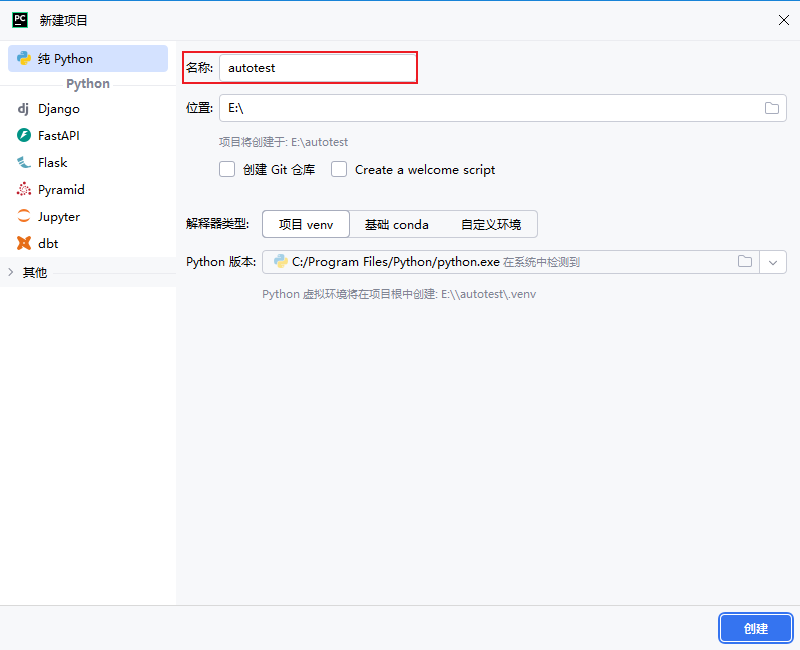
使用 PyCharm 创建一个 autotest 项目。
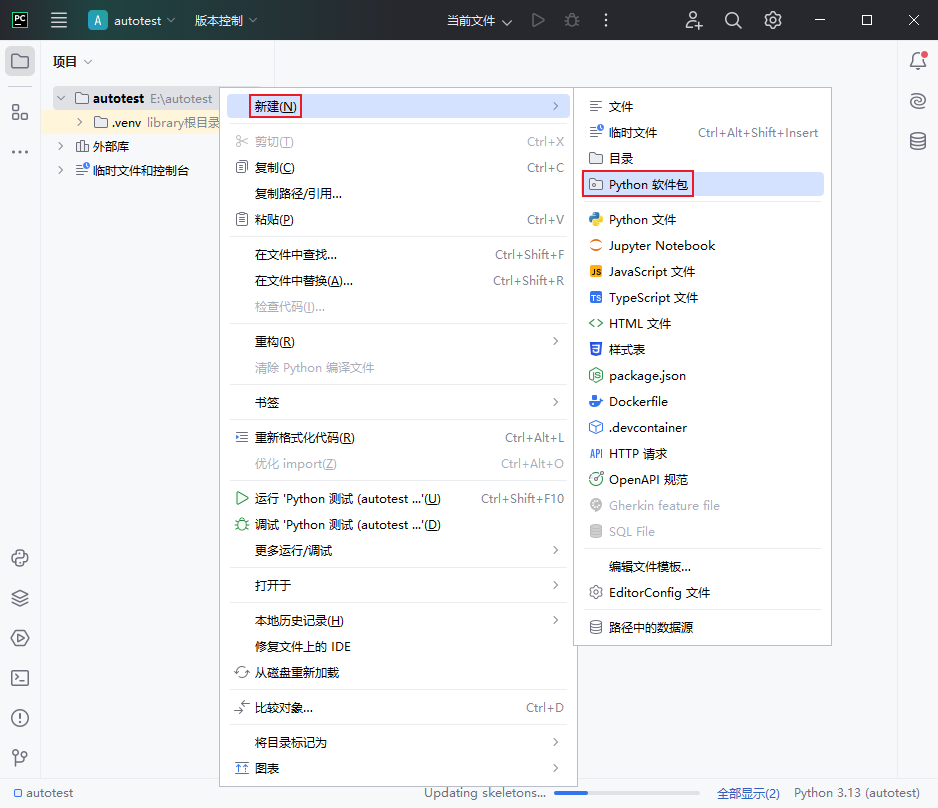
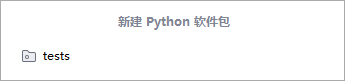
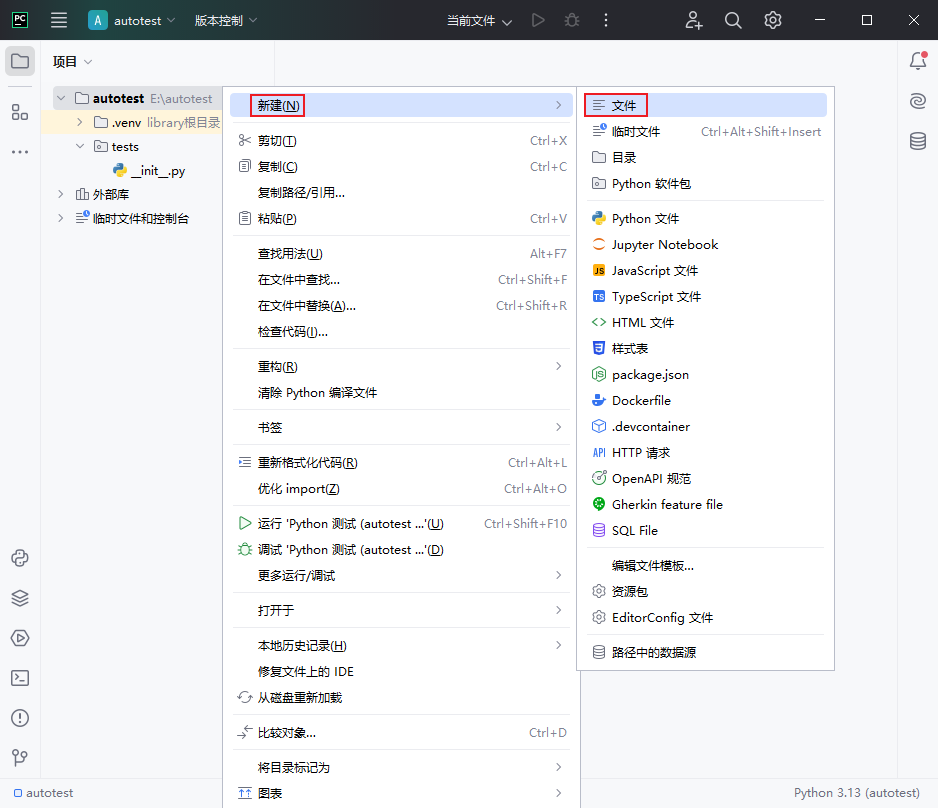
新建 tests 软件包。
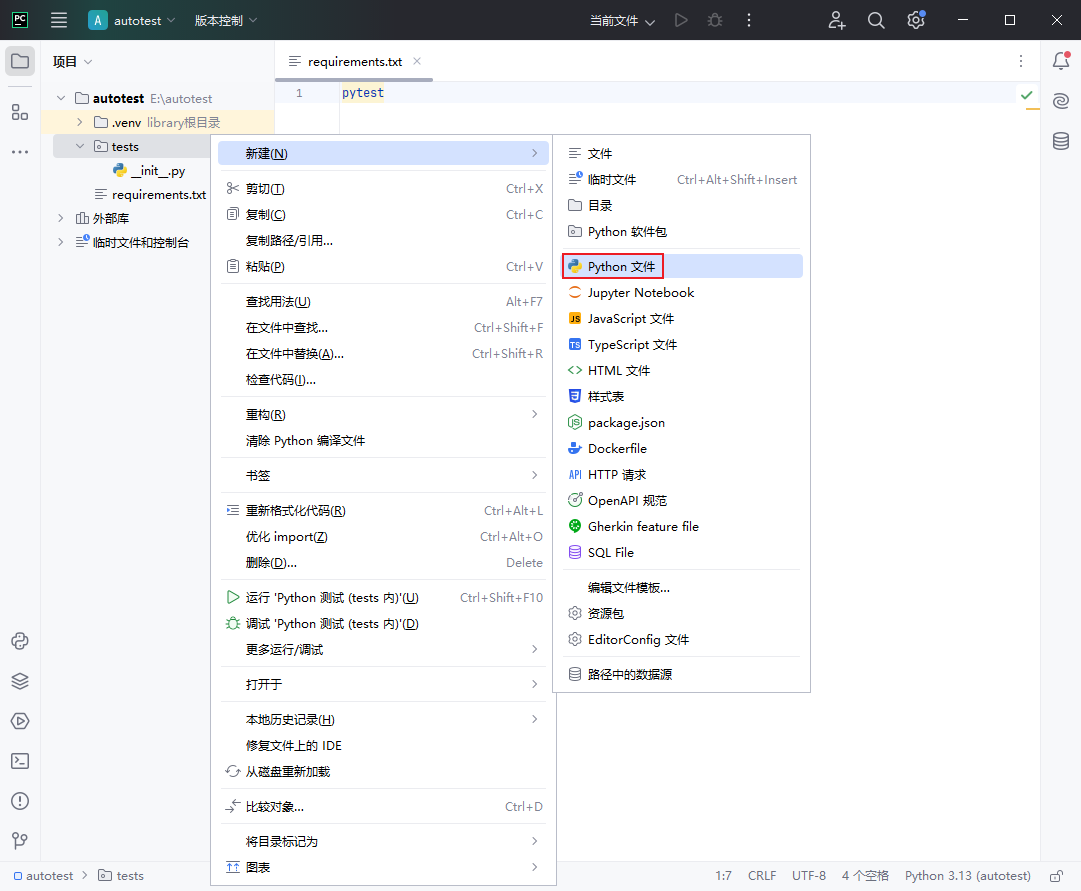
新建 requirements.txt 文件。

requirements.txt 文件内容为 pytest ,即依赖为 pytest :
pytest
powershell 中安装此依赖:
C:\Windows\system32>E:
E:\>cd autotestE:\autotest>pip install -r requirements.txt
创建一个测试脚本
在 tests 软件包下创建一个测试脚本,测试文件需要以 test_ 开头,函数也需要以 test_ 开头。
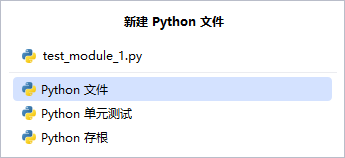
新建 python 文件。
创建 test_module_1.py 。
def test_demo_1 ():assert 1 == 1def test_demo_2 ():assert 2 == 2
运行测试脚本
Windows powershell 里运行测试脚本。
E:\autotest>pytest -s tests
================================================= test session starts =================================================
platform win32 -- Python 3.13.3, pytest-8.3.5, pluggy-1.5.0
rootdir: E:\autotest
collected 2 itemstests\test_module_1.py .F====================================================== FAILURES =======================================================
_____________________________________________________ test_demo_2 _____________________________________________________def test_demo_2 ():
>       assert 1 == 2
E       assert 1 == 2tests\test_module_1.py:5: AssertionError
=============================================== short test summary info ===============================================
FAILED tests/test_module_1.py::test_demo_2 - assert 1 == 2
============================================= 1 failed, 1 passed in 0.07s =============================================
如上所示,一个运行成功,一个运行失败。
总结:后端采用 spring boot 创建了一个 apiserver 应用,前端采用 vue 创建了一个 webui 应用,一个 tests 自动化测试项目。
devops流水线
devops流水线设计
devops 流水线都是基于项目、场景、规模等不同的需求进行设计。
基于当前已准备的前端、后端、测试分别设计流水线。
后端项目流水线
针对后端 java 项目,主要思路如下:
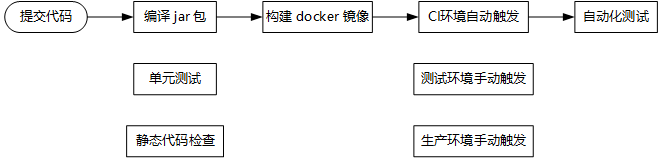
- 当研发人员提交代码后,进入编译阶段,该阶段实现将 java 代码编译 jar 包;
- 如果团队已经在做单元测试了,侧编译阶段同时进行单元测试;
- 编译阶段完成后,进入下一个构建阶段,构建阶段,根据 jar 包构建 docker 容器镜像,并将容器镜像发布到 dockerhub 上;
- 构建阶段完成后,进入下一个部署阶段。该阶段需要准备三套环境,即 CI 持续集成环境、测试环境和生成环境。CI 持续集成环境为自动化部署,测试环境和生产环境需要手动触发部署;
- 在 CI 持续集成环境部署完成后,需要对 CI 持续集成环境执行自动化测试;
- 待自动化测试通过后,需要通过单击触发的方式部署到测试环境,然后进入测试团队的测试;
- 待测试环境测试安畅后,在流水线中通过单击触发部署到生产环境。
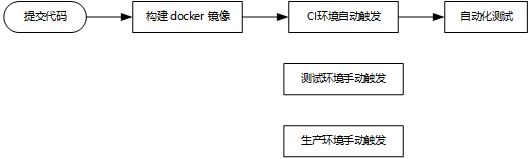
前端项目流水线
对于前端 vue 项目,通常都不需要做过多的代码规范、单元测试等操作。
- 提交代码后,构建 docker 容器镜像,并将容器镜像发布到 dockerhub 上;
- 构建阶段完成后,进入下一个部署阶段。该阶段需要准备三套环境,即 CI 持续集成环境、测试环境和生成环境。CI 持续集成环境为自动化部署,测试环境和生产环境需要手动触发部署;
- 在 CI 持续集成环境部署完成后,需要对 CI 持续集成环境执行自动化测试;
- 待自动化测试通过后,需要通过单击触发的方式部署到测试环境,然后进入测试团队的测试;
- 待测试环境测试安畅后,在流水线中通过单击触发部署到生产环境。
自动化测试流水线
自动化测试流水线相对最简单,只需要提交后自动触发自动化脚本即可
- 提交代码后,执行自动化测试;
- 自动化测试完成后,触发发布镜像。
