Pytorch实用教程(一):torch.compile计算提速
开源仓库:TingsongYu/PyTorch-Tutorial-2nd: 《Pytorch实用教程》(第二版)无论是零基础入门,还是CV、NLP、LLM项目应用,或是进阶工程化部署落地,在这里都有。相信在本书的帮助下,读者将能够轻松掌握 PyTorch 的使用,成为一名优秀的深度学习工程师。 (github.com)![]() https://github.com/TingsongYu/PyTorch-Tutorial-2nd
https://github.com/TingsongYu/PyTorch-Tutorial-2nd
在线阅读:简介 · PyTorch实用教程(第二版) (tingsongyu.github.io)![]() https://tingsongyu.github.io/PyTorch-Tutorial-2nd/
https://tingsongyu.github.io/PyTorch-Tutorial-2nd/
chapter-1
1. torch.compile 的基本原理
torch.compile 的工作原理可以概括为以下几个关键步骤:
-
图捕获(Graph Capture):
-
将 Python 函数或模块转换为计算图表示
-
通过追踪执行流或 AST 分析构建中间表示(IR)
-
-
图优化(Graph Optimization):
-
算子融合(Operator Fusion):合并多个小操作
-
内存优化:减少中间结果的内存分配
-
自动并行化:识别并行计算机会
-
-
代码生成(Code Generation):
-
生成优化的机器代码(CPU/GPU)
-
针对不同后端(如 CUDA、ROCm)生成特定代码
-
-
缓存机制:
-
缓存编译结果避免重复编译
-
根据输入张量特性自动选择最优实现
-
import time
import torch
import numpy as np
from torchvision import models
mode_list = "default reduce-overhead max-autotune".split()
device = torch.device("cuda" if torch.cuda.is_available() else "cpu")
print(mode_list)
print(device)
2. 主要编译模式
torch.compile 提供多种编译模式,通过 mode 参数指定:
2.1 default 模式
-
平衡编译时间和运行性能
-
进行基本优化但不尝试所有可能优化
-
适合大多数常规场景
2.2 reduce-overhead 模式
-
重点减少Python解释器开销
-
适合小模型或频繁调用的函数
-
编译时间较短
2.3 max-autotune 模式
-
启用所有可能的优化
-
进行彻底的自动调优
-
编译时间最长但运行时性能最佳
-
适合计算密集型任务
实验一:sin函数
def sin_func(x):return torch.sin(x) + torch.cos(x)run_times = 100000
i_data = torch.tensor(1).to(device)
for mode in mode_list:torch.cuda.synchronize()time_0 = time.time()module_compiled = torch.compile(sin_func, mode=mode)torch.cuda.synchronize()time_1 = time.time()# warmupsin_func(i_data)module_compiled(i_data)torch.cuda.synchronize()time_2 = time.time()for i in range(run_times):sin_func(i_data)torch.cuda.synchronize()time_3 = time.time()for i in range(run_times):module_compiled(i_data)torch.cuda.synchronize()time_4 = time.time()compile_time = time_1 - time_0pre_time = time_3 - time_2post_time = time_4 - time_3speedup_ratio = (pre_time - post_time)/pre_timeprint(f"mode: {mode}, 编译耗时:{compile_time:.2f},编译前运行耗时:{pre_time:.2f}, 编译后运行耗时:{post_time:.2f},速度提升比例:{speedup_ratio:.2%}") 
实验二:resnet18
resnet18 = models.resnet18().to(device)
print(resnet18)
resnet18.eval()
fake_img = torch.randn(16, 3, 224, 224).to(device)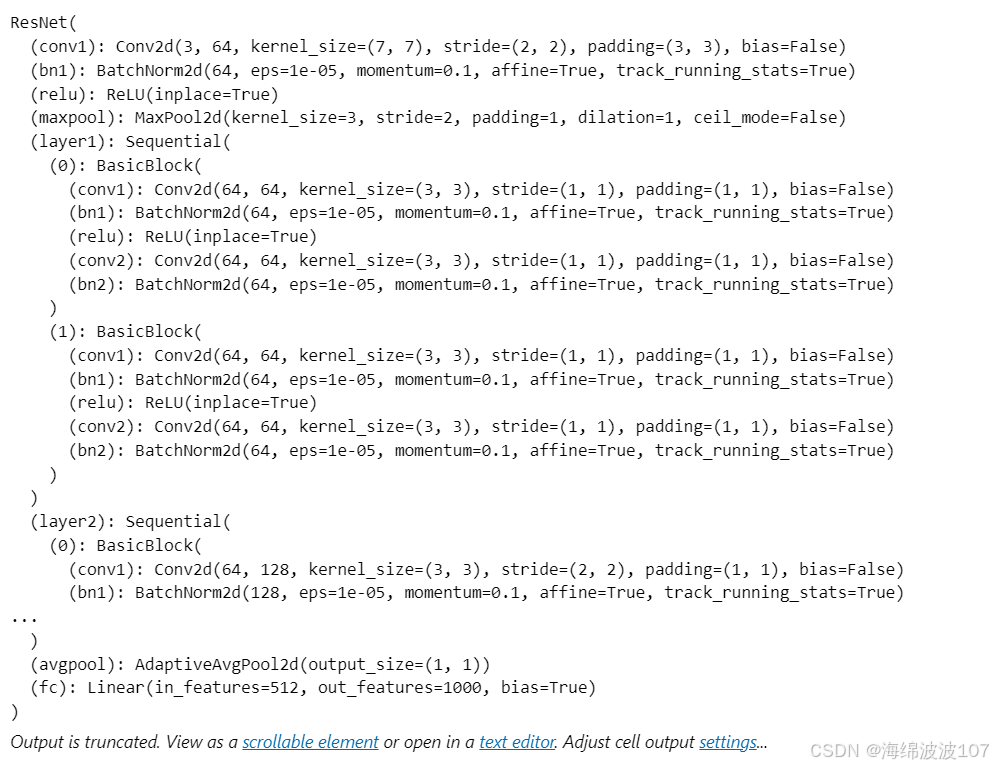

实验三:BERT
from transformers import BertModel, BertTokenizer
import timebert = BertModel.from_pretrained('bert-base-uncased')
tokenizer = BertTokenizer.from_pretrained('bert-base-uncased')
# 准备一批输入数据
input_text = "Here is some text to encode"
inputs = tokenizer(input_text, return_tensors='pt', padding=True, truncation=True)
inputs = {k: v.to(device) for k, v in inputs.items()}
bert.to(device)
bert.eval()run_times = 100
with torch.no_grad():for mode in mode_list:# 编译torch.cuda.synchronize()time_0 = time.time()bert_compiled = torch.compile(bert, mode=mode)torch.cuda.synchronize()time_1 = time.time()# warmup 非常关键!bert(**inputs)bert_compiled(**inputs)torch.cuda.synchronize()time_2= time.time()for _ in range(run_times): _ = bert(**inputs)torch.cuda.synchronize()time_3= time.time()for _ in range(run_times):_ = bert_compiled(**inputs)torch.cuda.synchronize()time_4= time.time()compile_time = time_1 - time_0pre_time = time_3 - time_2post_time = time_4 - time_3speedup_ratio = (pre_time - post_time)/pre_timeprint(f"mode: {mode}, 编译耗时:{compile_time:.2f},编译前运行耗时:{pre_time:.2f}, 编译后运行耗时:{post_time:.2f},速度提升比例:{speedup_ratio:.2%}")
实验四:numpy
run_times = 100def numpy_fn2(X: np.ndarray, Y: np.ndarray) -> np.ndarray:return np.sum(X[:, :, None] * Y[:, None, :], axis=(-2, -1))def numpy_fn(X: np.ndarray, Y: np.ndarray) -> np.ndarray:# Step 1: Normalize the input arrays to have zero mean and unit varianceX_mean, X_std = X.mean(axis=0), X.std(axis=0)Y_mean, Y_std = Y.mean(axis=0), Y.std(axis=0)# Avoid division by zero in case of zero standard deviationX_std[X_std == 0] = 1Y_std[Y_std == 0] = 1X_normalized = (X - X_mean) / X_stdY_normalized = (Y - Y_mean) / Y_std# Step 2: Perform the tensor product followed by sum over last two dimensionsintermediate_result = np.sum(X_normalized[:, :, None] * Y_normalized[:, None, :], axis=(-2, -1))# Step 3: Apply thresholding to clip values outside of [-1, 1]intermediate_result = np.clip(intermediate_result, -1, 1)# Step 4: Apply exponential function for non-linearityresult = np.exp(intermediate_result)# Step 5: Add a small regularization term to avoid overfittingregularization_term = 0.001 * np.sum(X_normalized ** 2 + Y_normalized ** 2, axis=1)result += regularization_termreturn resultx = np.random.randn(1024, 640)
y = np.random.randn(1024, 640)for mode in mode_list:torch.cuda.synchronize()time_0 = time.time()numpy_fn_compiled = torch.compile(numpy_fn, mode=mode)torch.cuda.synchronize()time_1 = time.time()# warmup 非常关键!numpy_fn(x, y)numpy_fn_compiled(x, y)#torch.cuda.synchronize()time_2 = time.time()for i in range(run_times):numpy_fn(x, y)torch.cuda.synchronize()time_3 = time.time()for i in range(run_times):numpy_fn_compiled(x, y)torch.cuda.synchronize()time_4 = time.time()compile_time = time_1 - time_0pre_time = time_3 - time_2post_time = time_4 - time_3speedup_ratio = (pre_time - post_time)/pre_timeprint(f"mode: {mode}, 编译耗时:{compile_time:.2f},编译前运行耗时:{pre_time:.2f}, 编译后运行耗时:{post_time:.2f},速度提升比例:{speedup_ratio:.2%}")
对于numpy计算,提升显著,能够提升90%速度。
