gem5 笔记01 gem5 基本应用流程
1,编译 gem5
1.1 预备环境
ubuntu 22.04
sudo apt install build-essential git m4 scons zlib1g zlib1g-dev \libprotobuf-dev protobuf-compiler libprotoc-dev libgoogle-perftools-dev \python3-dev libboost-all-dev pkg-config python3-tkubuntu 24.04:
sudo apt install build-essential scons python3-dev git pre-commit zlib1g zlib1g-dev \libprotobuf-dev protobuf-compiler libprotoc-dev libgoogle-perftools-dev \libboost-all-dev libhdf5-serial-dev python3-pydot python3-venv python3-tk mypy \m4 libcapstone-dev libpng-dev libelf-dev pkg-config wget cmake doxygen1.2 下载源码编译
下载:
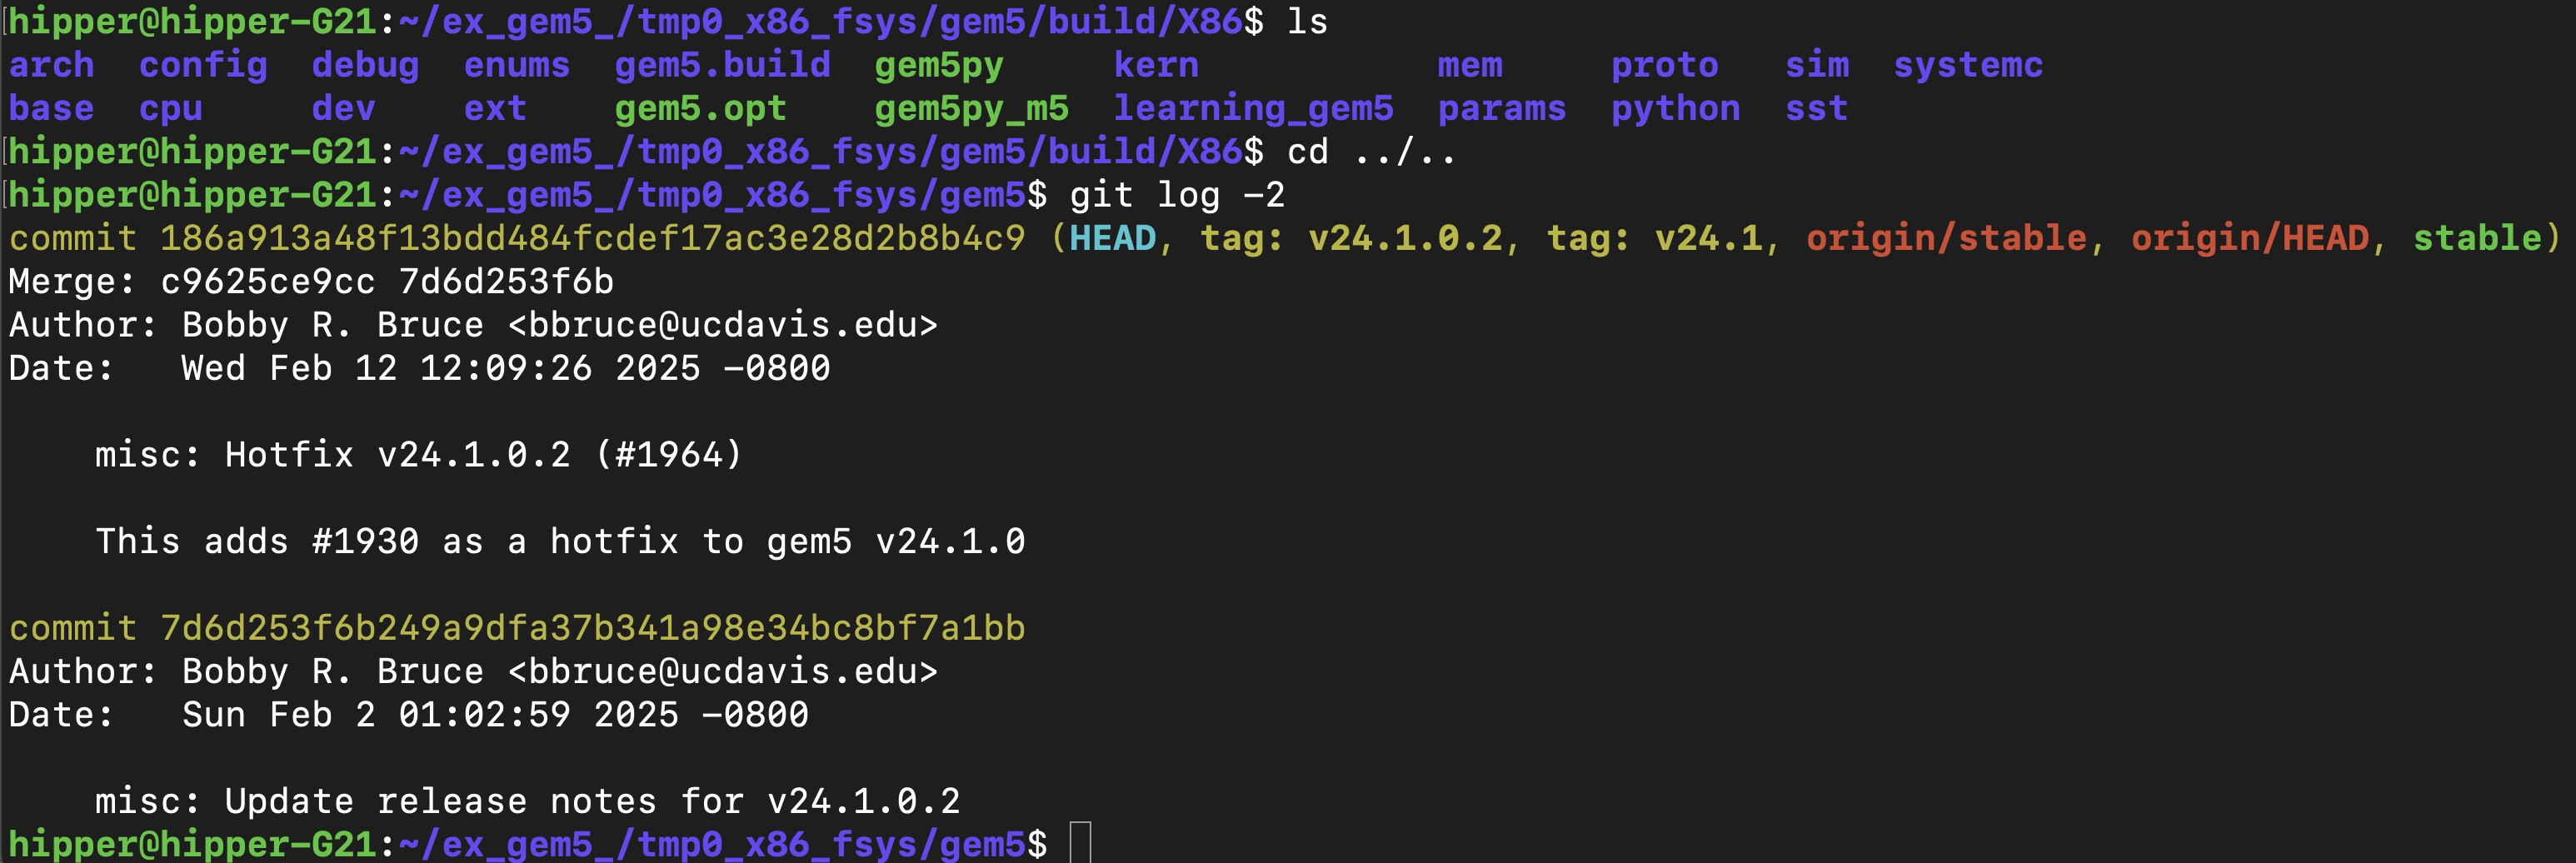
git clone https://github.com/gem5/gem5.git
cd gem5/
编译 gem5:
$ cd ./gem5/
$  scons build/X86/gem5.opt -j 18
编译结束后,会在 gem5/build/X86/ 中发现 gem5.opt 可执行文件。
编译 m5term:
gem5$ cd util/term/
$ make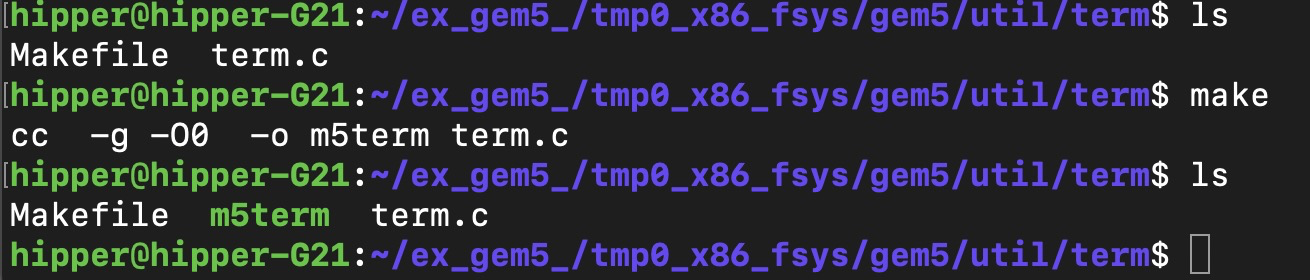
2,运行 gem5
2.1 简单仿真
x86-ubuntu-run.py 这个仿真没有使用kvm,完全是软件仿真,速度很慢,需要大半天,建议睡觉前启动这个实验,或直接做 2.2 节的实验)
启动模拟:
$ cd gem5/
$ ./build/X86/gem5.opt ./configs/example/gem5_library/x86-ubuntu-run.py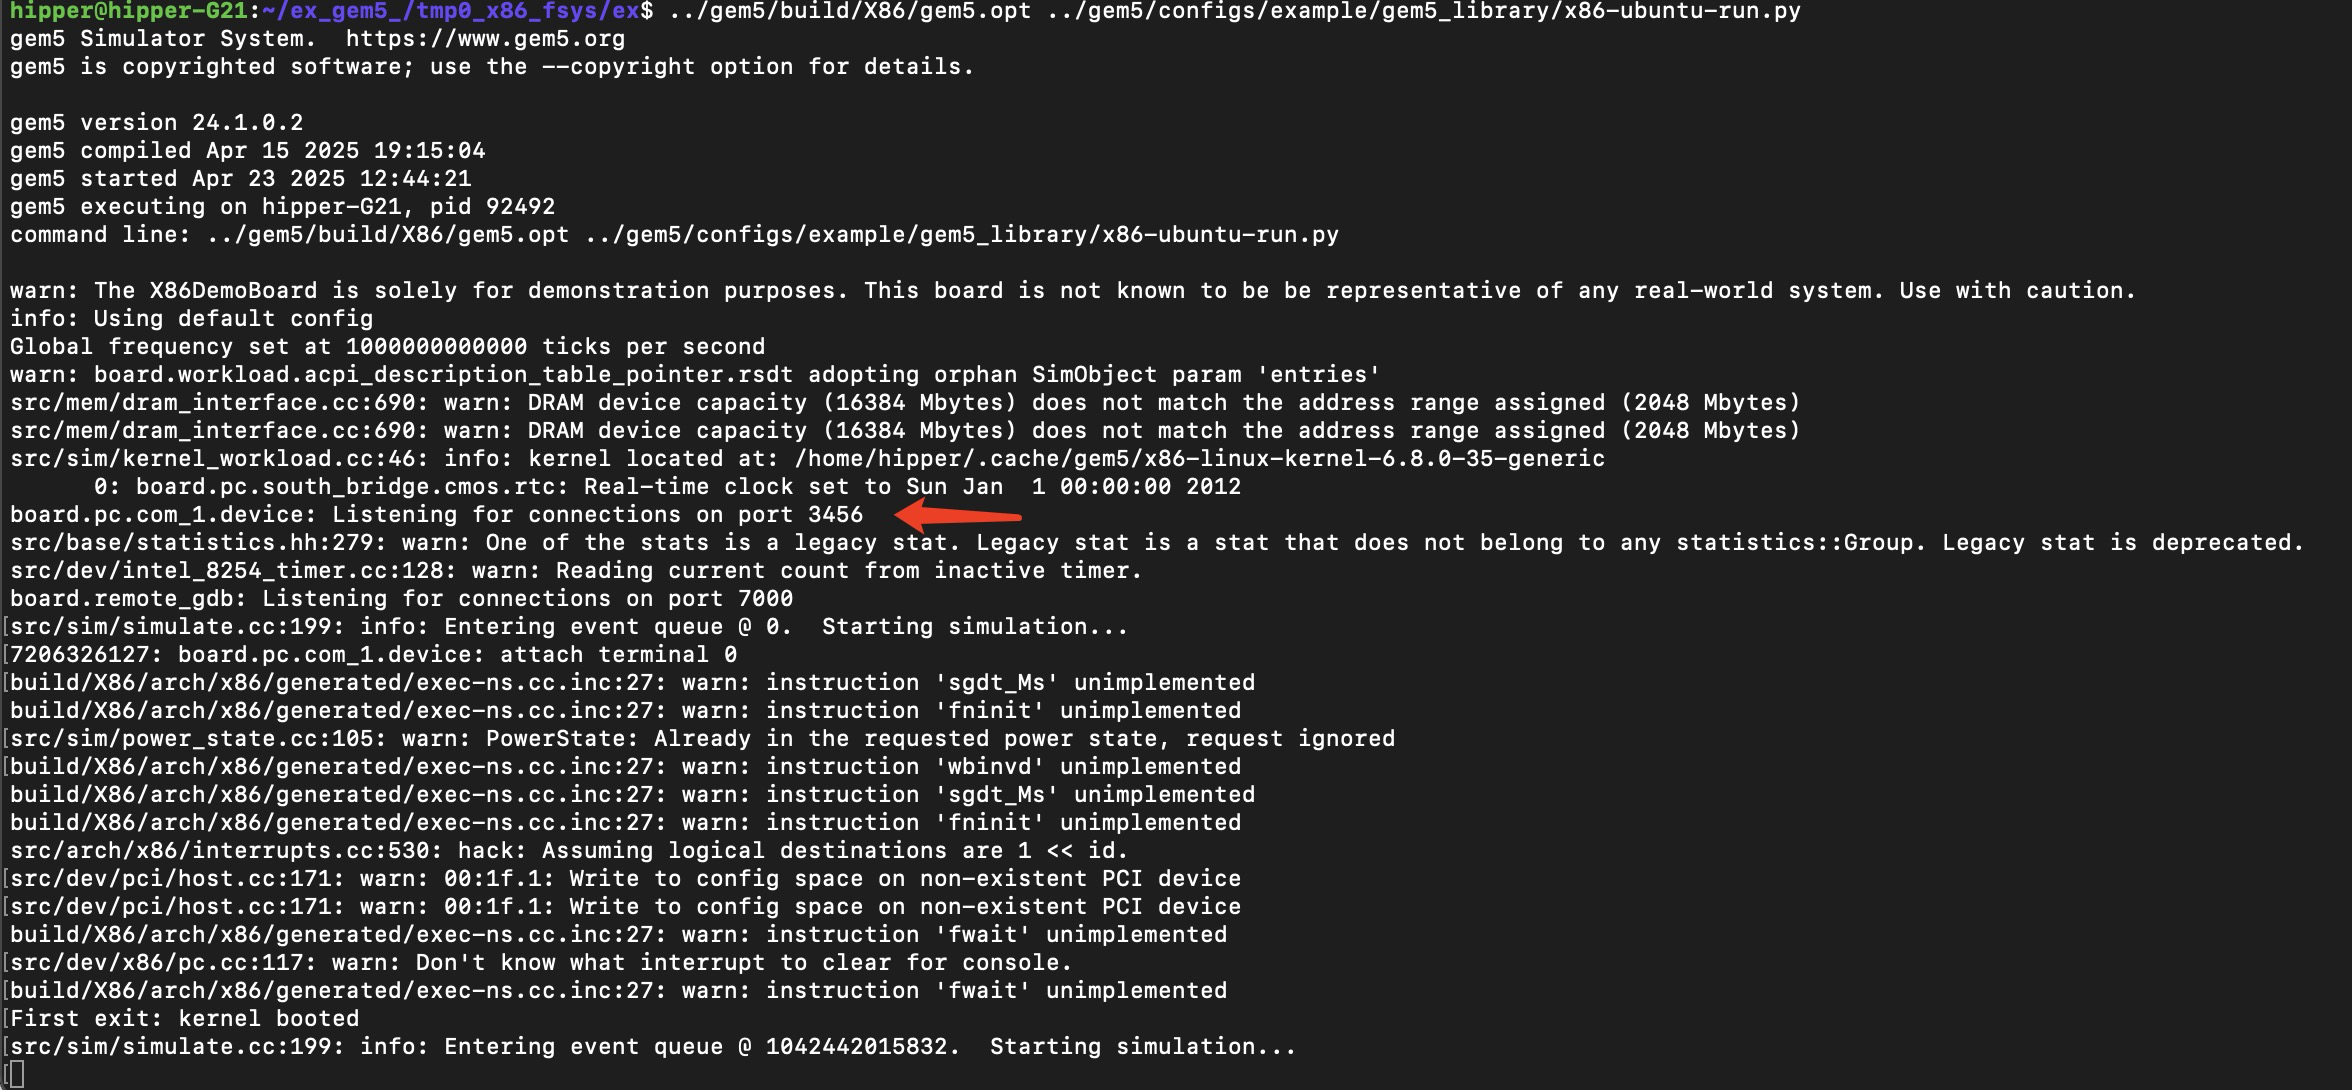
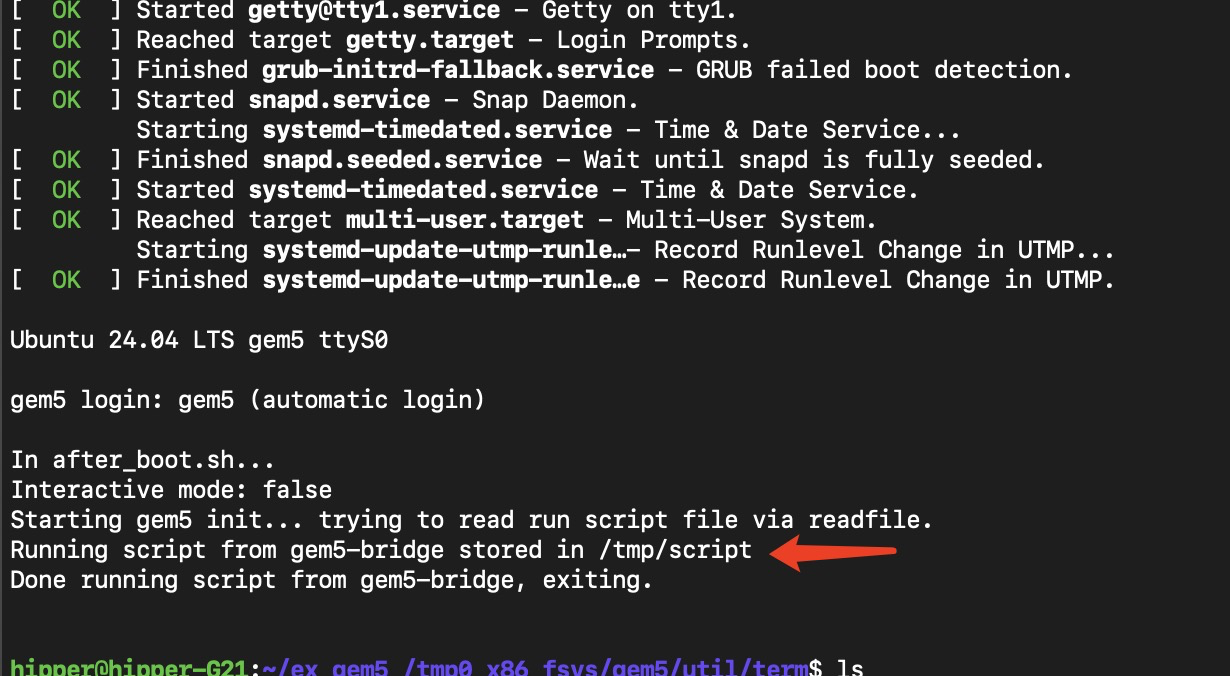
按照提示的端口号,连接终端看输出信息:
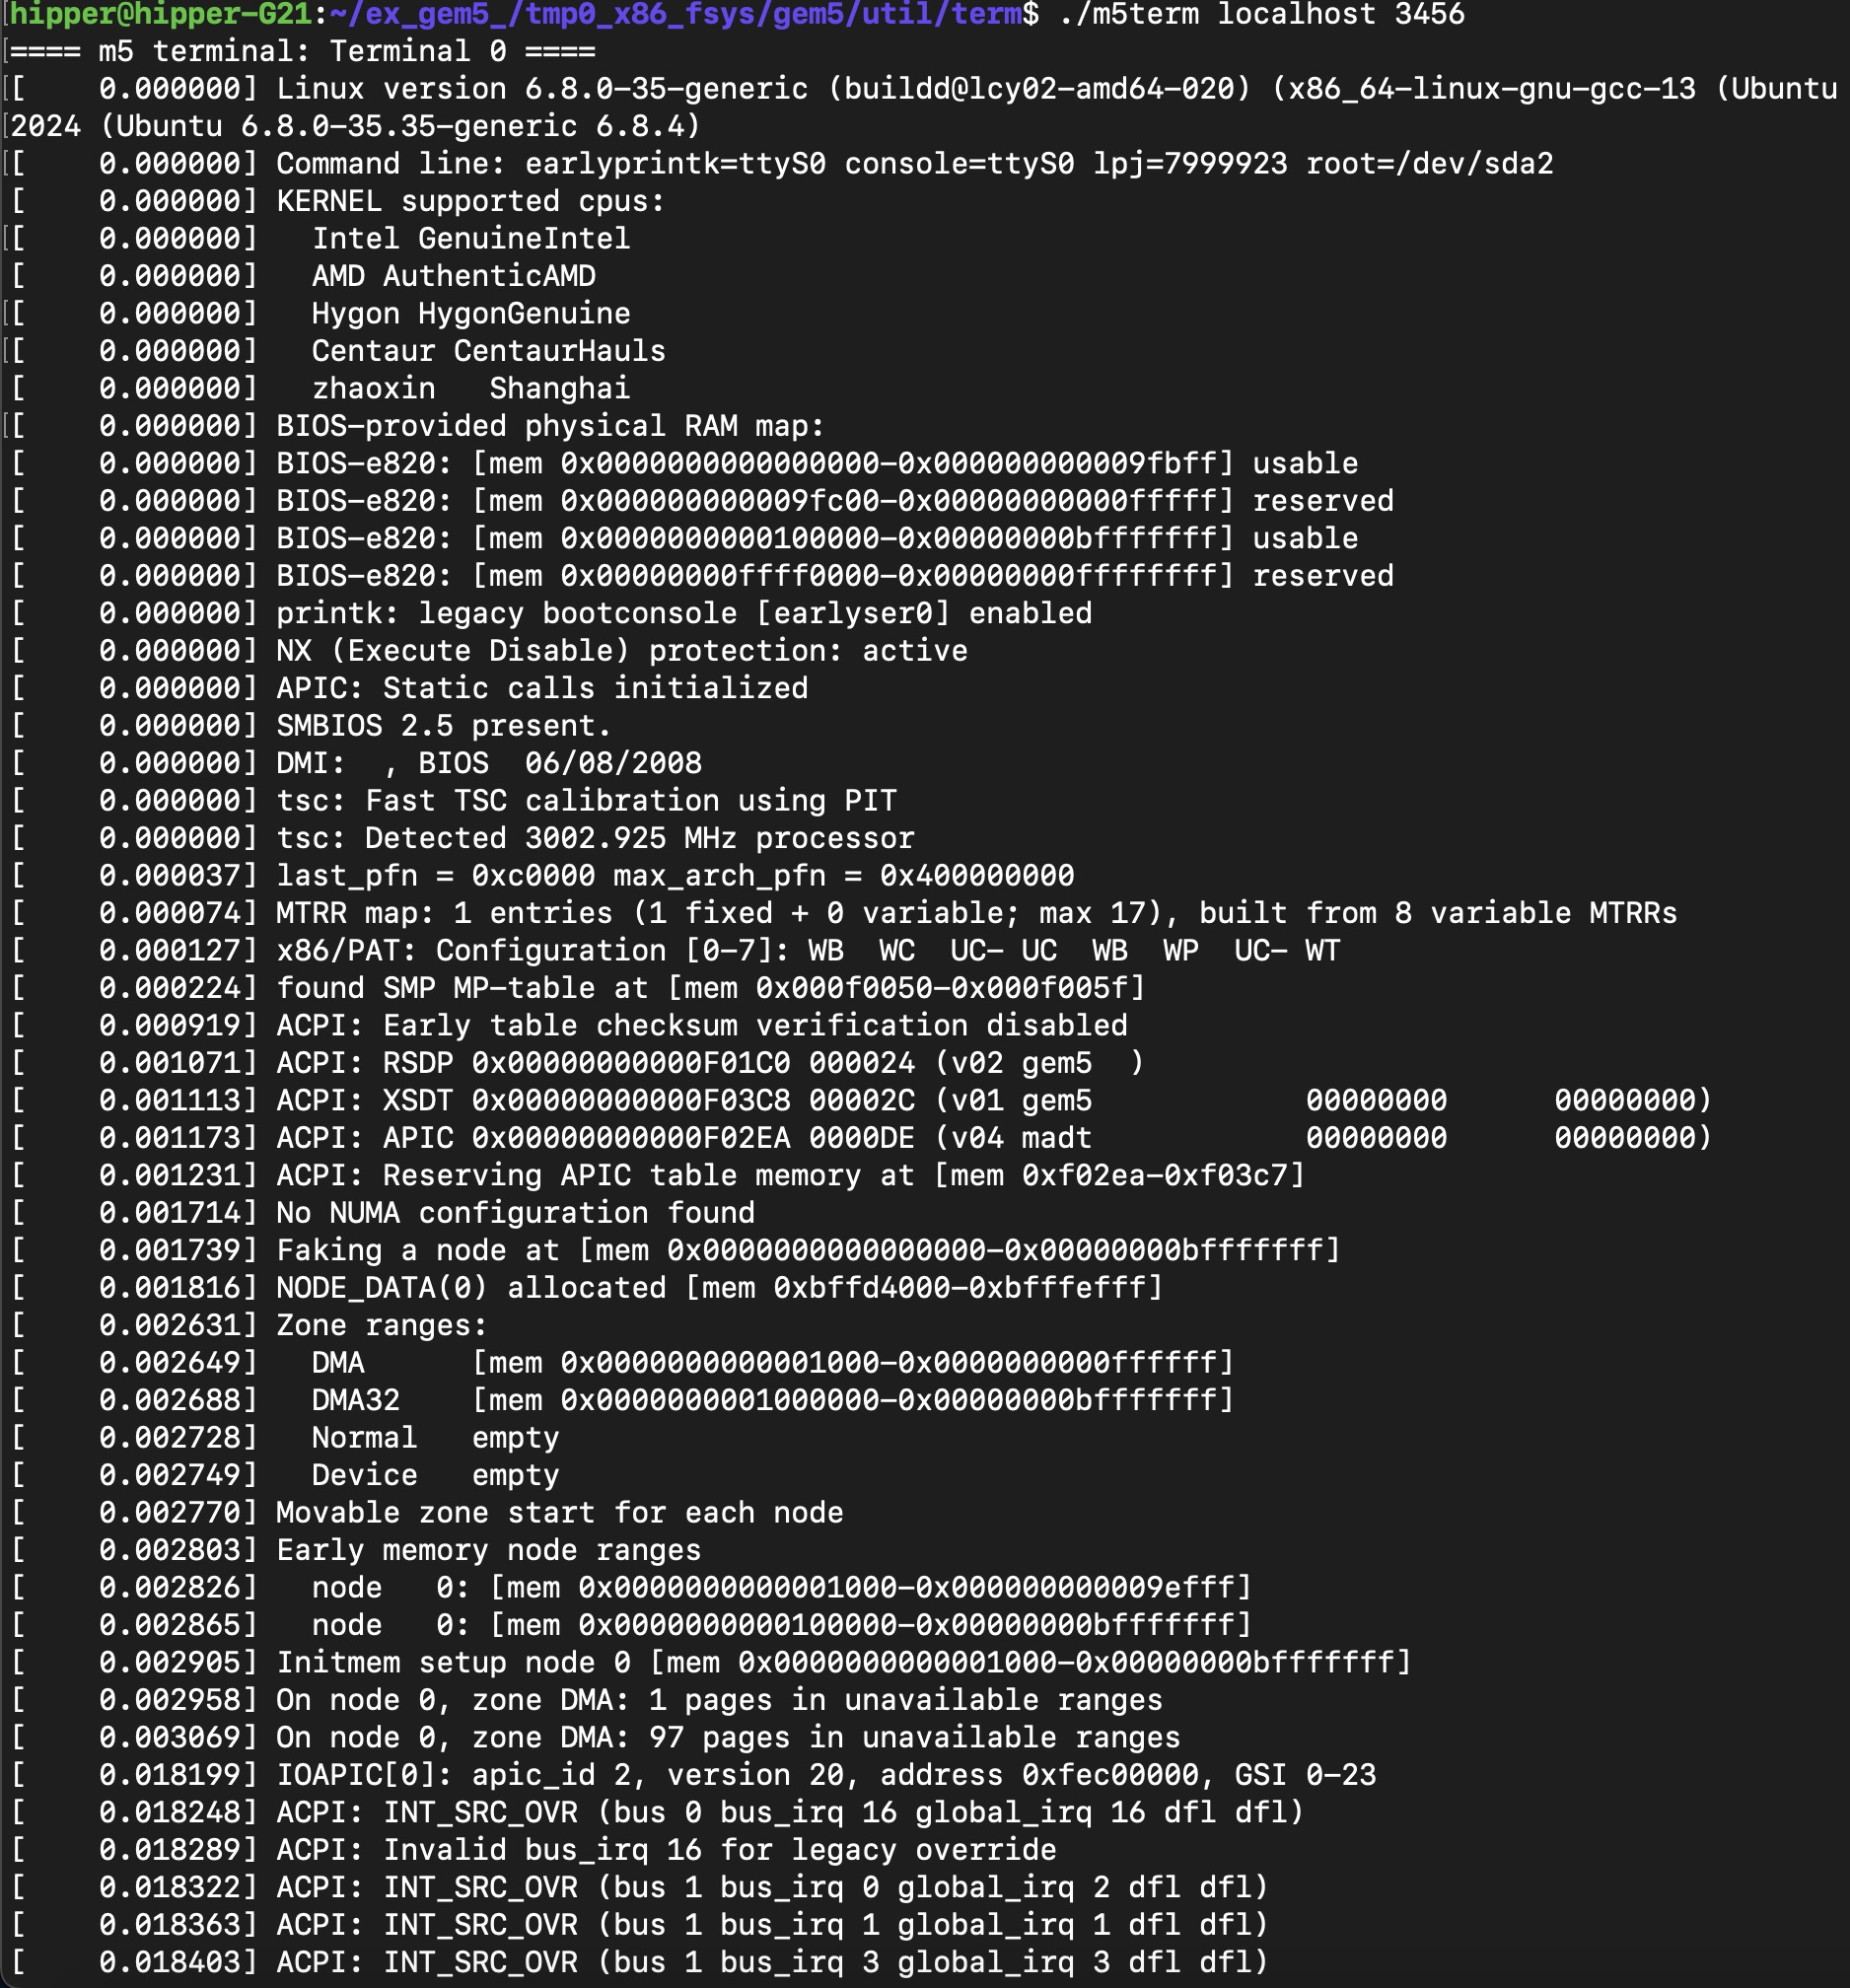
$ cd util/term/
$ ./m5term localhost 3456
终端输出的内容会比较多,
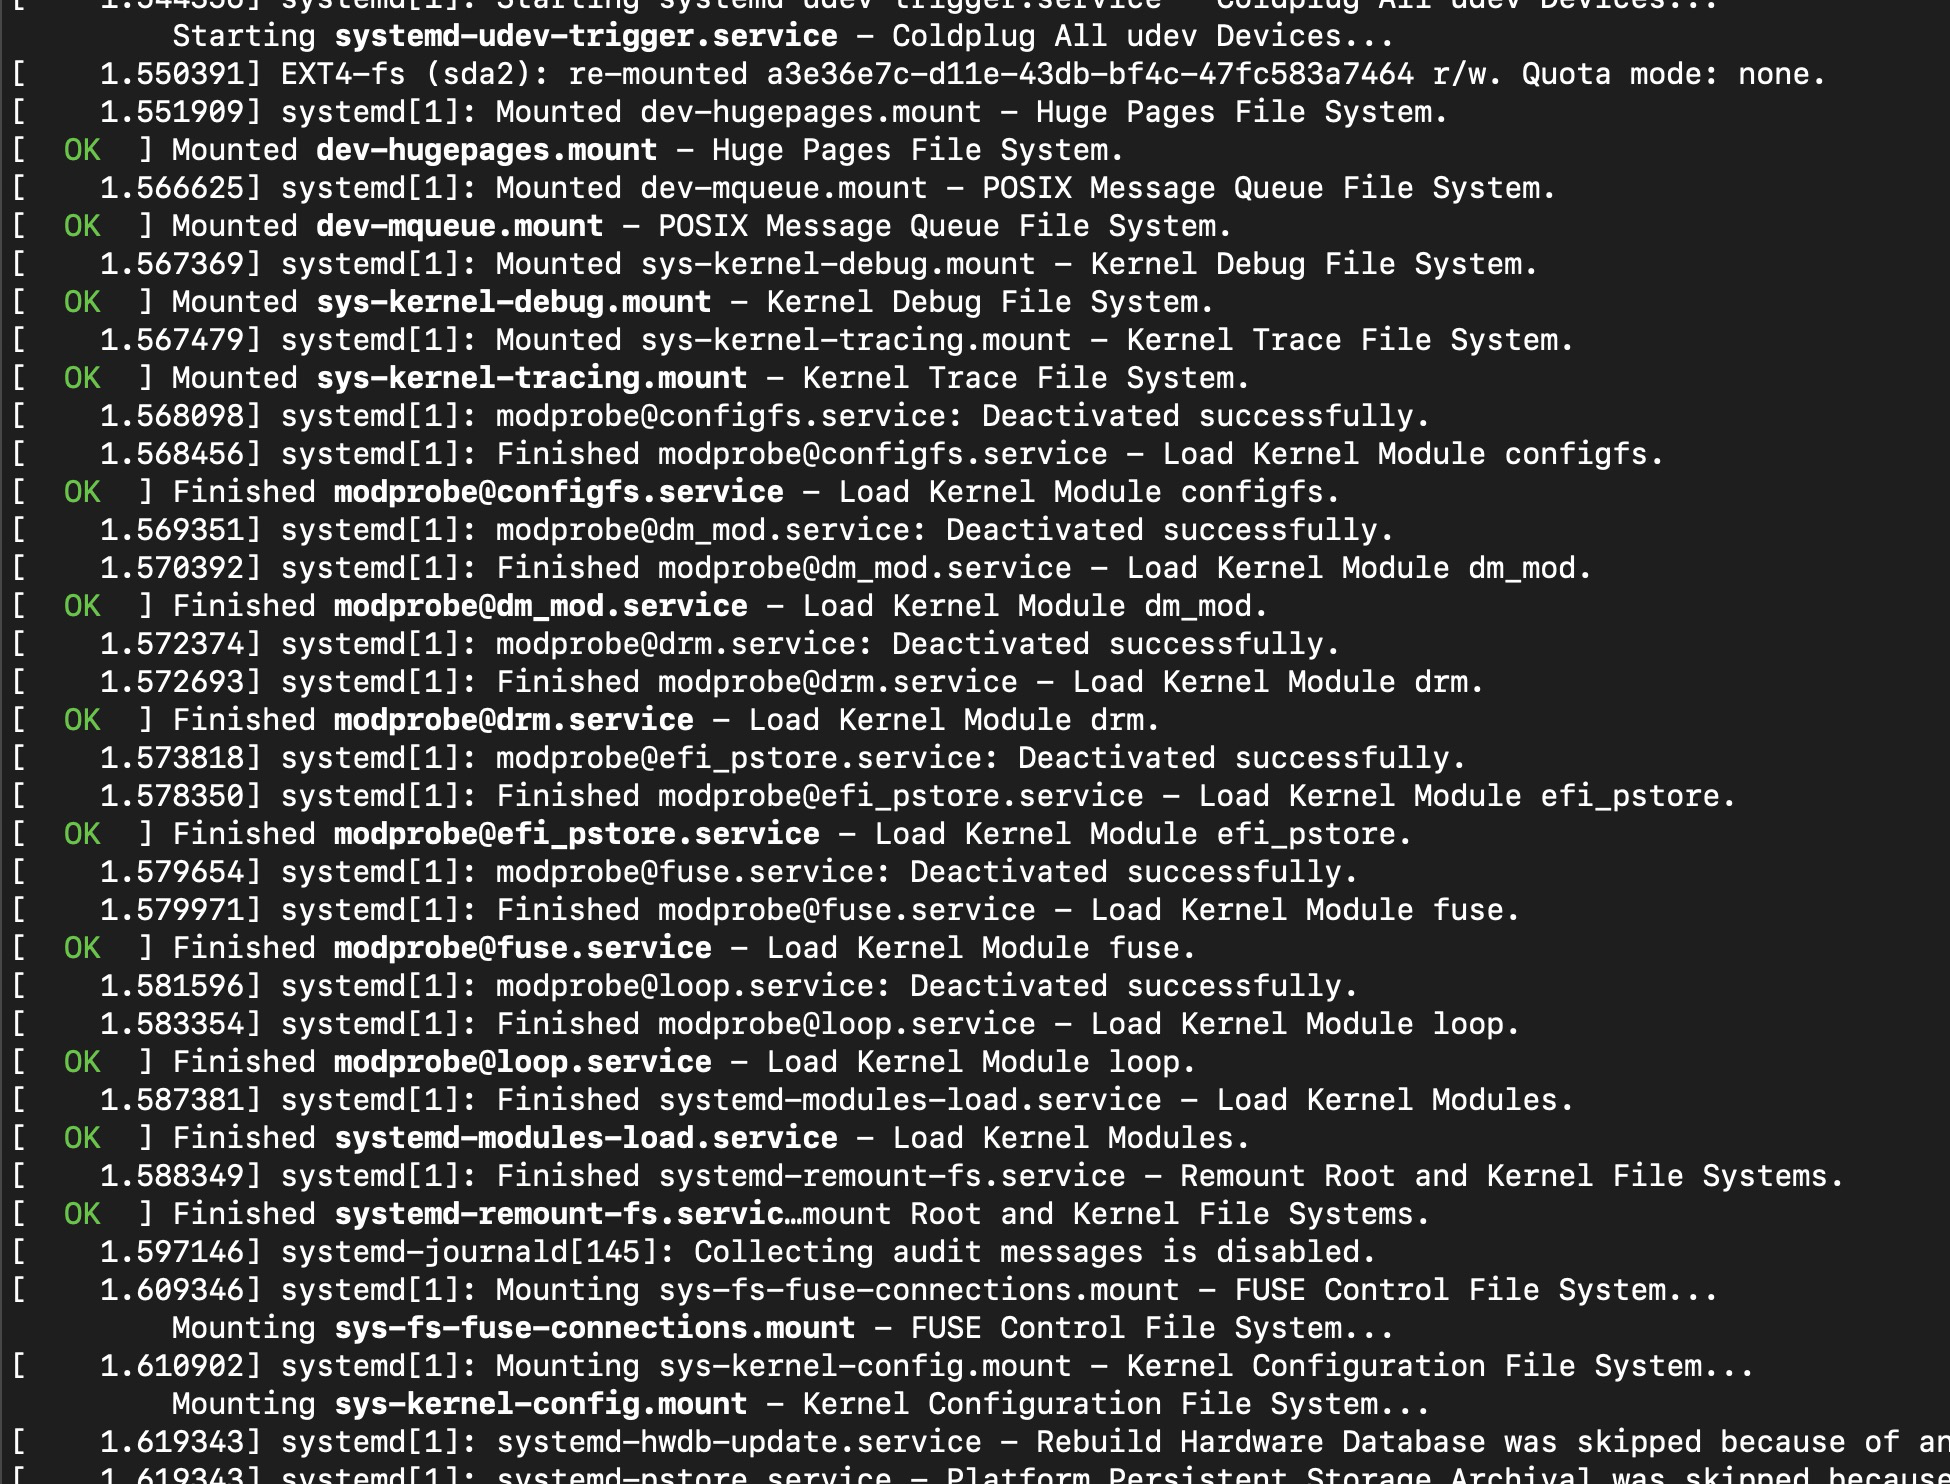
仿真过程中会运行指定的任务,对任务执行过程中的硬件特定动作和属性,3k多个,基于面向对象的思路做了统计,开始部分的截图:
2.2 使用 KVM 加速
确定 CPU 支持 KVM
grep -E -c '(vmx|svm)' /proc/cpuinfo安装依赖软件包
sudo apt-get install qemu-kvm libvirt-daemon-system libvirt-clients bridge-utils将账户用户加入群组
sudo adduser `id -un` libvirt
sudo adduser `id -un` kvm
启动支持 KVM 的模拟:
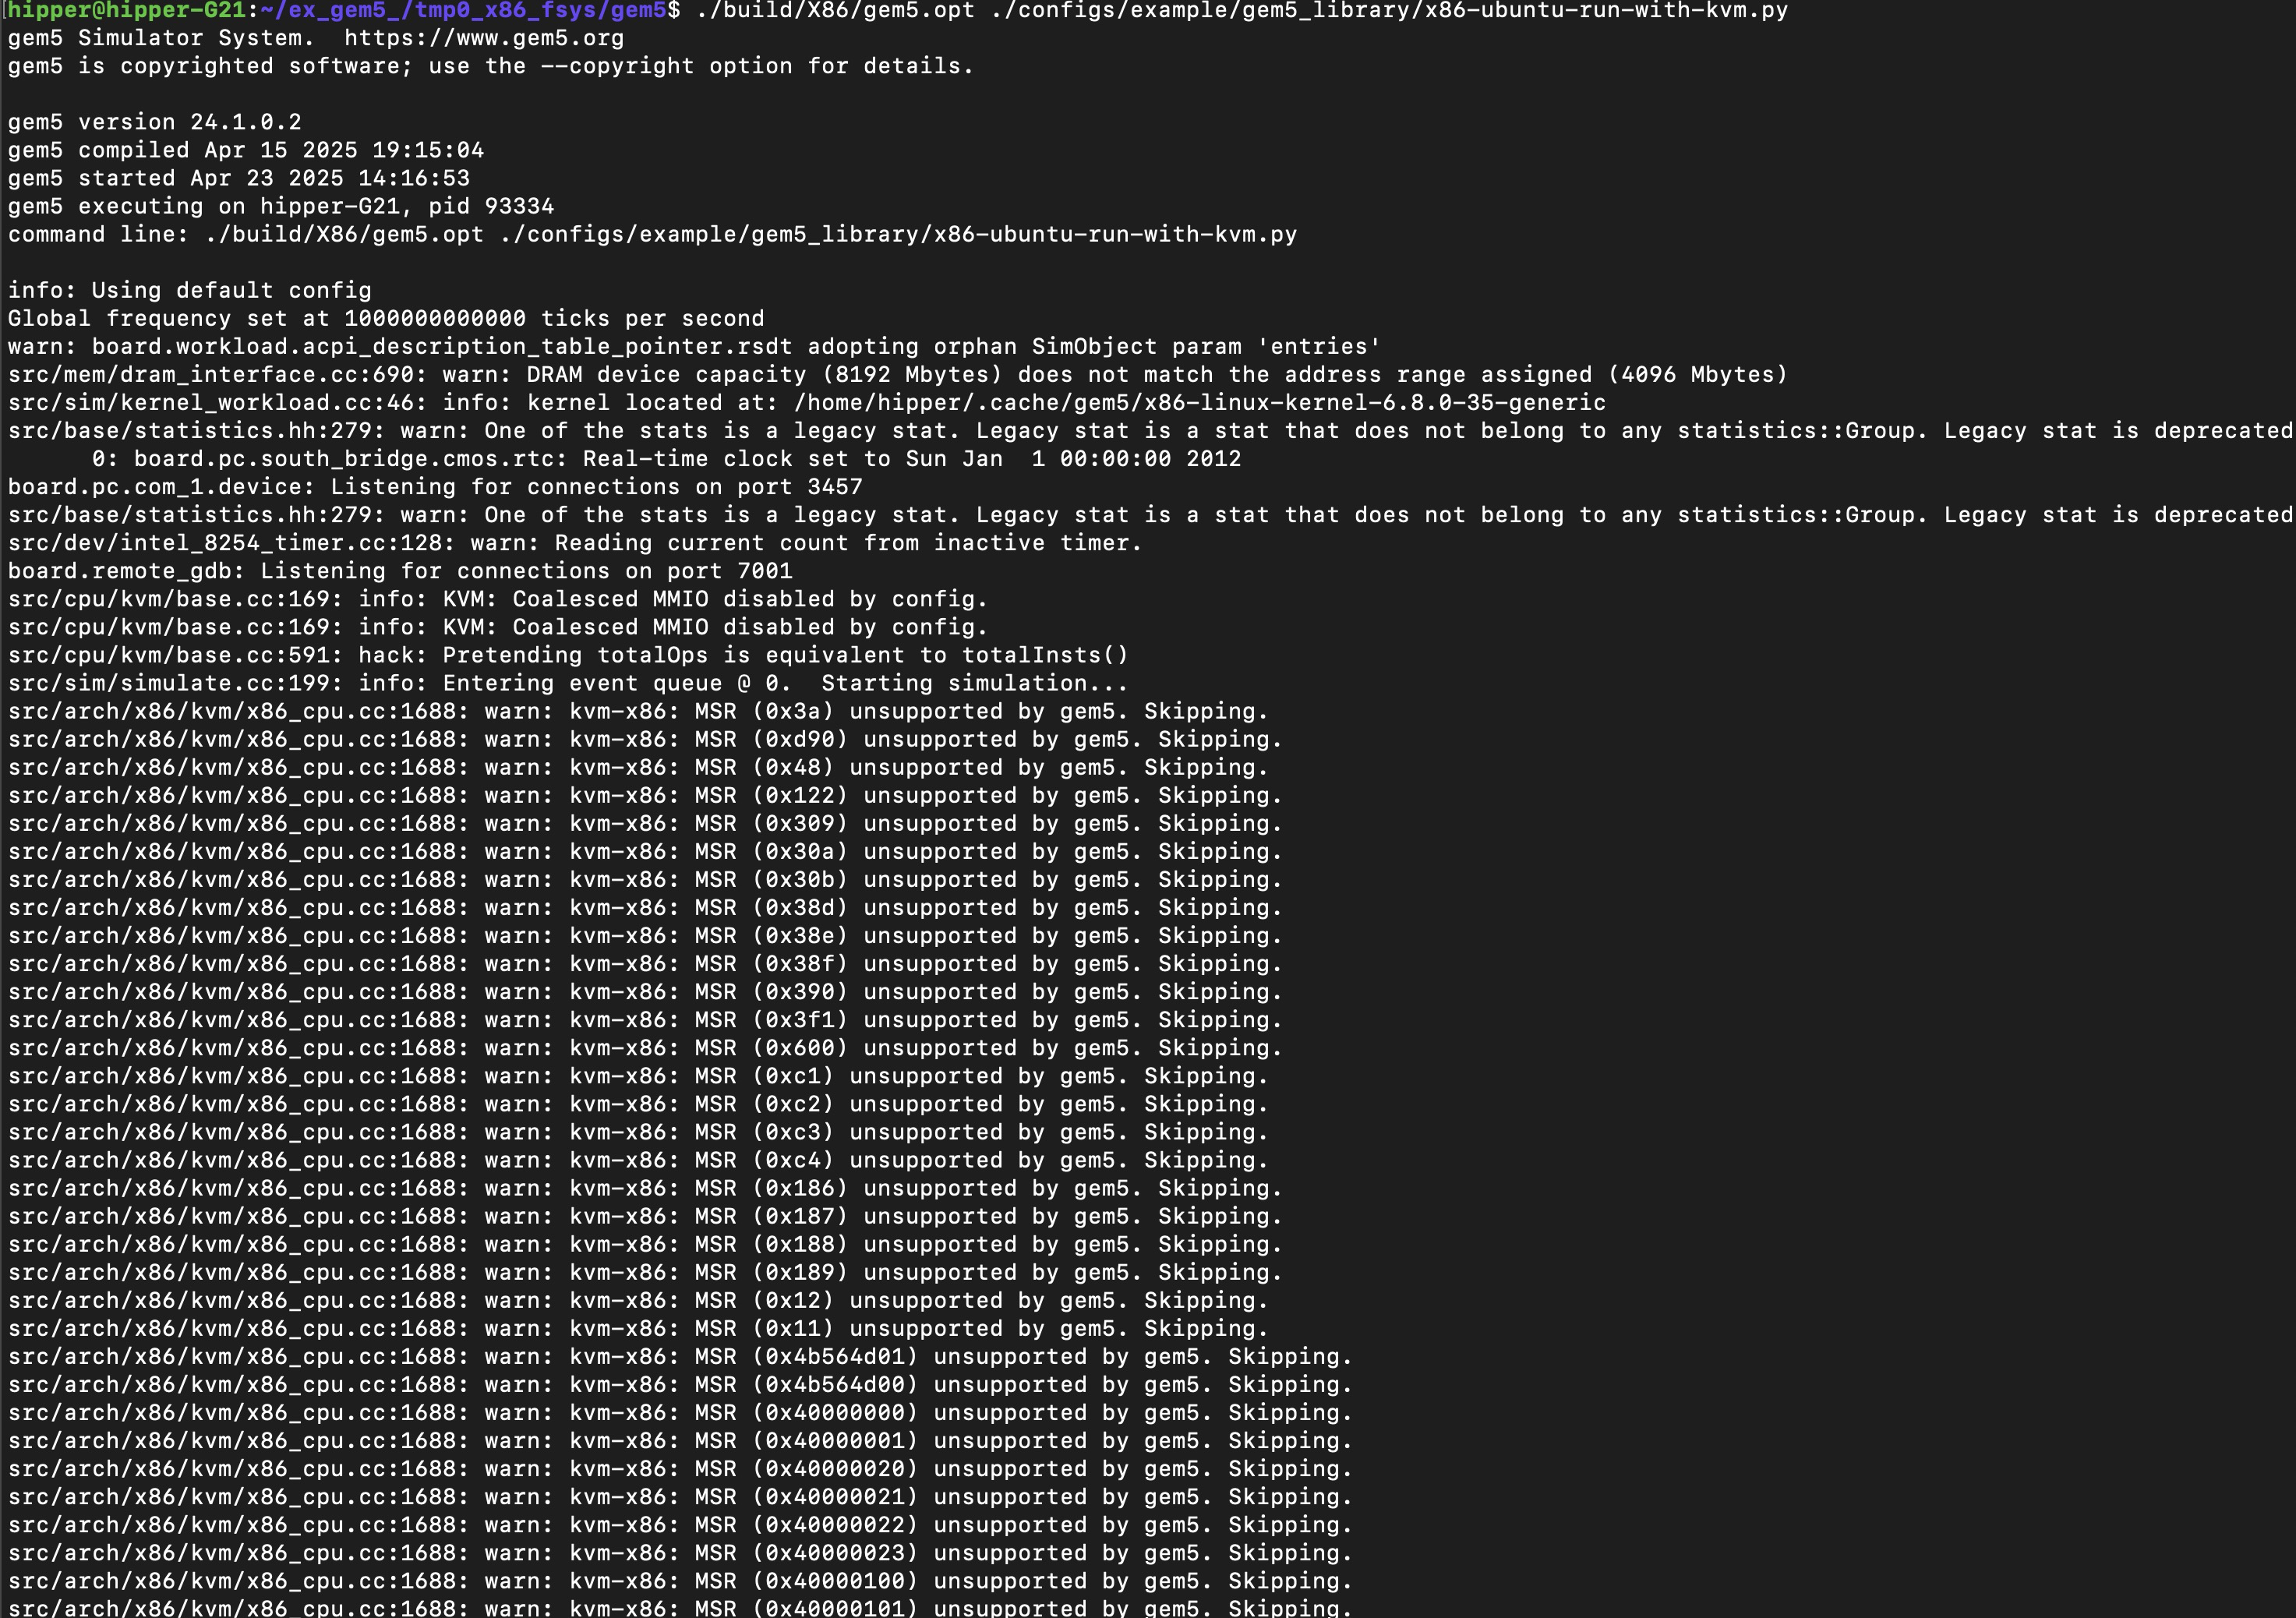
$ ./build/X86/gem5.opt ./configs/example/gem5_library/x86-ubuntu-run-with-kvm.py输出信息截取如下:

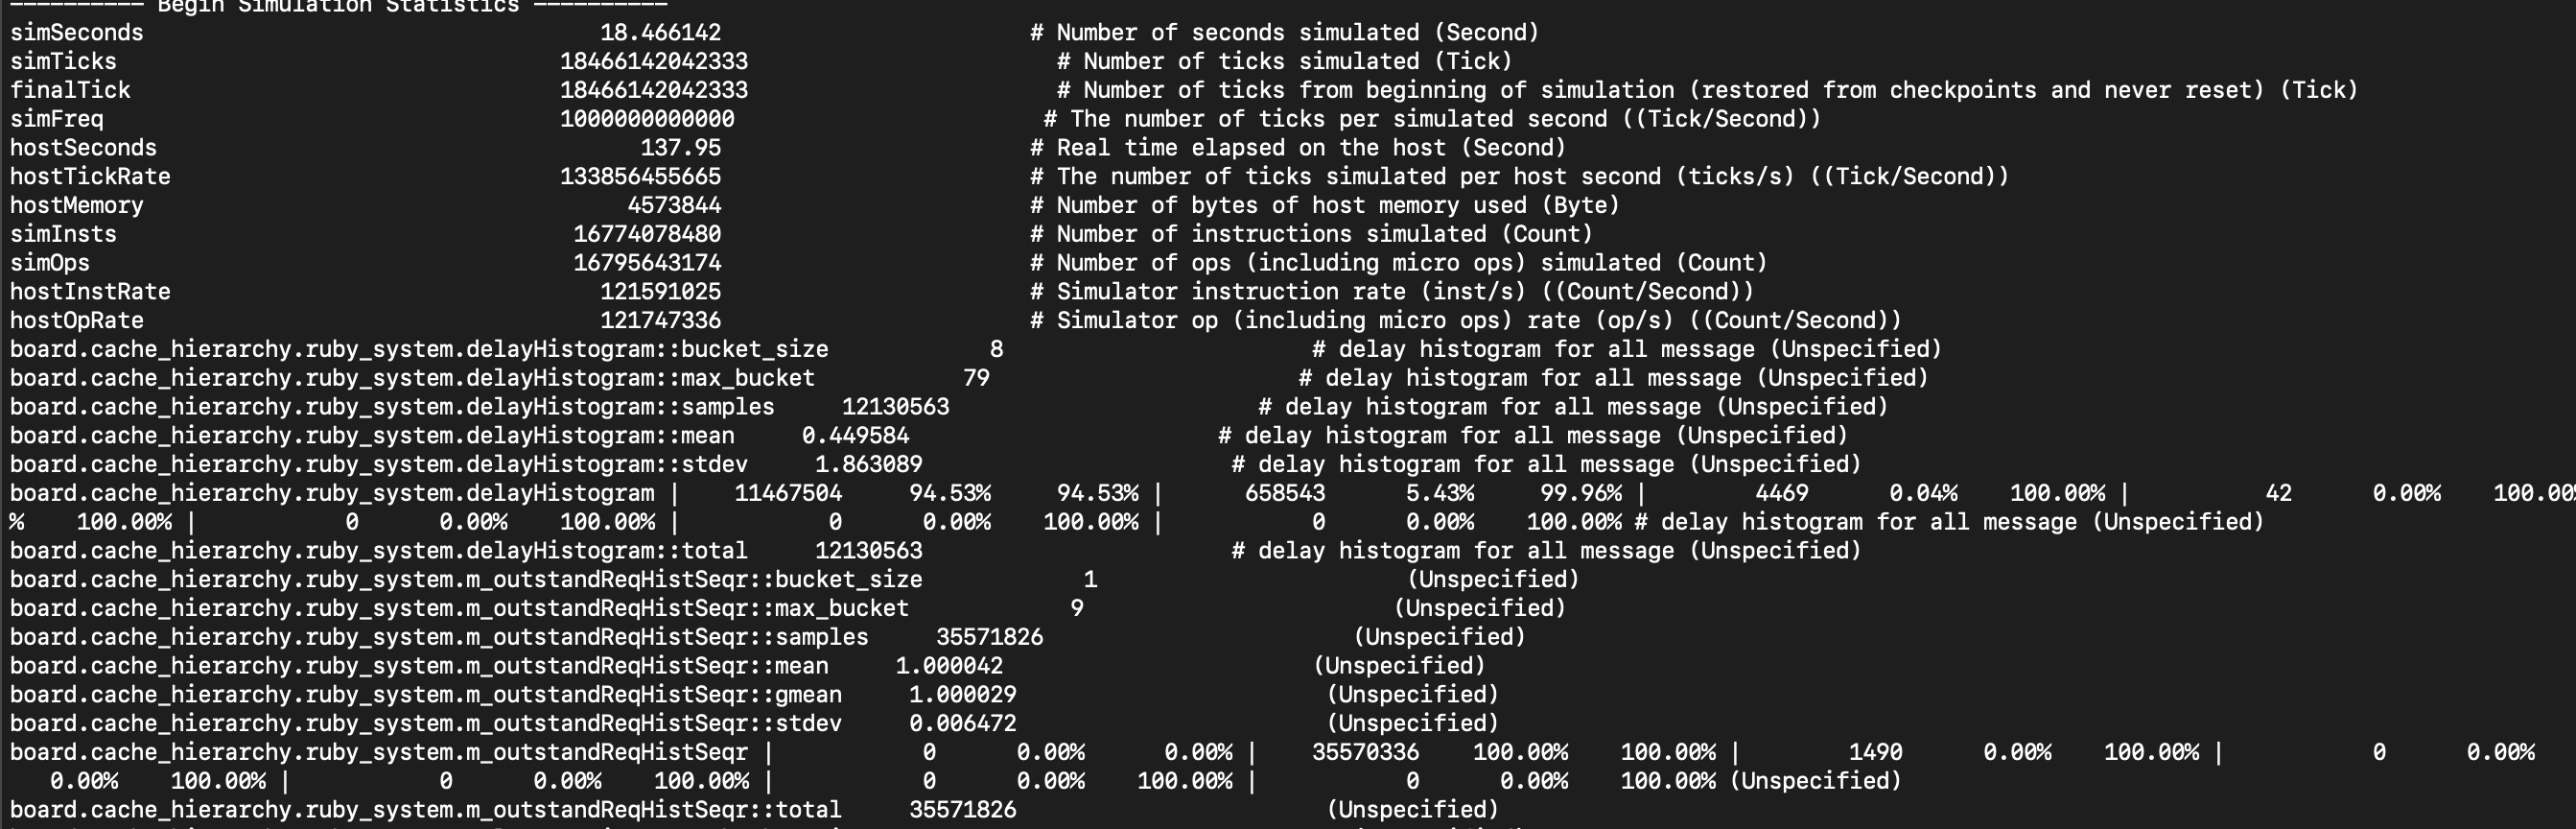
连接终端,由于开了多个 gem5.opt 模拟,所以端口号会逐个增1:
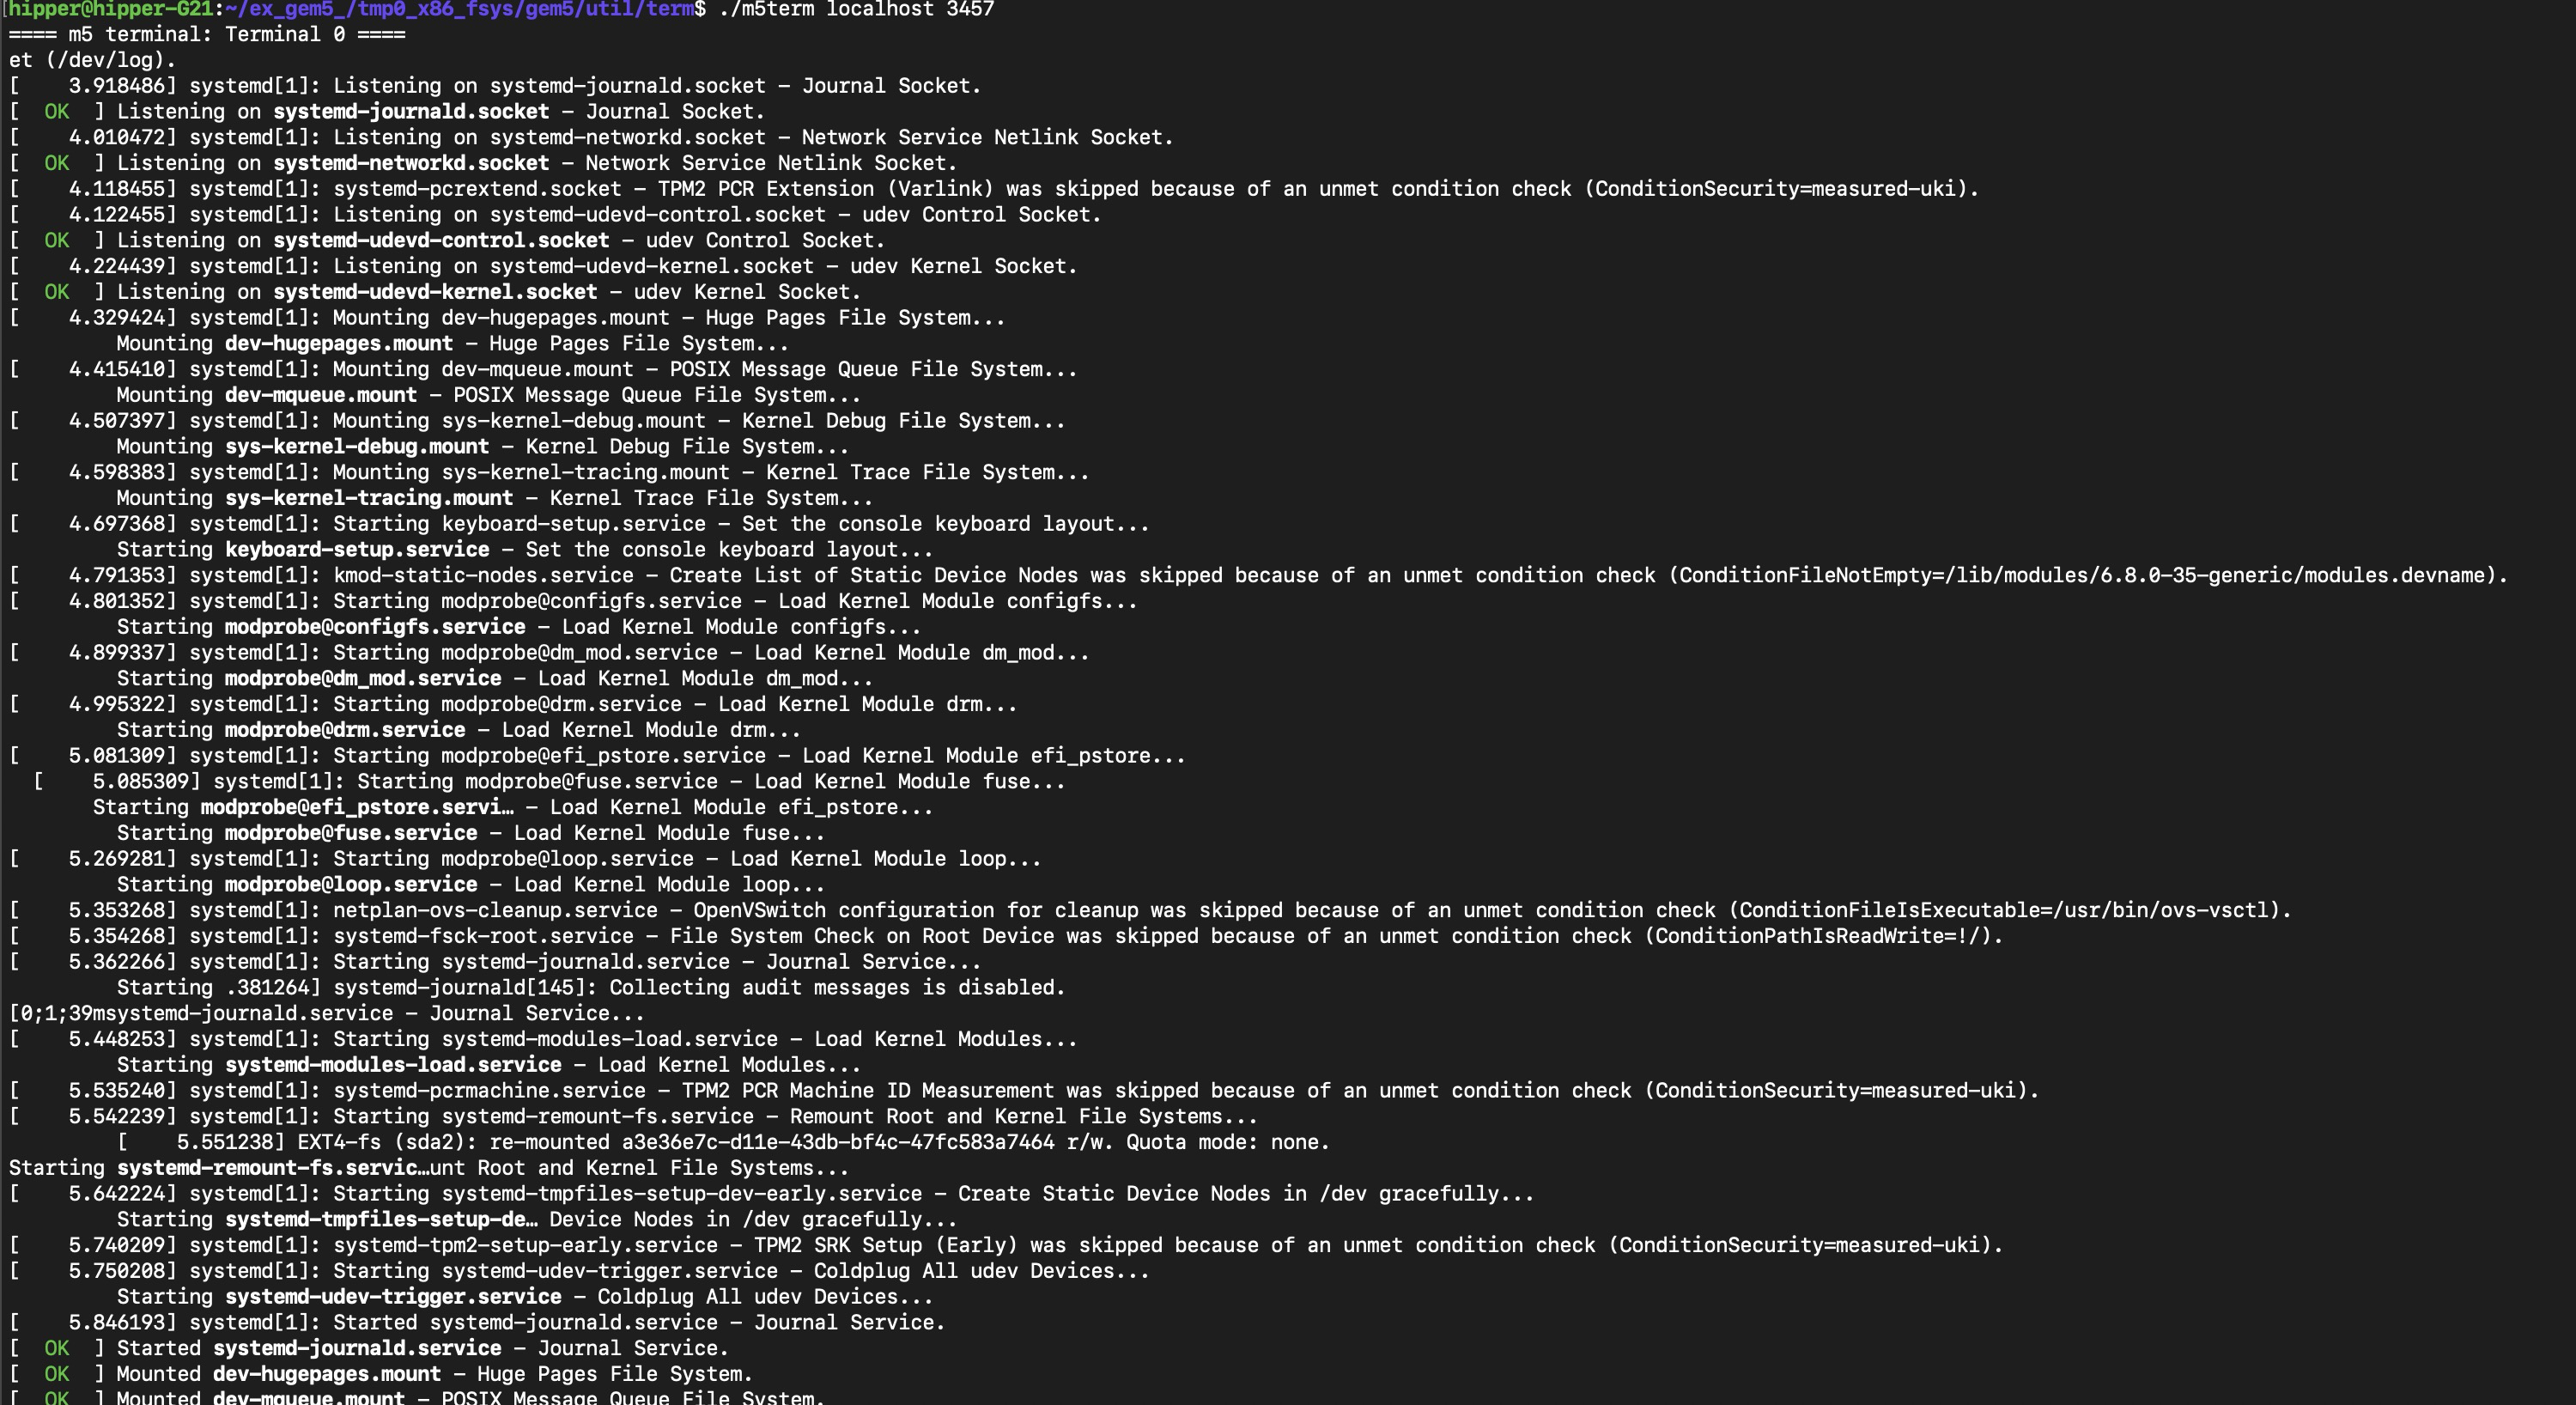
$ ./m5term localhost 3457部分截图效果:
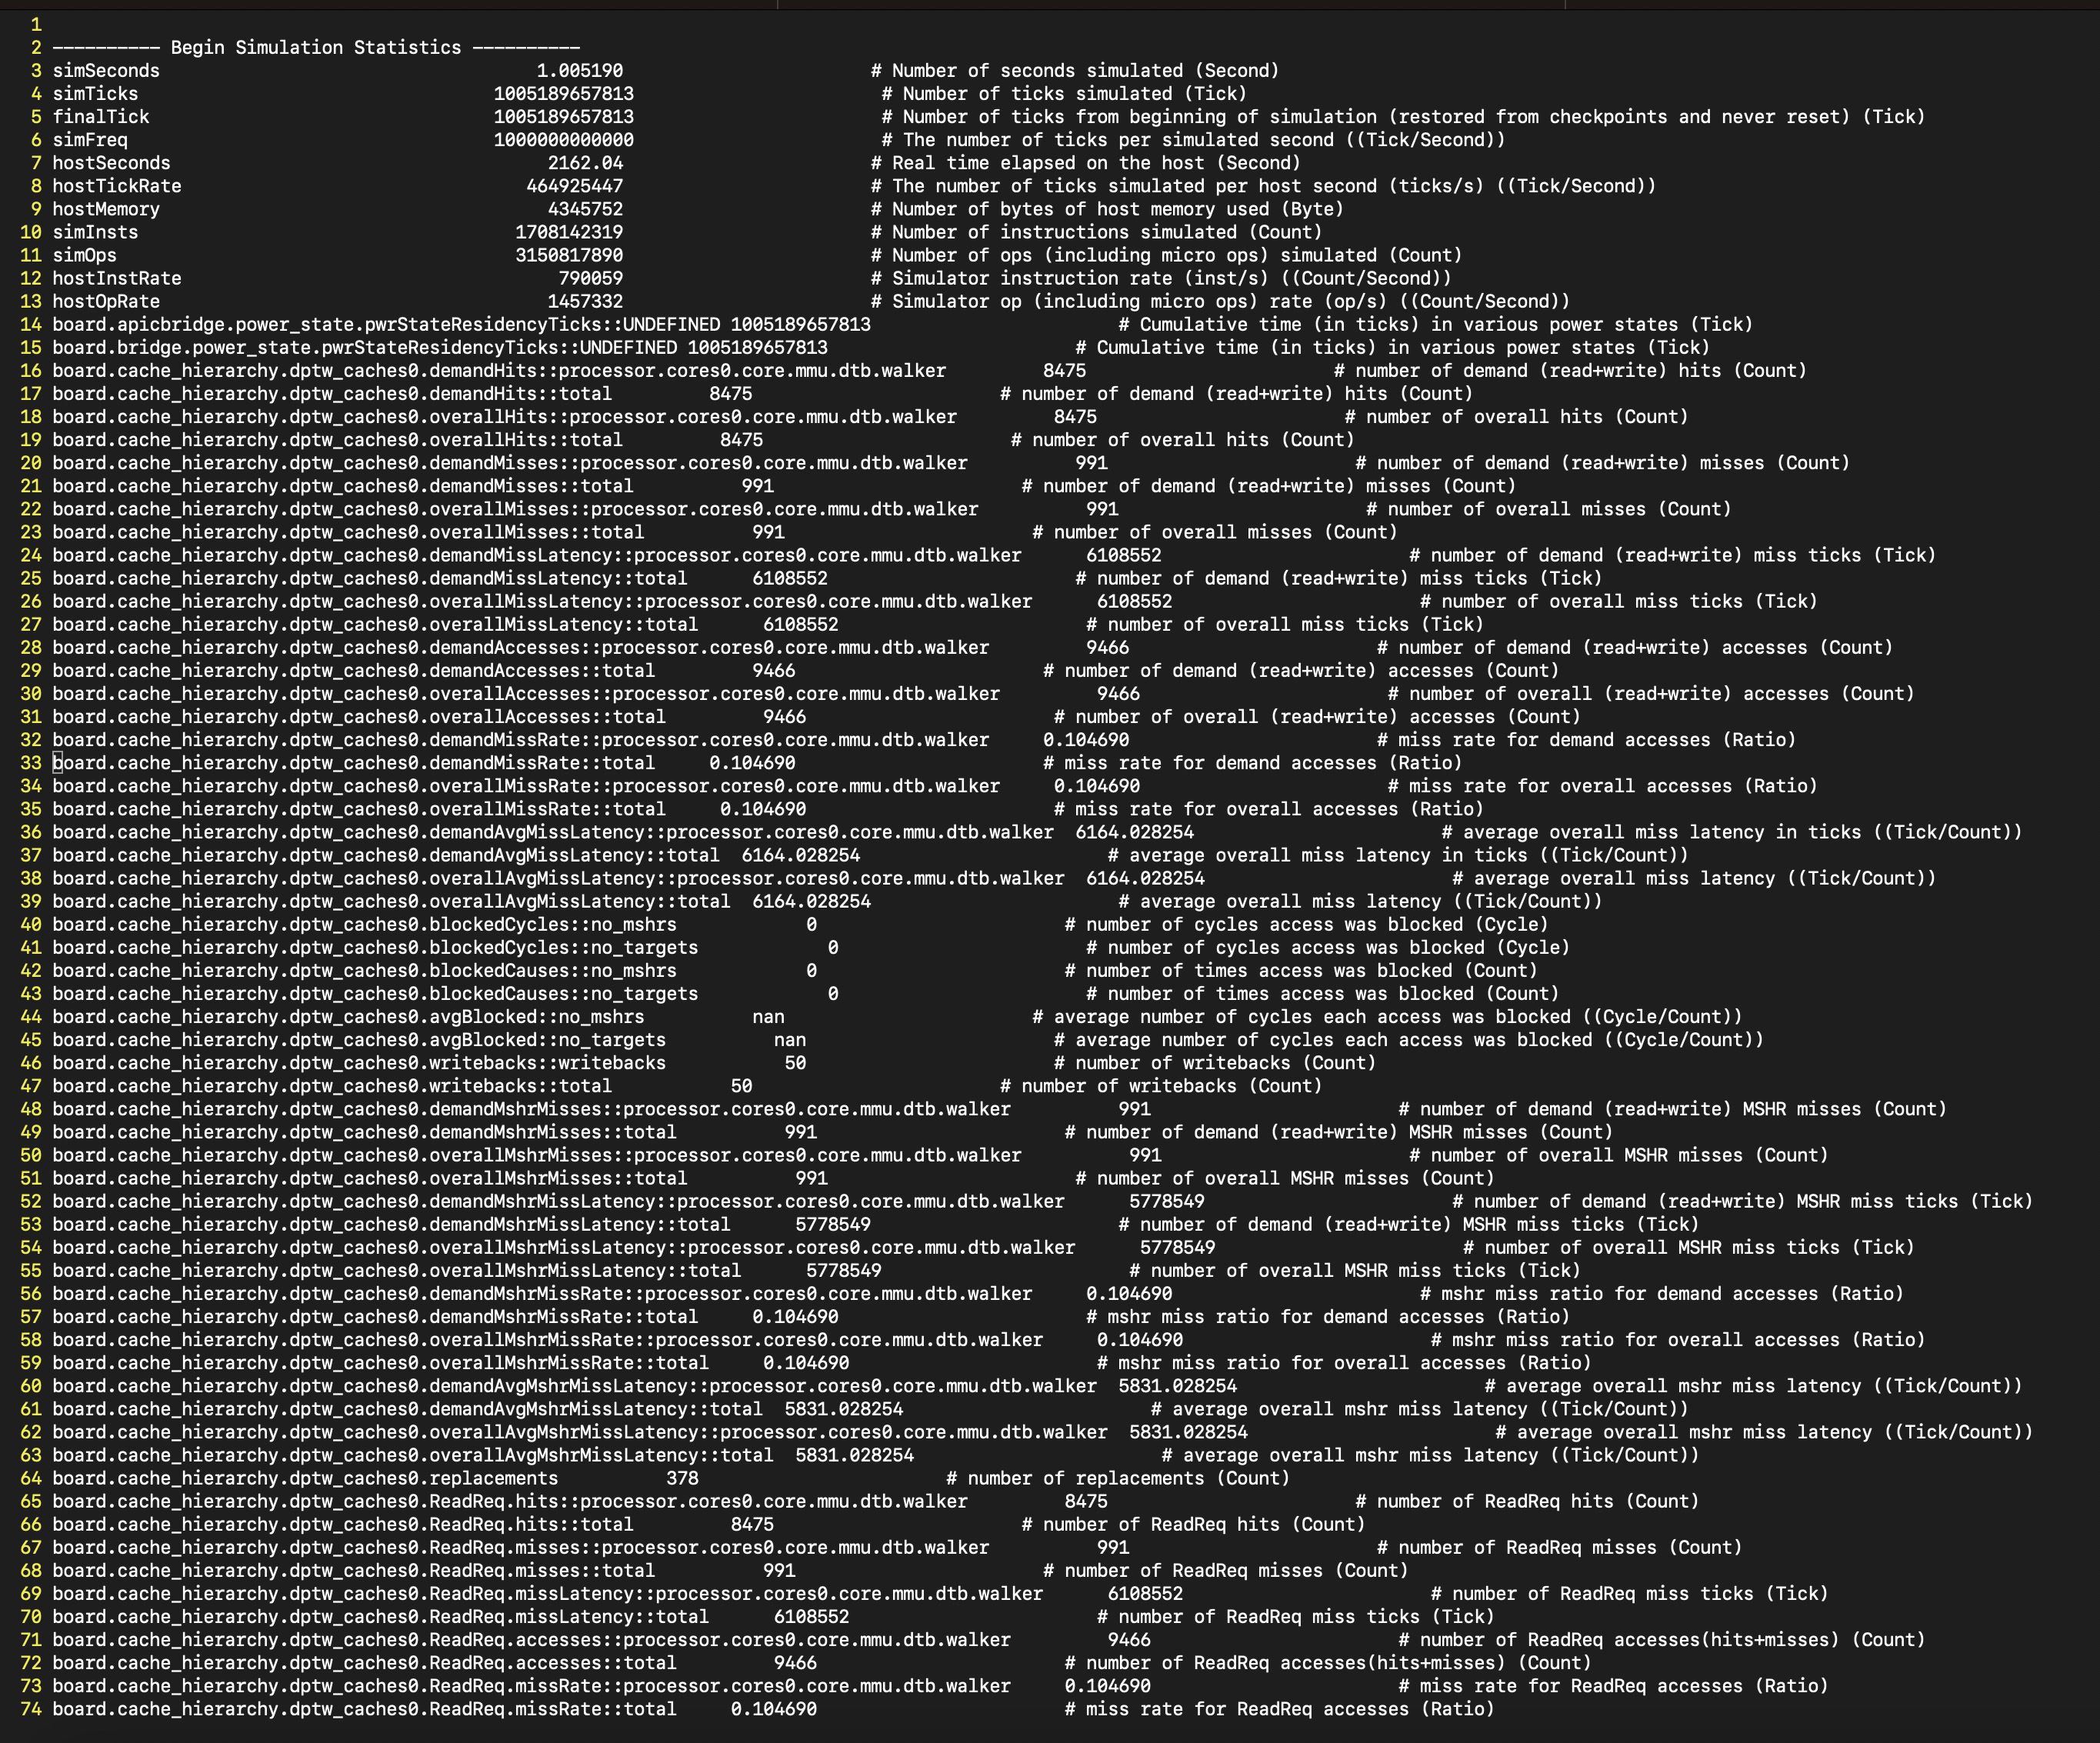
统计信息总共2K多条,开始的部分:
错误解决:
可能会遇到 KVM 相关错误提示:
src/cpu/kvm/perfevent.cc:176: panic: PerfKvmCounter::attach received error EACCESS.This error may be caused by a too restrictive settingin the file '/proc/sys/kernel/perf_event_paranoid'.The default value was changed to 2 in kernel 4.6.A value greater than 1 prevents gem5 from makingthe syscall to perf_event_open.这时候确实可以将 /proc/sys/kernel/perf_event_paranoid 修改为1:
echo 1 | sudo tee /proc/sys/kernel/perf_event_paranoid然后再运行仿真。
3,程序解释
3.1 导入 gem5 module
类似 cpp 程序中需要连接动态库或静态库,先把后边会用到的 gem5 模块导入程序中。
主要涉及到一致性协议、主板、单通道 DDR3 内存、cpu 类型、cpu 切换功能、指令集架构、资源、事件、模拟器、需求等等,后边会进一步介绍。
from gem5.coherence_protocol import CoherenceProtocol
from gem5.components.boards.x86_board import X86Board
from gem5.components.memory.single_channel import SingleChannelDDR3_1600
from gem5.components.processors.cpu_types import CPUTypes
from gem5.components.processors.simple_switchable_processor import (SimpleSwitchableProcessor,
)
from gem5.isas import ISA
from gem5.resources.resource import obtain_resource
from gem5.simulate.exit_event import ExitEvent
from gem5.simulate.simulator import Simulator
from gem5.utils.requires import requires
3.2 检查系统配置需求
在模拟开始之前,通过 gem5 的 requires() 函数对环境和模拟中预想会依赖的 gem5 模块进行检查,做到冗余式的检查,在可能漫长的模拟开始之初就能发现一些可能的依赖问题。如果发现不满足所检查的条目,则会对应报错或者发出警告。
requires(isa_required=ISA.X86,coherence_protocol_required=CoherenceProtocol.MESI_TWO_LEVEL,kvm_required=True,
)
3.3 定义缓存系统
from gem5.components.cachehierarchies.ruby.mesi_two_level_cache_hierarchy import (MESITwoLevelCacheHierarchy,
)# Here we setup a MESI Two Level Cache Hierarchy.
cache_hierarchy = MESITwoLevelCacheHierarchy(l1d_size="16KiB",l1d_assoc=8,l1i_size="16KiB",l1i_assoc=8,l2_size="256KiB",l2_assoc=16,num_l2_banks=1,
)
MESI 是一致性协议,先不详细展开;
TwoLevel 指出存在两级缓存:L1、L2;
参数中指定了各个缓存的大小以及关联度。size 比较常见,而这里的 assoc 表示缓存的关联度(Associativity),即缓存组(Cache Set)中可存放的缓存行(Cache Line)数量,是衡量缓存组织方式的关键参数之一。
这里稍微介绍一下关联度,也可以先跳过这个部分:
3.3.1 关联度(Associativity)
直接映射(Direct-Mapped):assoc=1,每个内存块只能映射到缓存中唯一的一个位置(1路组关联)。
组相联(Set-Associative):assoc=N(N>1),每个内存块可以映射到同一组的N个缓存行中的任意一个(N路组关联)。
全相联(Fully Associative):assoc=缓存的全部行数,内存块可映射到任意缓存行(实际中较少用,因硬件开销大)。
注释一下:
cache_hierarchy = MESITwoLevelCacheHierarchy(l1d_size="16KiB",    # L1数据缓存大小l1d_assoc=8,         # L1数据缓存为8路组关联l1i_size="16KiB",    # L1指令缓存大小l1i_assoc=8,         # L1指令缓存为8路组关联l2_size="256KiB",    # L2缓存大小l2_assoc=16,         # L2缓存为16路组关联num_l2_banks=1,      # L2缓存的分区数
)
l1d_assoc=8
表示 L1数据缓存是8路组关联,即每个缓存组(Set)有8个缓存行(Cache Line)。
l2_assoc=16
表示 L2缓存是16路组关联,关联度更高(通常L2比L1关联度更高以减少冲突未命中)。
3.3.2 关联度的意义
命中率(Hit Rate)
更高的关联度(如16路 vs 直接映射)可以减少冲突未命中(Conflict Misses),因为同一组中可存放更多缓存行,但硬件成本(比较器、功耗)也会增加。
硬件开销
关联度越高,需要更多的并行比较电路(如CAM结构)来检查缓存行是否命中。访问延迟可能因关联度增加而略微上升(需权衡性能与面积/功耗)。
典型取值
L1缓存:通常为2-8路(平衡速度和命中率)。
L2/L3缓存:通常为8-16路或更高(因容量更大,需减少冲突)。
3.3.3 关联度与缓存参数的关系
缓存总大小 = 组数(Sets) × 关联度(Associativity) × 缓存行大小(Cache Line Size)
例如:若 l1d_size="16KiB"、l1d_assoc=8、缓存行大小为64B,则:
组数(Sets) = 16KiB / (8 × 64B) = 32组。
3.4 定义内存
memory = SingleChannelDDR3_1600(size="3GiB")定义了一个3GB大小的,单通道的,DDR3 内存,其中频率为 1600 MHz。这个class的 size参数,默认为 8GB。因为本case 是模拟的 x86 主板,由于32bit时代的硬件是32bit 内存地址空间——4GB,再减去保留的 MMIO 区域(BIOS 存储空间,部分外设等),可用物理内存空间小于 4GB,gem5中对 x86Board 最大时采用 3GB 空间,即使运行64bit OS,也最多给 3GB。因为模拟程序本身不会太大,所以足够使用。
3.5 定义处理器
processor = SimpleSwitchableProcessor(starting_core_type=CPUTypes.KVM,switch_core_type=CPUTypes.TIMING,isa=ISA.X86,num_cores=2,
)
这里定义的处理,是一个优化的组合处理器,x86 的双核 cpu。
因为现在的计算机系统通常都需要运行庞大的操作系统,操作系统启动过程会运行巨量的指令,这个过程中最好是使用 KVM 虚拟化加速的模拟cpu,等到OS 启动完毕,再通过调用 processor.switch() 将cpu切换成为 TIMING 类型的 cpu,然后运行待测试的程序,实现精确的测量目标。
3.6 定义主板
board = X86Board(clk_freq="3GHz",processor=processor,memory=memory,cache_hierarchy=cache_hierarchy,
)
定义配置了 x86 主板,同时指定了 主频和之前定义的处理器、内存、高缓等。
3.7 定义工作负载
workload = obtain_resource("x86-ubuntu-24.04-boot-with-systemd")
board.set_workload(workload)
这里复制一份完整的代码,方便阅读
from gem5.coherence_protocol import CoherenceProtocol
from gem5.components.boards.x86_board import X86Board
from gem5.components.memory.single_channel import SingleChannelDDR3_1600
from gem5.components.processors.cpu_types import CPUTypes
from gem5.components.processors.simple_switchable_processor import (SimpleSwitchableProcessor,
)
from gem5.isas import ISA
from gem5.resources.resource import obtain_resource
from gem5.simulate.exit_event import ExitEvent
from gem5.simulate.simulator import Simulator
from gem5.utils.requires import requires# This runs a check to ensure the gem5 binary is compiled to X86 and to the
# MESI Two Level coherence protocol.
requires(isa_required=ISA.X86,coherence_protocol_required=CoherenceProtocol.MESI_TWO_LEVEL,kvm_required=True,
)from gem5.components.cachehierarchies.ruby.mesi_two_level_cache_hierarchy import (MESITwoLevelCacheHierarchy,
)# Here we setup a MESI Two Level Cache Hierarchy.
cache_hierarchy = MESITwoLevelCacheHierarchy(l1d_size="16KiB",l1d_assoc=8,l1i_size="16KiB",l1i_assoc=8,l2_size="256KiB",l2_assoc=16,num_l2_banks=1,
)# Setup the system memory.
memory = SingleChannelDDR3_1600(size="3GiB")# Here we setup the processor. This is a special switchable processor in which
# a starting core type and a switch core type must be specified. Once a
# configuration is instantiated a user may call `processor.switch()` to switch
# from the starting core types to the switch core types. In this simulation
# we start with KVM cores to simulate the OS boot, then switch to the Timing
# cores for the command we wish to run after boot.
processor = SimpleSwitchableProcessor(starting_core_type=CPUTypes.KVM,switch_core_type=CPUTypes.TIMING,isa=ISA.X86,num_cores=2,
)# Here we setup the board. The X86Board allows for Full-System X86 simulations.
board = X86Board(clk_freq="3GHz",processor=processor,memory=memory,cache_hierarchy=cache_hierarchy,
)workload = obtain_resource("x86-ubuntu-24.04-boot-with-systemd")
board.set_workload(workload)def exit_event_handler():print("First exit: kernel booted")yield False  # gem5 is now executing systemd startupprint("Second exit: Started `after_boot.sh` script")# The after_boot.sh script is executed after the kernel and systemd have# booted.# Here we switch the CPU type to Timing.print("Switching to Timing CPU")processor.switch()yield False  # gem5 is now executing the `after_boot.sh` scriptprint("Third exit: Finished `after_boot.sh` script")# The after_boot.sh script will run a script if it is passed via# m5 readfile. This is the last exit event before the simulation exits.yield Truesimulator = Simulator(board=board,on_exit_event={# Here we want override the default behavior for the first m5 exit# exit event.ExitEvent.EXIT: exit_event_handler()},
)simulator.run()