threejs 零基础学习day01
一、threejs本地环境搭建
1、下载源码
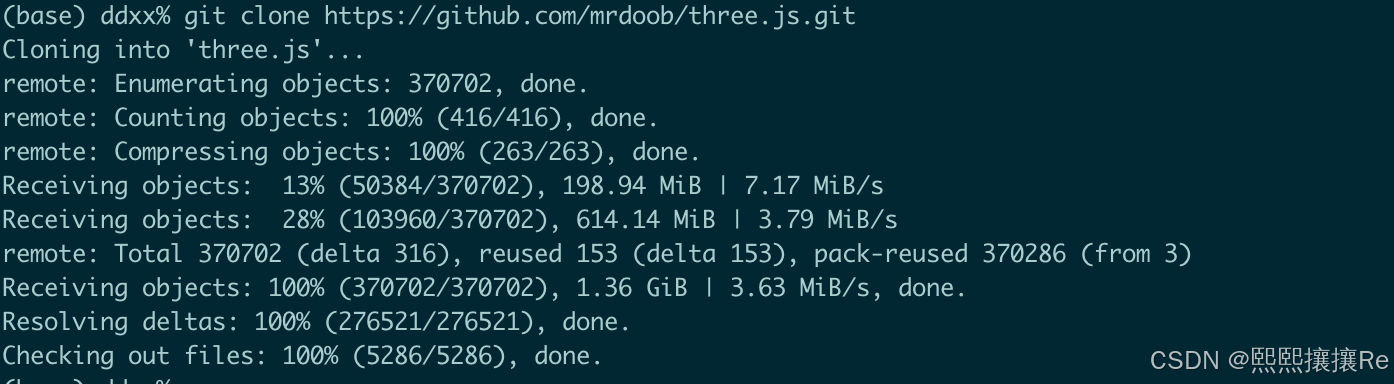
(1)进入threejs官网,把源码下载到本地访问。https://github.com/mrdoob/three.js
(2)使用git命令的方式进行下载(优点是,threejs更新频繁,这个比较容易更新本地的threejs):(或者直接下载压缩包也行)
git clone https://github.com/mrdoob/three.js.git
(3)下载的比较慢,等会儿。
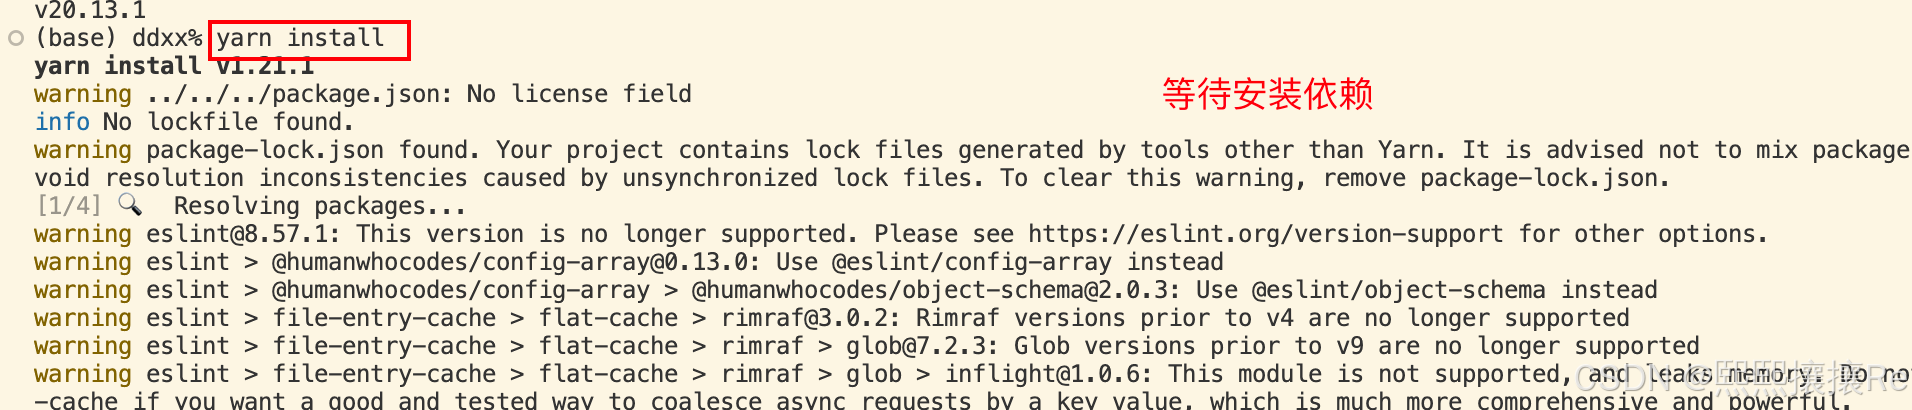
2、安装依赖
下载完成之后,打开vscode
安装依赖:yarn install
3、本地运行
第4步骤安装完成之后,启动项目
yarn start
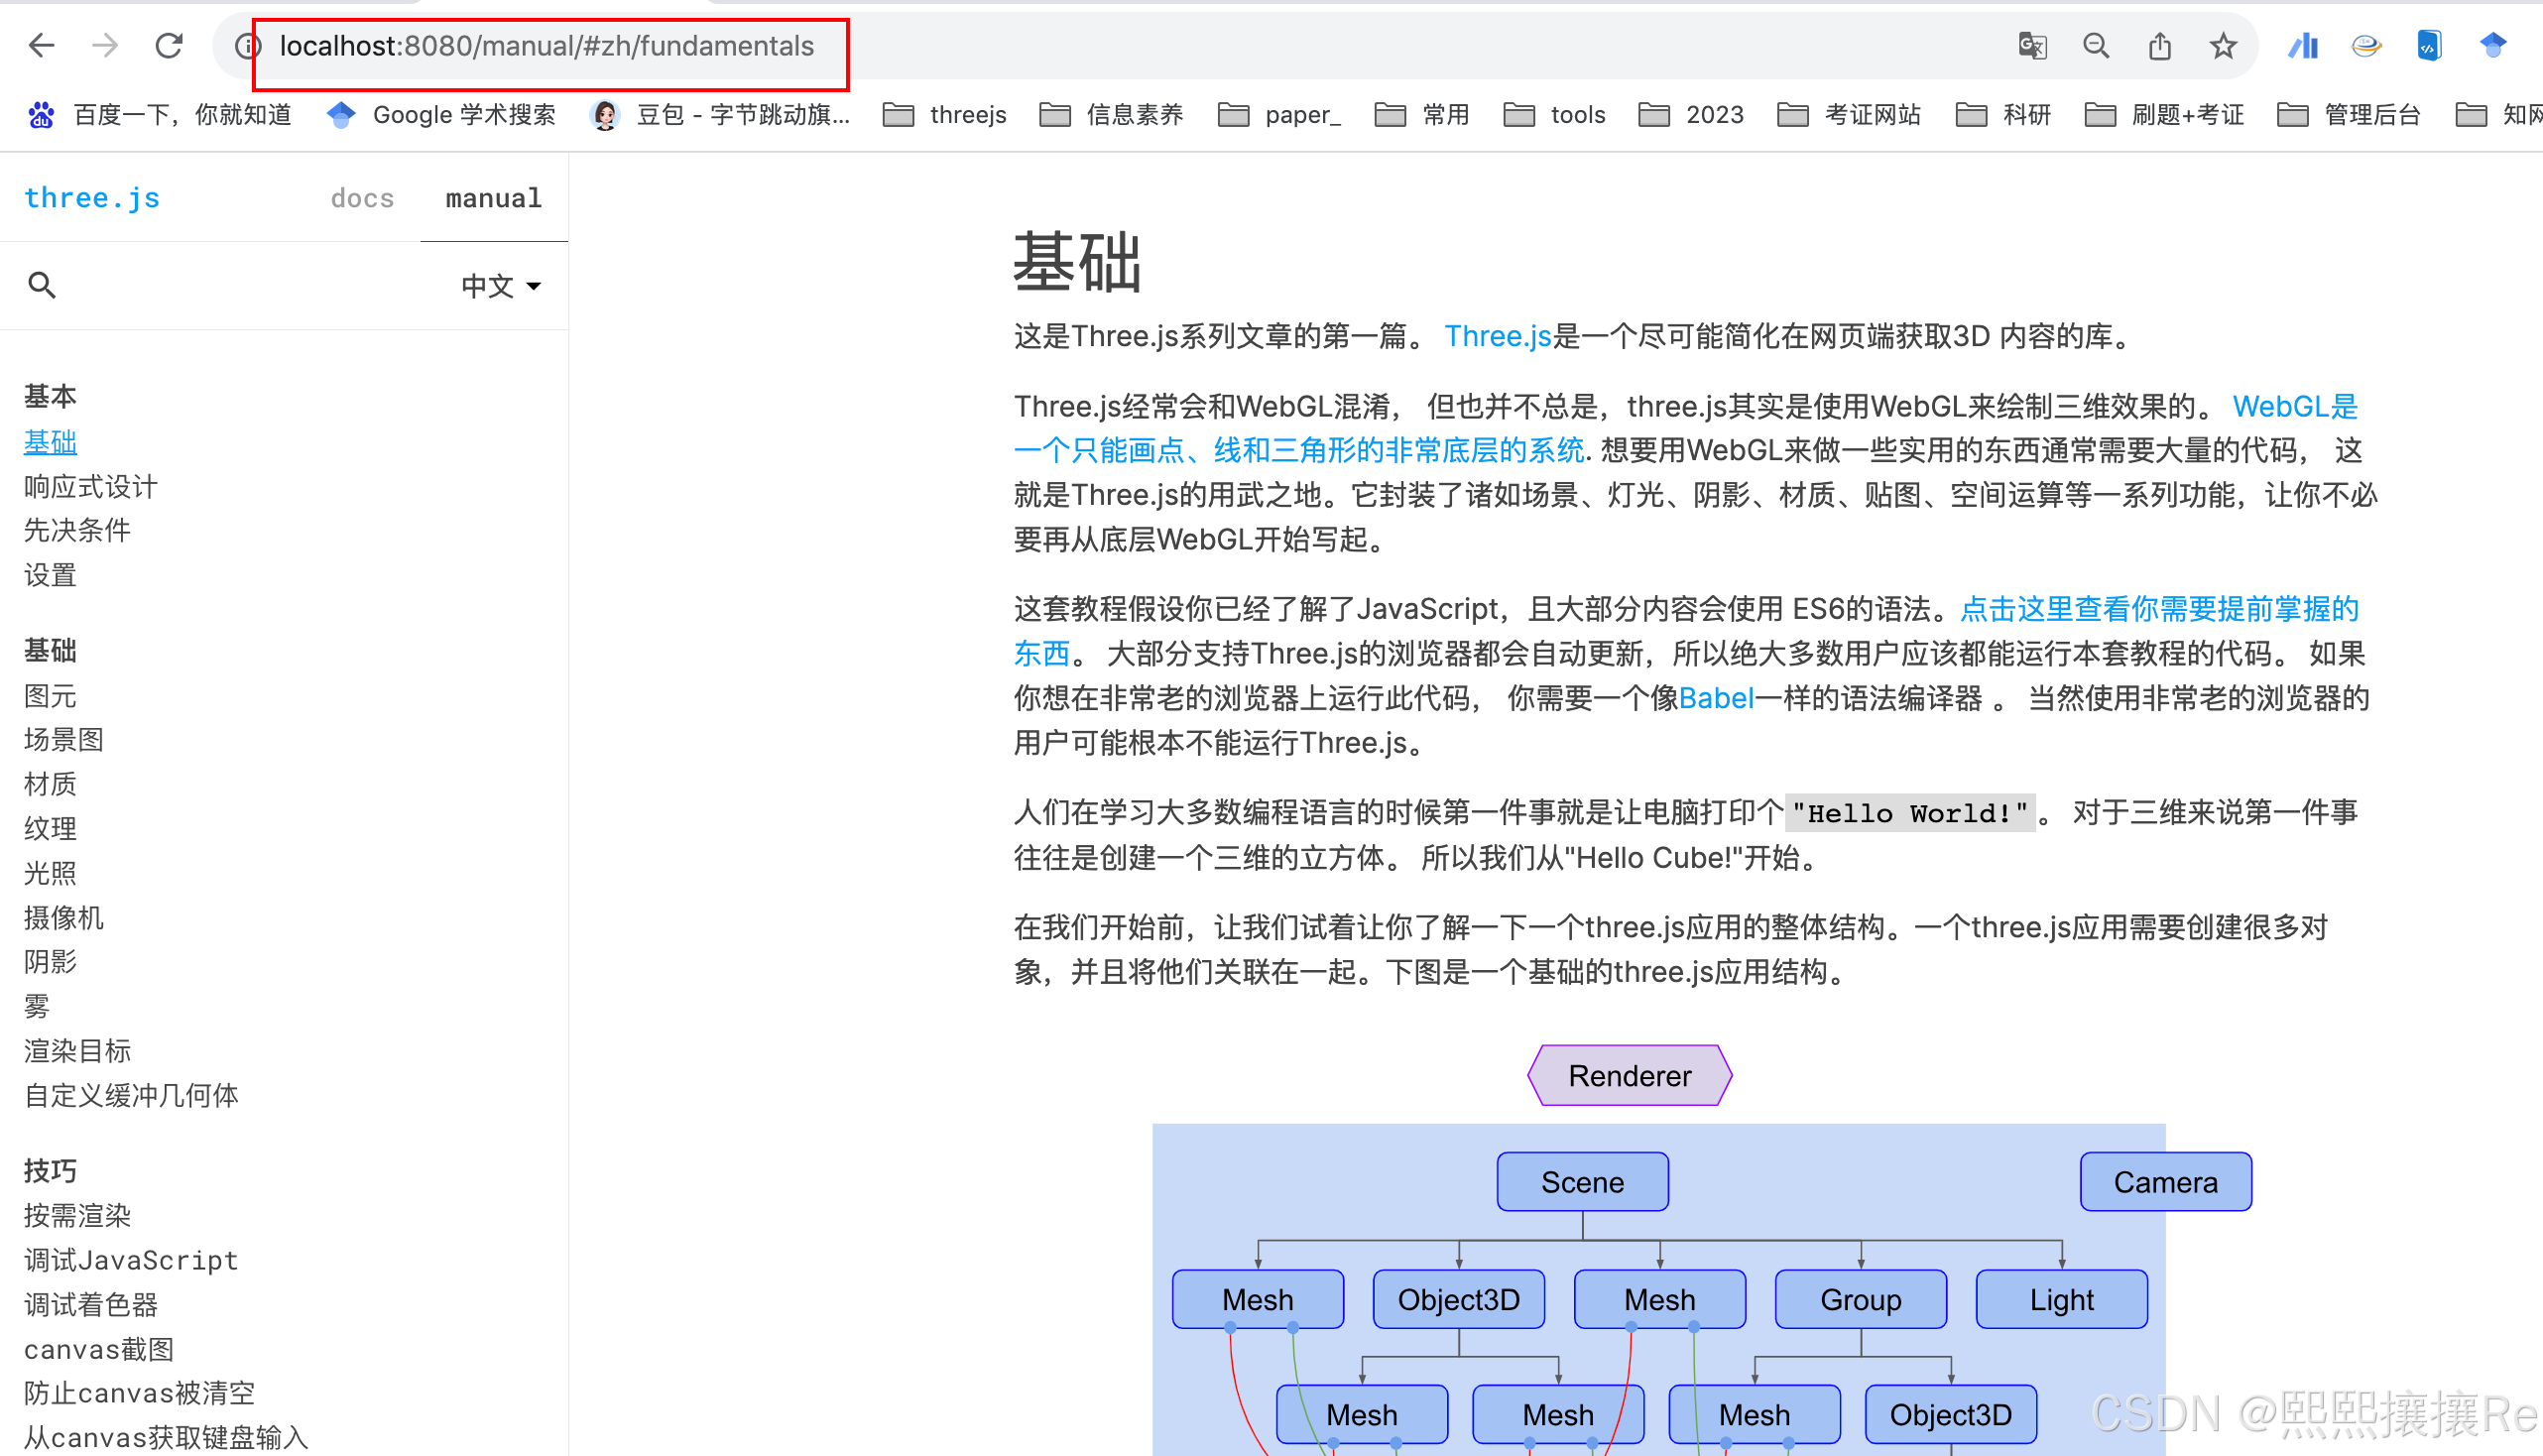
本地访问:http://localhost:8080
二、第一个threejs应用
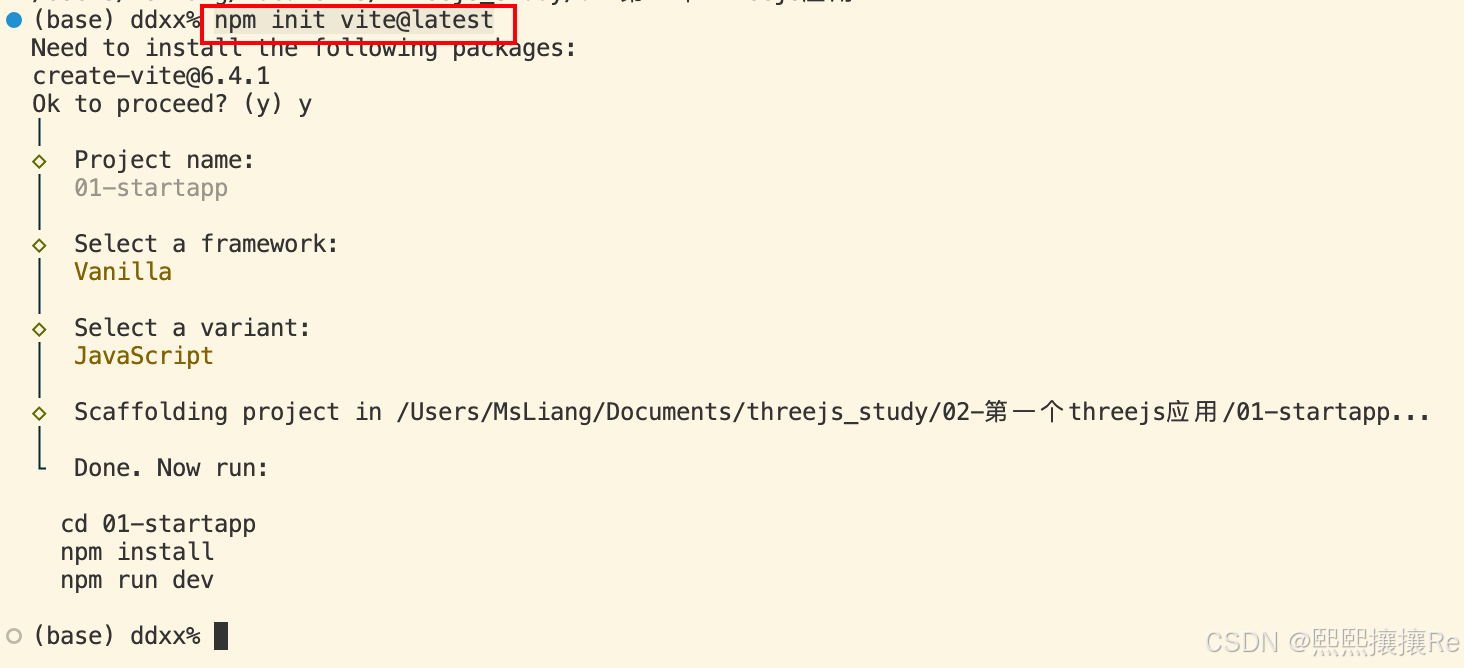
1、创建第一个threejs应用(不使用模版)
npm init vite@latest
2、安装依赖
yarn install
3、本地运行
yarn dev
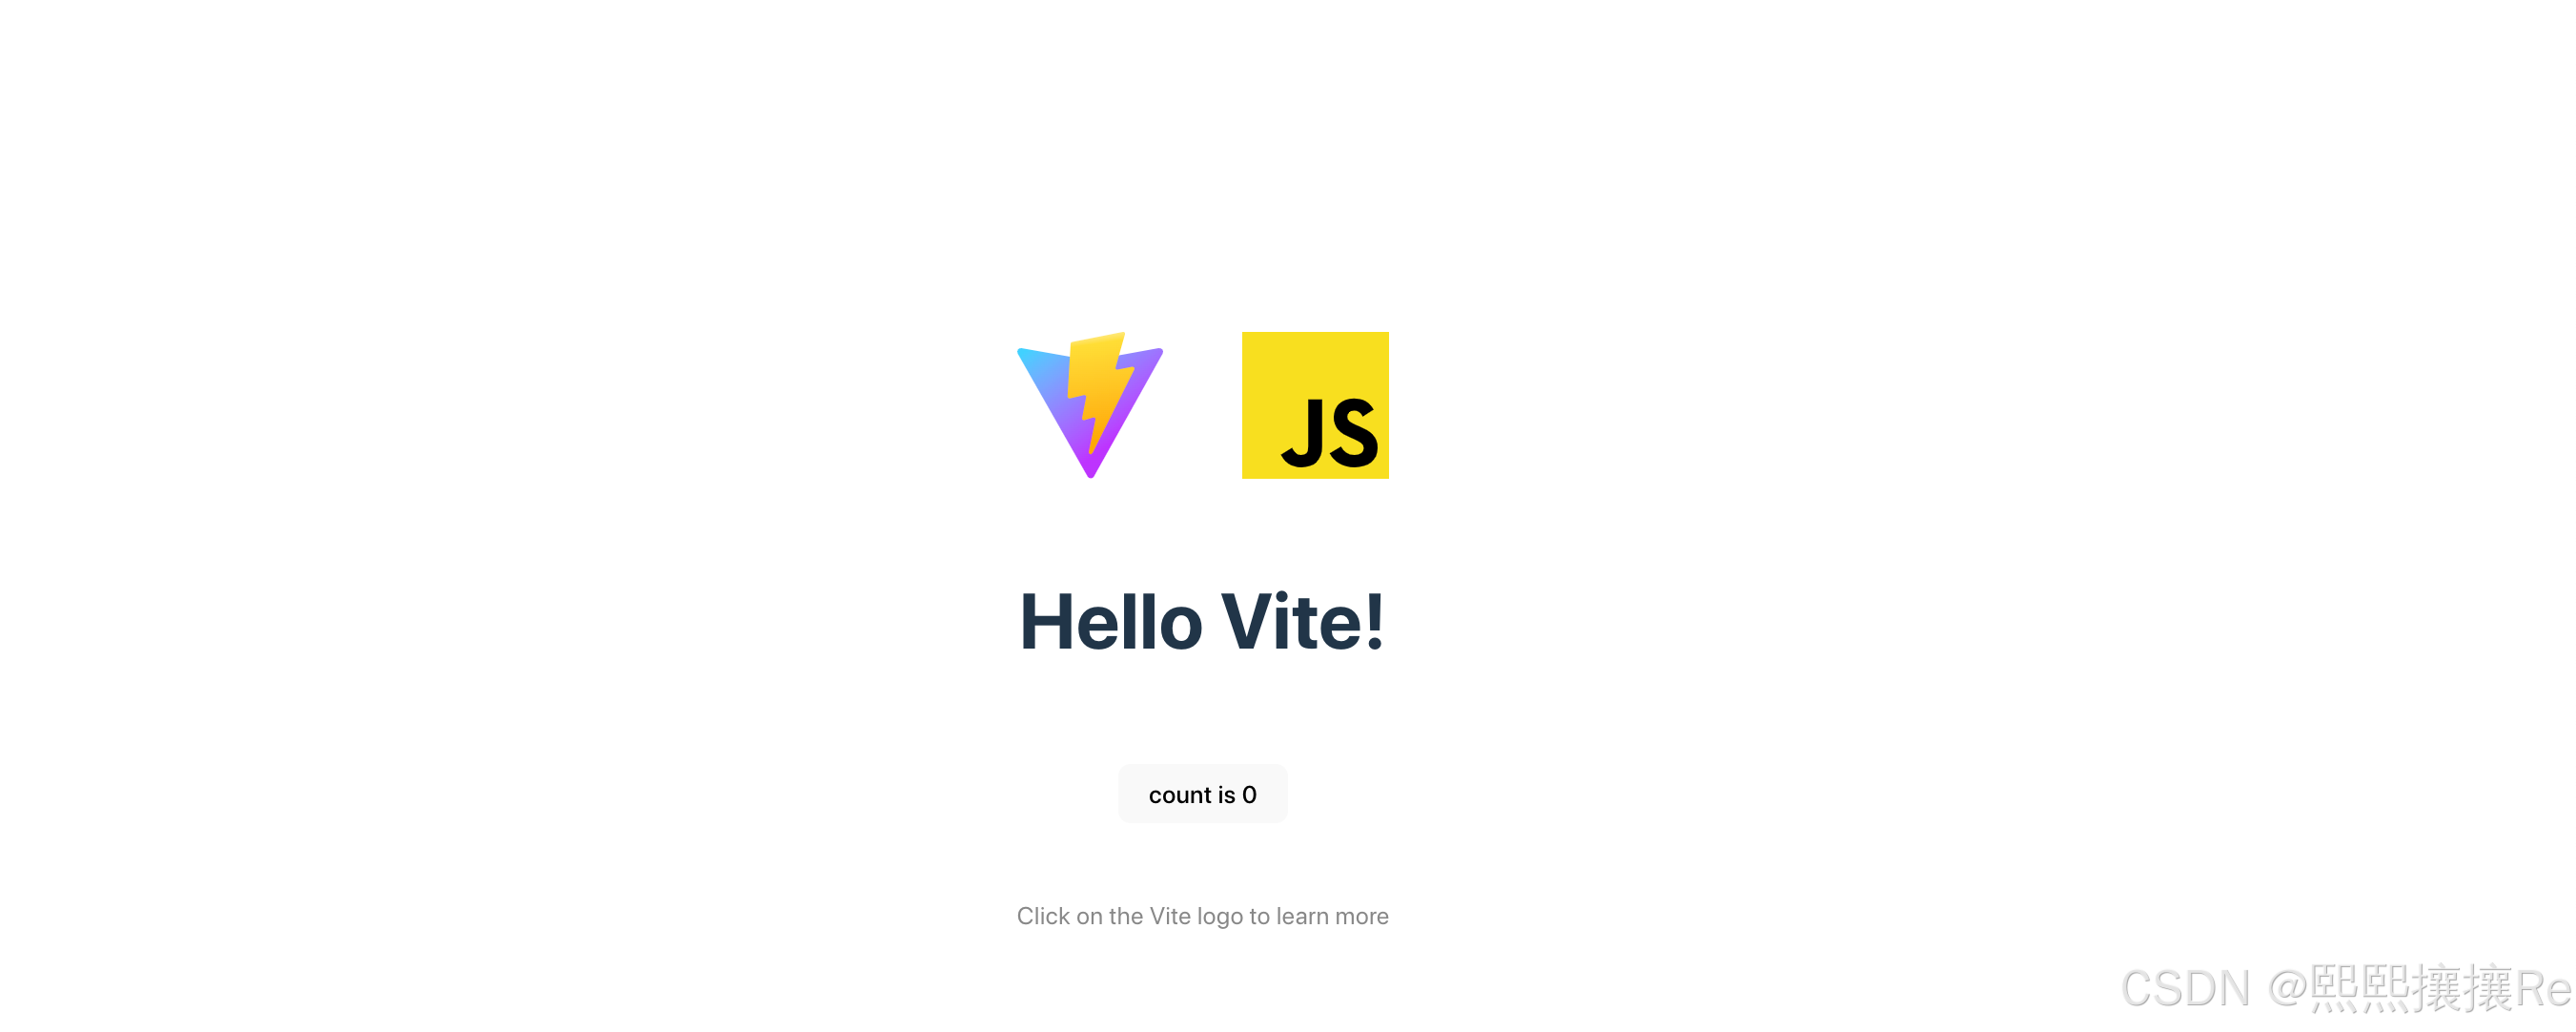
4、结果展示
浏览器输入:http://localhost:5173/
5、安装threejs
yarn add three@0.153
6、第一个threejs应用
// 导入threejs
import * as THREE from 'three'// 1、创建场景
const scene = new THREE.Scene();// 2、创建相机
const camera = new THREE.PerspectiveCamera(   // 透视相机45,  // 视角window.innerWidth / window.innerHeight,   // 宽高比0.1,  // 近平面1000  // 远平面
);// 3、创建渲染器
const renderer = new THREE.WebGLRenderer();
renderer.setSize(window.innerWidth, window.innerHeight);
document.body.appendChild(renderer.domElement)   // 追加到body里面// 4、创建几何体
const geometry = new THREE.BoxGeometry(1,1,1) // 5、创建材质
const material = new THREE.MeshBasicMaterial({color:0x00ff00
})// 6、创建网格
const cube = new THREE.Mesh(geometry, material);// 将网格添加到场景中
scene.add(cube)// 设置相机位置
camera.position.z = 5    // 正对自己的方向,是z轴
camera.lookAt(0,0,0)  // 相机默认看向原点// 渲染函数
function animate(){requestAnimationFrame(animate);// 旋转cube.rotation.x += 0.01cube.rotation.y += 0.01// 渲染renderer.render(scene, camera)
}
animate()
7、在浏览器里面查看效果
三、后续的学习进度看这个文档:
| 麒跃科技Threejs中文文档 3D案例 系统课程 数字孪生 WEB3D threejs three.js webgl 老陈打码![]() https://www.three3d.cn/threejs/02-Threejs%E5%BC%80%E5%8F%91%E5%85%A5%E9%97%A8%E4%B8%8E%E8%B0%83%E8%AF%95/01-%E8%BD%A8%E9%81%93%E6%8E%A7%E5%88%B6%E5%99%A8%E6%9F%A5%E7%9C%8B%E7%89%A9%E4%BD%93.html
https://www.three3d.cn/threejs/02-Threejs%E5%BC%80%E5%8F%91%E5%85%A5%E9%97%A8%E4%B8%8E%E8%B0%83%E8%AF%95/01-%E8%BD%A8%E9%81%93%E6%8E%A7%E5%88%B6%E5%99%A8%E6%9F%A5%E7%9C%8B%E7%89%A9%E4%BD%93.html