OceanBase4.0社区版 单机快速部署
以下内容结合OceanBase官方文档进行安装部署测试
官方文档地址:https://www.oceanbase.com/docs/common-oceanbase-database-cn-1000000002012693
一.部署方式
OceanBase 企业版:
• 使用 OCP 部署 OceanBase 集群
• 使用 OBD 部署 OceanBase 集群
• 使用命令行部署 OceanBase 集群
OceanBase 社区版:
• 使用 OBD 部署 OceanBase 集群
• 使用 OCP 部署 OceanBase 集群
• 使用 Docker 镜像的方式部署 OceanBase 集群
• 在 Kubernetes 环境中使用 ob-operator 部署 OceanBase 集群
二.适用场景
OceanBase 企业版:
• 对于生产环境,建议使用 OCP 部署 OceanBase 集群。
• 对于非生产环境,可以使用命令行部署 OceanBase 集群。
OceanBase 社区版:
• 对于非原生支持的操作系统(比如 MAC 和 Windows)的快速体验场景,建议使用 Docker 镜像的方式进行部署。
• 对于原生支持的操作系统(Linux 系列,具体见支持的操作系统列表)的快速体验场景,建议使用 obd 进行部署;
• 对于线上环境,建议使用 obd 进行标准部署。
• 对于 kubernetes 环境,建议使用 ob-operator 的方式部署。
三.安装前配置
以下配置根据官方文档中的标准配置
#清理缓存
sysctl -w vm.drop_caches=3

#配置limit.conf
cat << EOF >>/etc/security/limits.conf
root soft nofile 655350
root hard nofile 655350
* soft nofile 655350
* hard nofile 655350
* soft stack unlimited
* hard stack unlimited
* soft nproc 655360
* hard nproc 655360
* soft core unlimited
* hard core unlimited
EOF

cat <<EOF >>/etc/security/limits.d/20-nproc.conf
root soft nofile 655350
root hard nofile 655350
* soft nofile 655350
* hard nofile 655350
* soft stack unlimited
* hard stack unlimited
* soft nproc 655360
* hard nproc 655360
* soft core unlimited
* hard core unlimited
EOF

#配置sysctl.conf
cat <<EOF >>/etc/sysctl.conf
#for oceanbase
#修改内核异步 I/O 限制
fs.aio-max-nr = 1048576

#网络优化
net.core.somaxconn = 2048
net.core.netdev_max_backlog = 10000
net.core.rmem_default = 16777216
net.core.wmem_default = 16777216
net.core.rmem_max = 16777216
net.core.wmem_max = 16777216

net.ipv4.ip_forward = 0
net.ipv4.conf.default.rp_filter = 1
net.ipv4.conf.default.accept_source_route = 0
net.ipv4.tcp_syncookies = 1
net.ipv4.tcp_rmem = 4096 87380 16777216
net.ipv4.tcp_wmem = 4096 65536 16777216
net.ipv4.tcp_max_syn_backlog = 16384
net.ipv4.tcp_fin_timeout = 15
net.ipv4.tcp_slow_start_after_idle=0

vm.swappiness = 0
vm.min_free_kbytes = 2097152
vm.overcommit_memory = 0

fs.file-max = 6573688
fs.pipe-user-pages-soft = 0

#修改进程可以拥有的虚拟内存区域数量
vm.max_map_count = 655360

#此处为 OceanBase 数据库的 data 目录
kernel.core_pattern = /data/core-%e-%p-%t
EOF

#关闭防火墙和selinux
systemctl disable firewalld
systemctl stop firewalld
systemctl status firewalld

vi /etc/selinux/config
SELINUX=disabled
--执行以下命令或重启服务器使命令生效
setenforce 0
--查看是否生效
sestatus
–最好重启服务器使参数都生效
四.单机版快速部署
安装包官方下载地址:https://www.oceanbase.com/softwarecenter
#解压all in one安装包
tar -zxvf oceanbase-all-in-one-4.3.5_bp1_20250320.el7.x86_64.tar.gz
#开始安装obd
cd oceanbase-all-in-one/bin
./install.sh
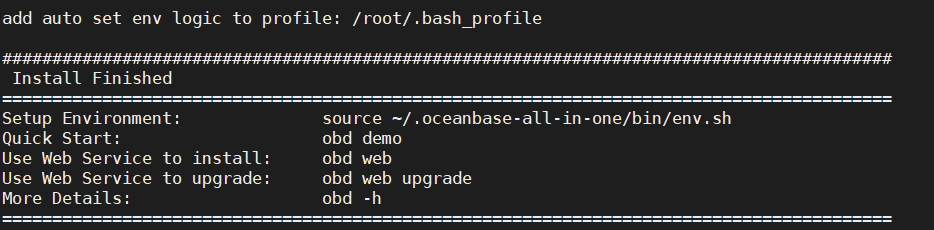
#根据提示依次执行
source ~/.oceanbase-all-in-one/bin/env.sh
obd demo
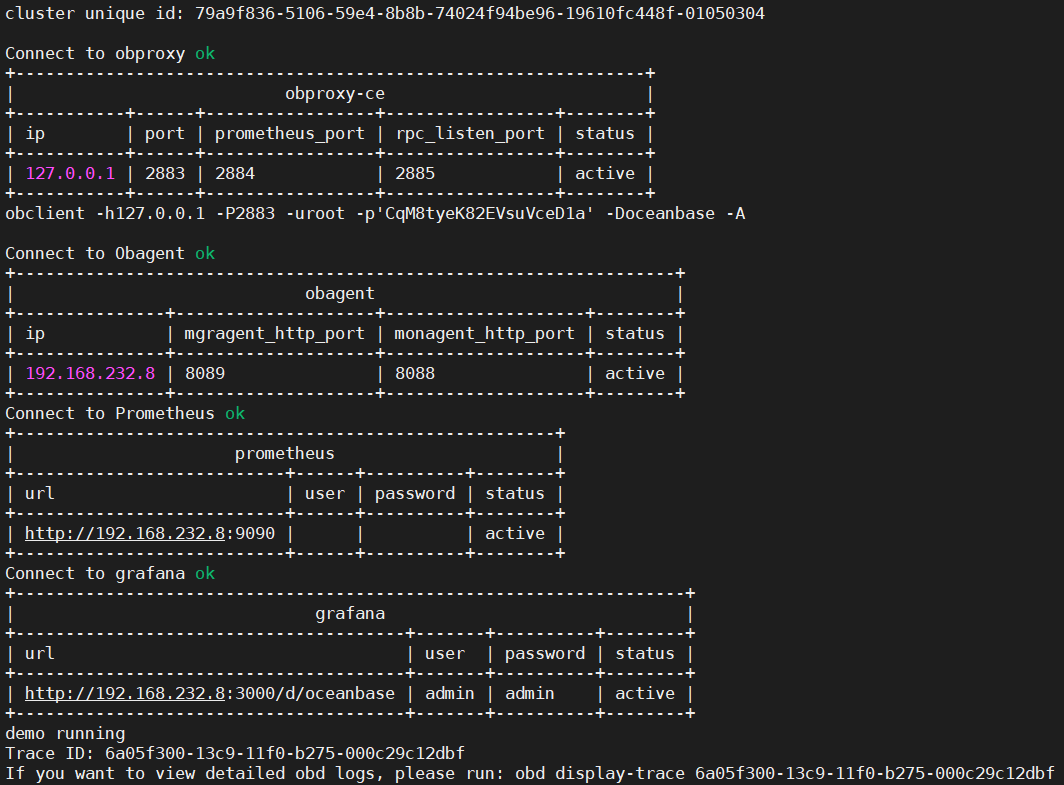
完成安装
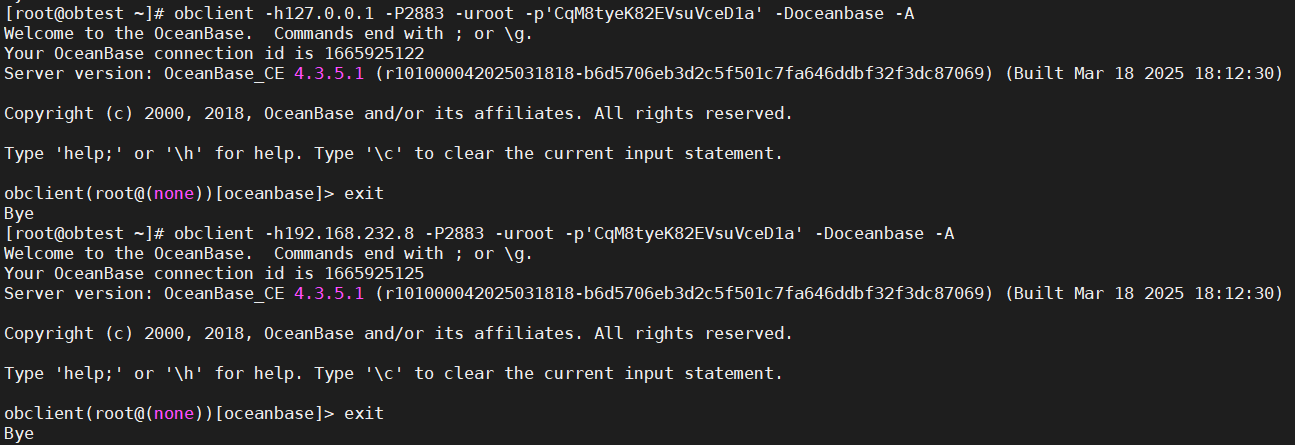
五.连接测试
通过图中提示的连接串进行链接
--本地 通过2881端口
obclient -h127.0.0.1 -P2881 -uroot -p'CqM8tyeK82EVsuVceD1a' -Doceanbase -A
--本地 通过proxy的2883端口
obclient -h127.0.0.1 -P2883 -uroot -p'CqM8tyeK82EVsuVceD1a' -Doceanbase -A
--远程 通过ip地址
obclient -h192.168.232.8 -P2883 -uroot -p'CqM8tyeK82EVsuVceD1a' -Doceanbase -A
连接均无问题