企业部署Power BI 报表服务器,在第三方系统嵌套该报表服务器,并实现单点登录
简介
Power BI Report Server 简称PBIRS,中文名"Power BI 报表服务器"
微软的文档:Power BI 报表服务器文档 - Power BI | Microsoft Learn
借用官网的介绍:
- Power BI 报表服务器类似于 SQL Server Reporting Services 和 Power BI 联机服务,
- Power BI 报表服务器也可托管 Power BI 报表 (.pbix)、Excel 文件和分页报表 (.rdl)。
- Power BI 报表服务器是本地服务器。
- Power BI 报表服务器功能是 Reporting Services 的超集:Reporting Services 可执行的所有操作均可由 Power BI 报表服务器执行,后者还支持 Power BI 报表。
想要实现的功能:
- 私有化部署Power BI报表服务器
- 本地开发PBI报表之后,直接部署到服务器
- 在第三方系统嵌套报表服务器,并实现单点登录
安装
准备一台服务器:
- CPU:4vCPUs
- 内存:8GiB
- 硬盘:100G
- 镜像: Windows Server 2022 数据中心版 64位 中文_40GB/深圳市伊登软件有限公司
远程登录到服务器,安装软件:
- SQL2022-SSEI-Dev:微软数据库 SQL
- SSMS-Setup-CHS:微软数据库管理工具
- PowerBIReportServer:PBI 报表服务器
- 安装 IIS 证书:启用 https
- VisualStudioSetup: Visual Studio 开发工具,用于自定义Form登录
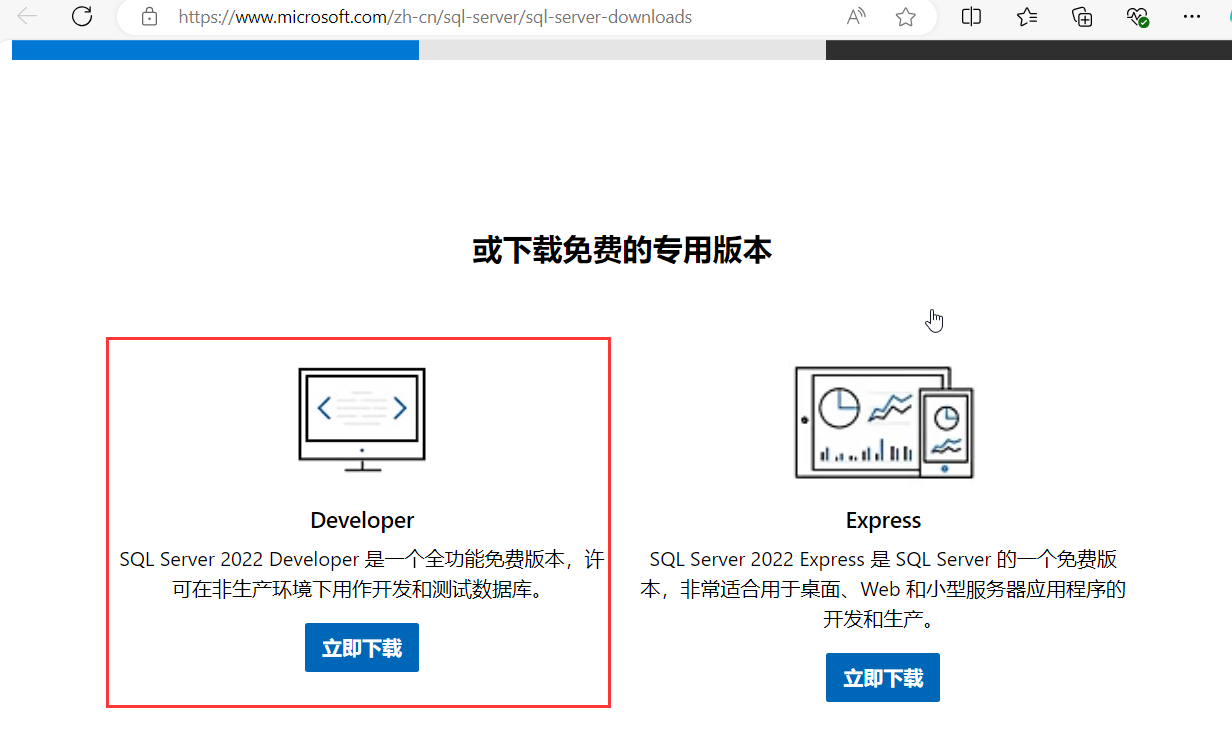
安装 SQL Server
- 下载文件:SQL Server 下载 | Microsoft
- 双击下载好的exe文件
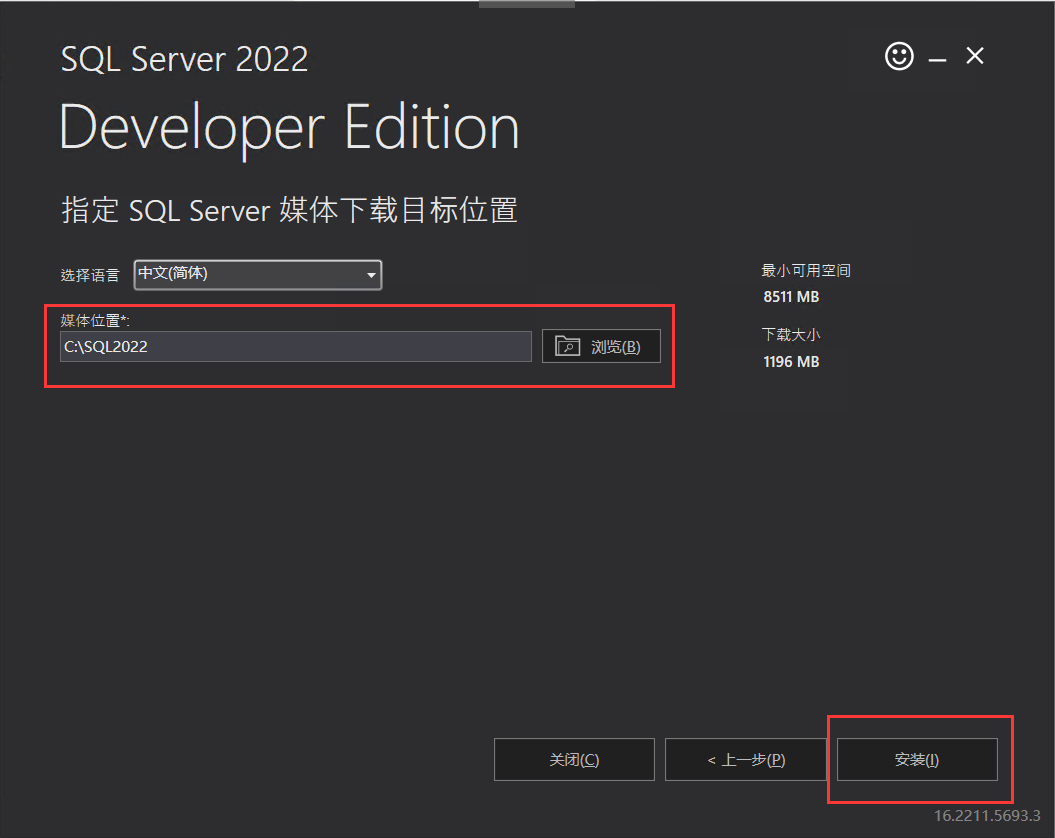
- 选择自定义安装
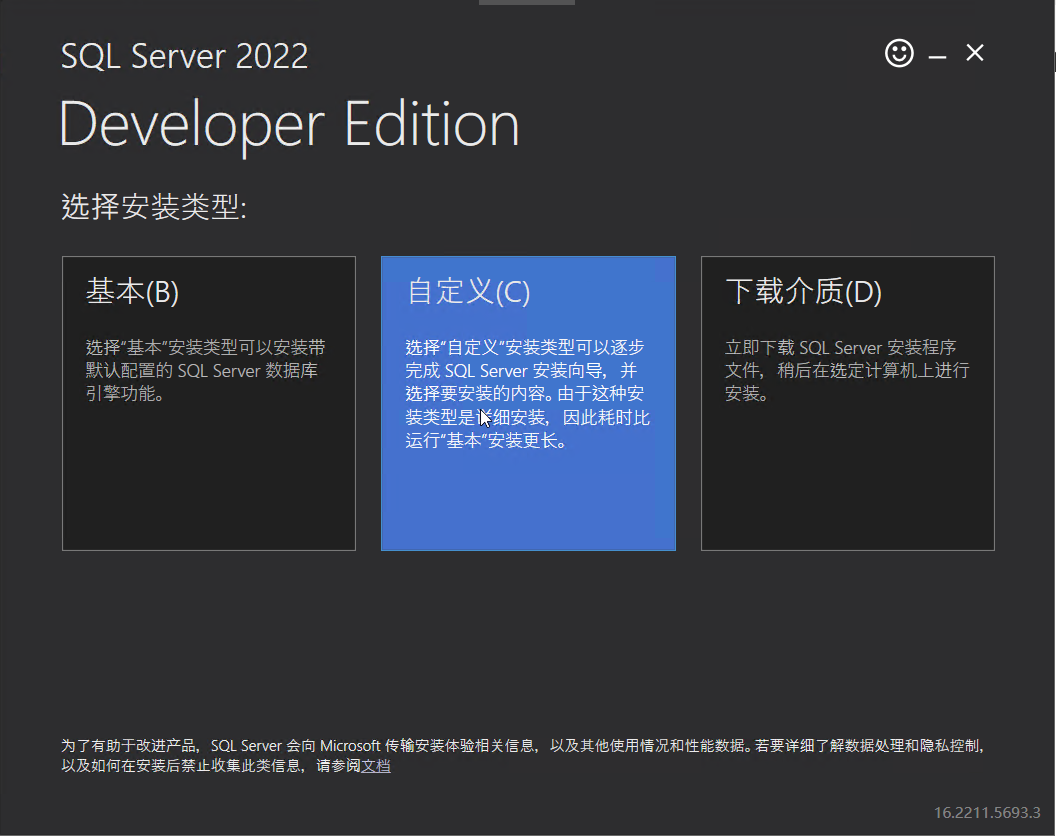
- 选择安装位置,默认即可
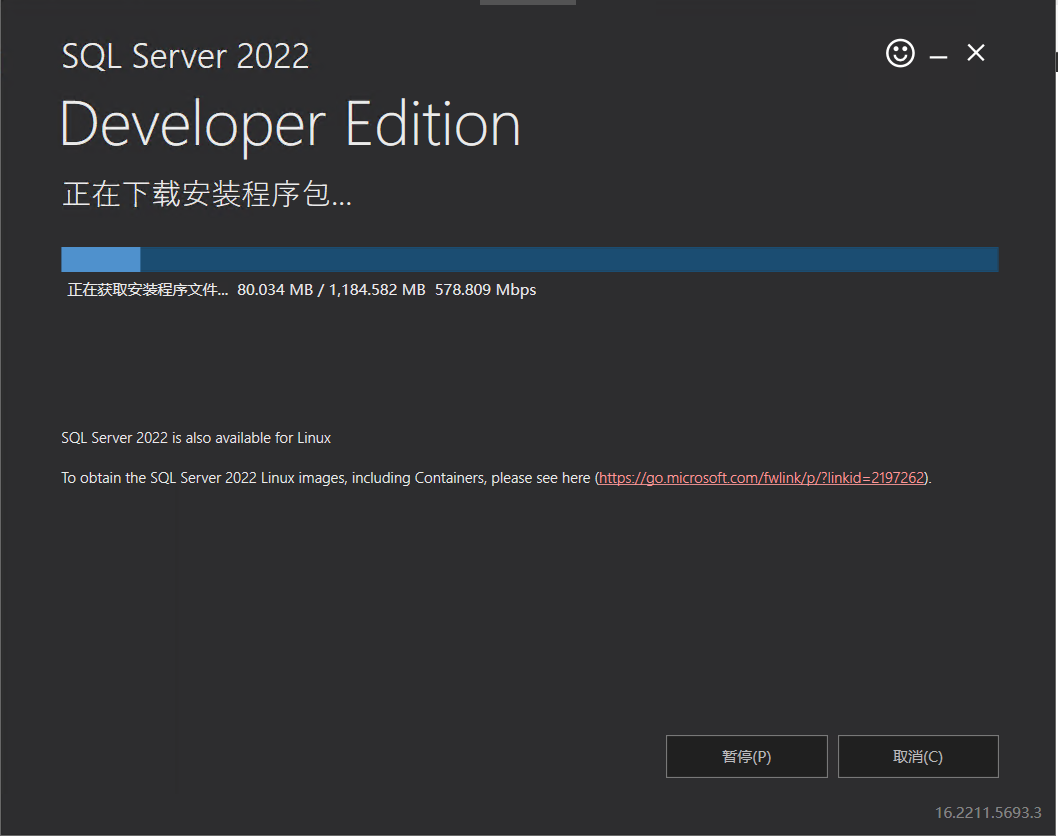
- 等待安装过程
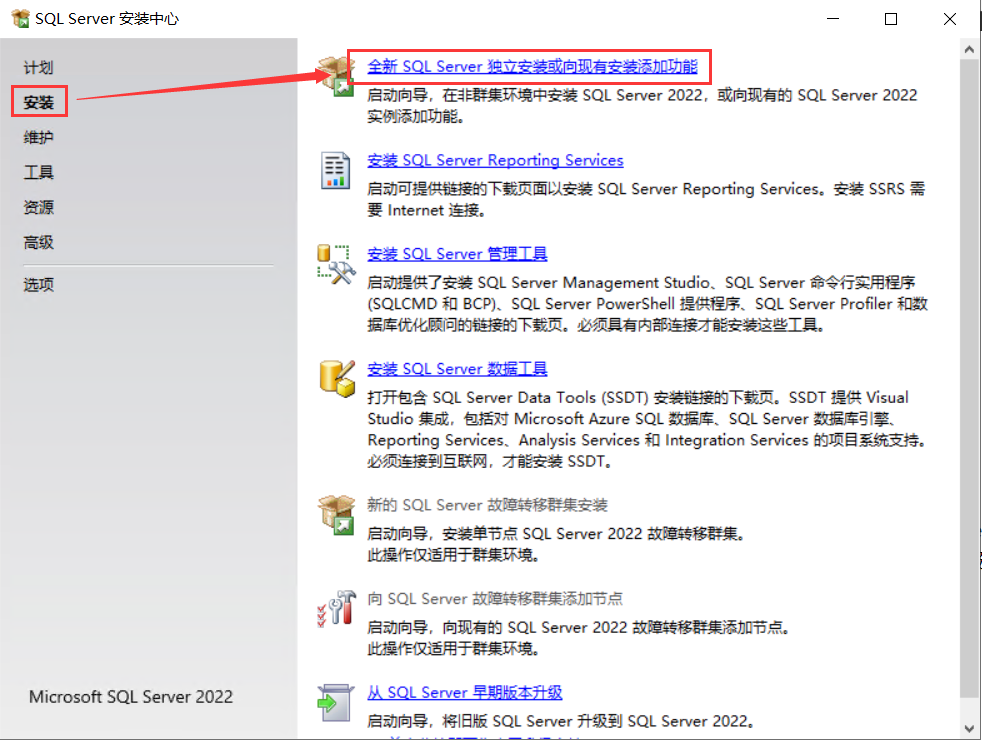
- 安装完成之后,出现这个页面,选择【安装】-【全新 SQL Server 独立安装或向现有安装添加功能】
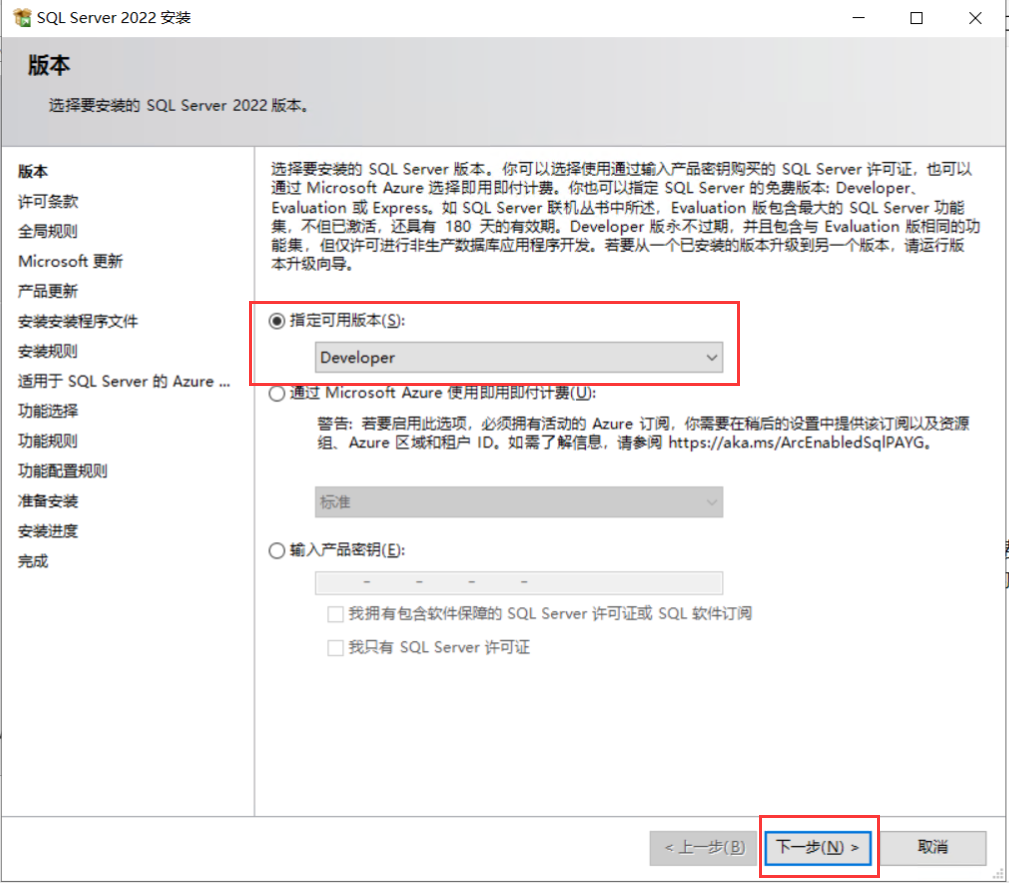
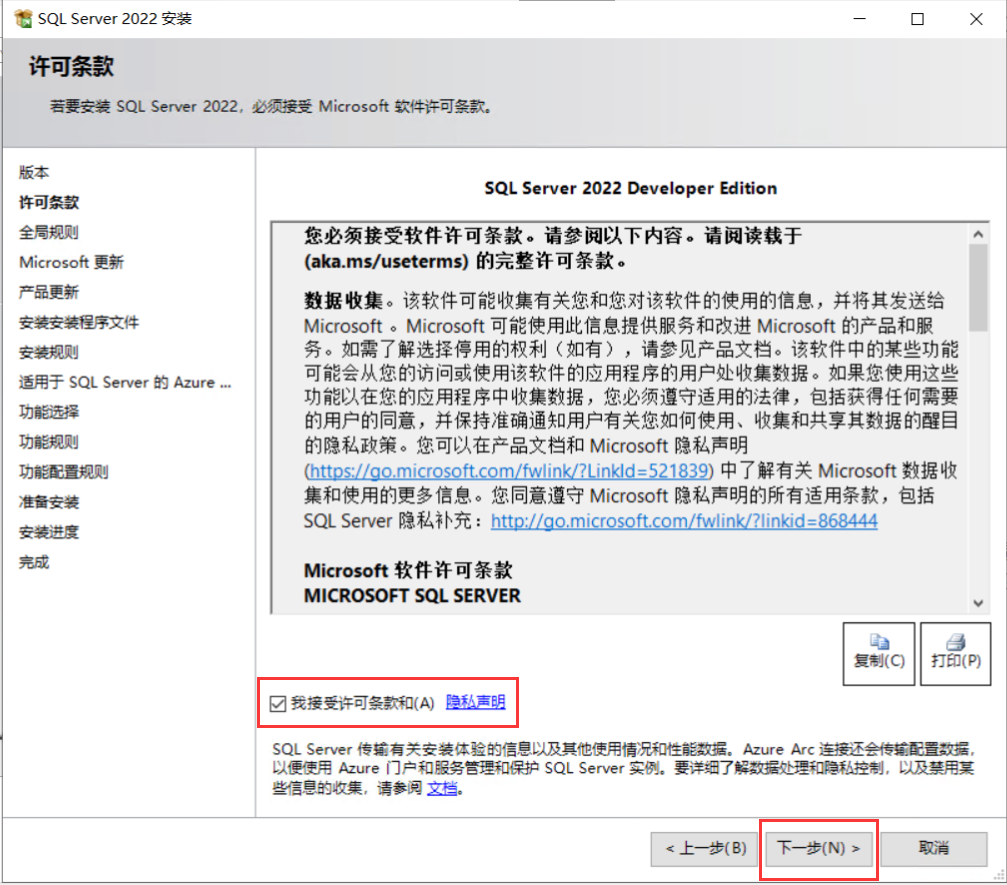
- 版本:指定可用版本【Developer】-【下一步】
- 许可条款:【勾选】-【下一步】
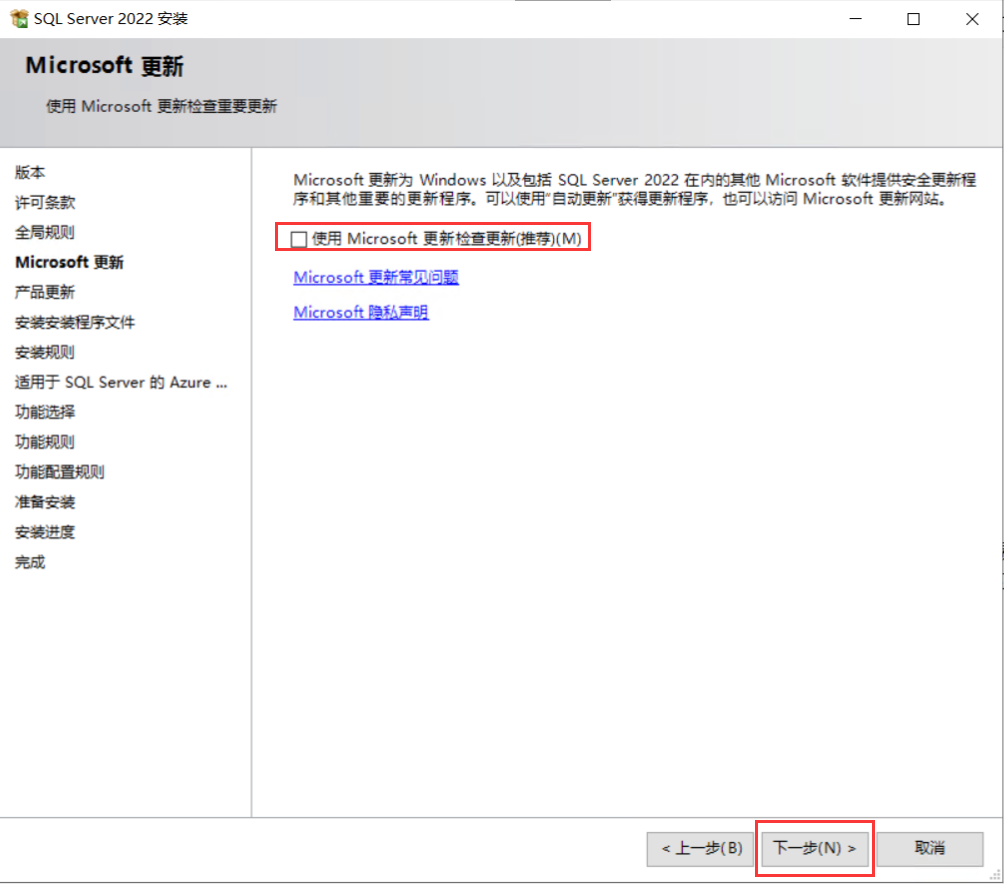
- Microsoft 更新:【不勾选】-【下一步】
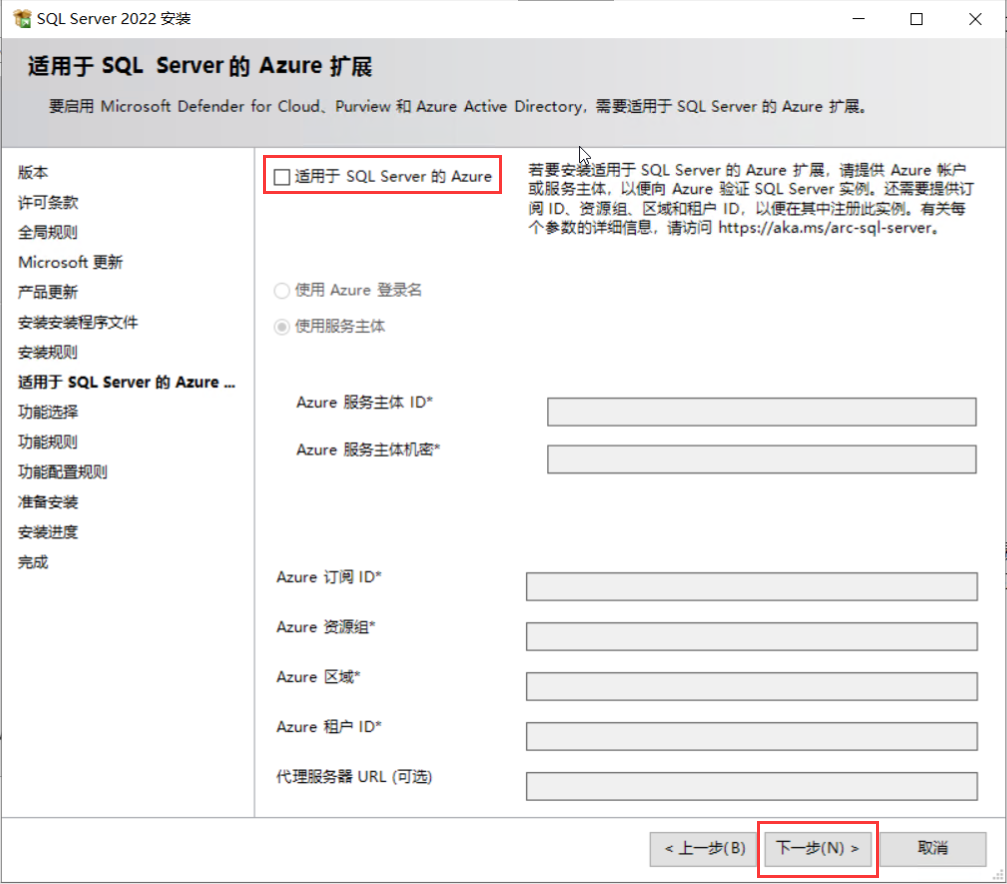
- 适用于 SQL Server 的Azure 扩展:【不勾选】-【下一步】
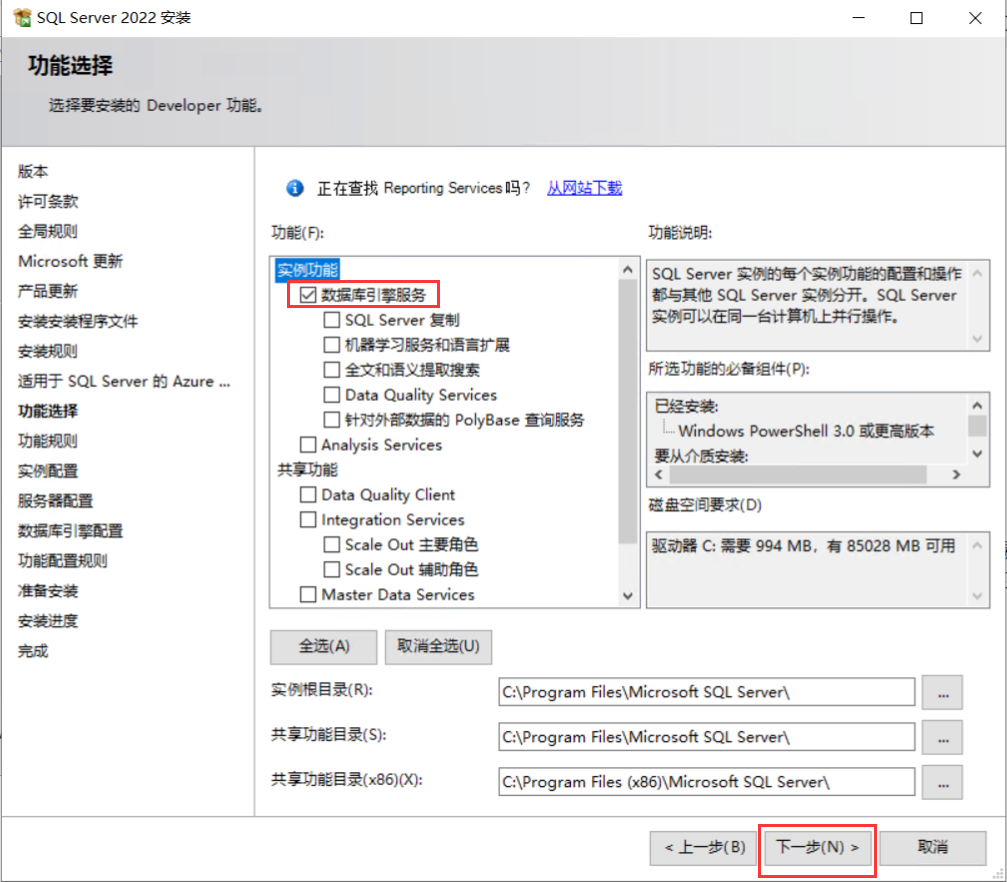
- 功能选择:勾选【数据库引擎服务】-【下一步】
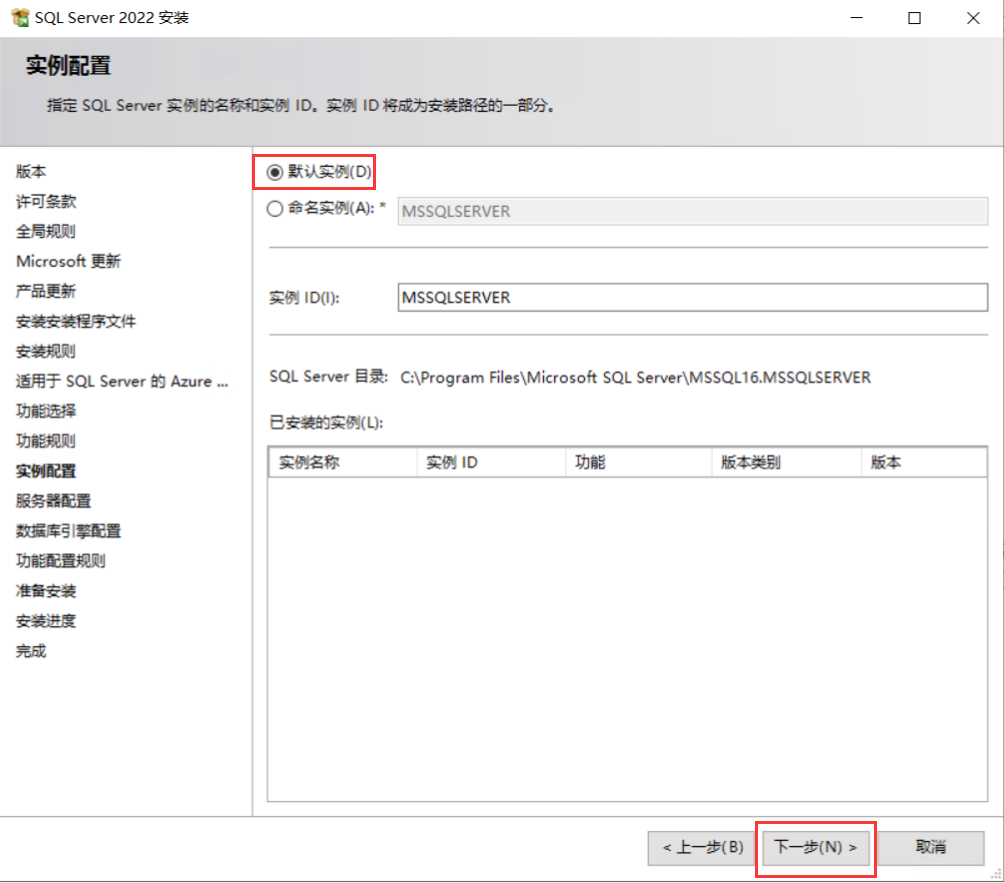
- 实例配置:【默认实例】-【下一步】
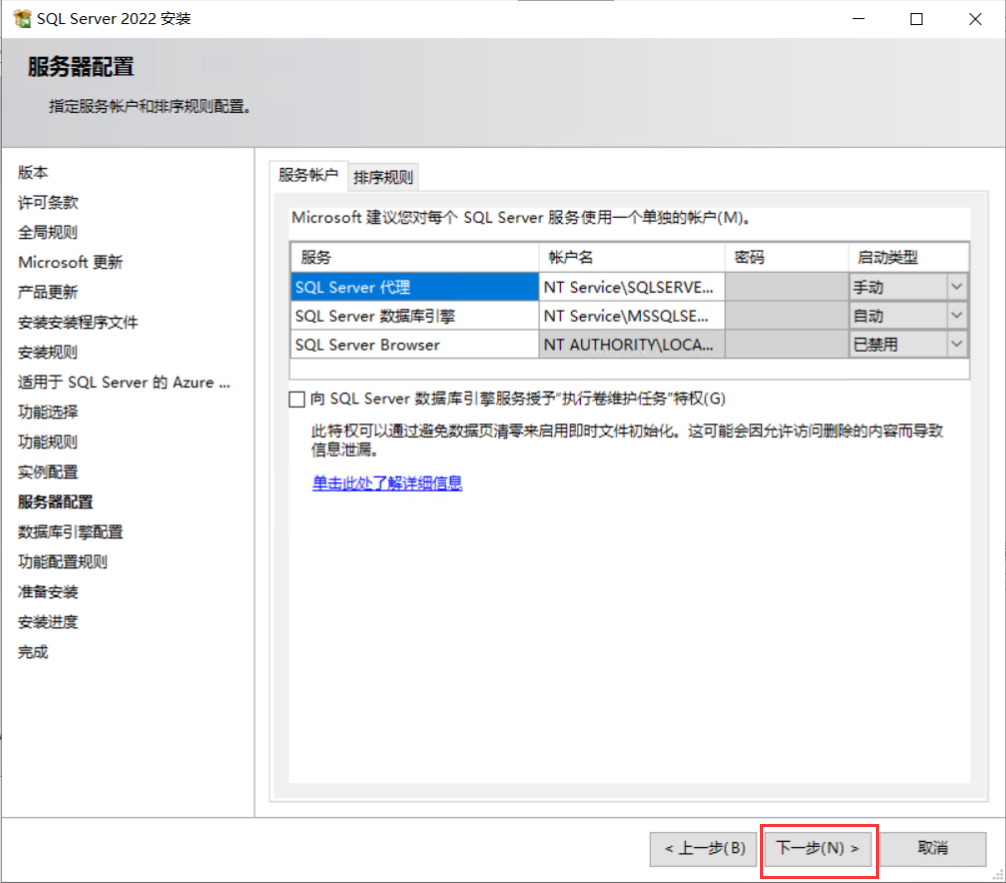
- 服务器配置:直接【下一步】
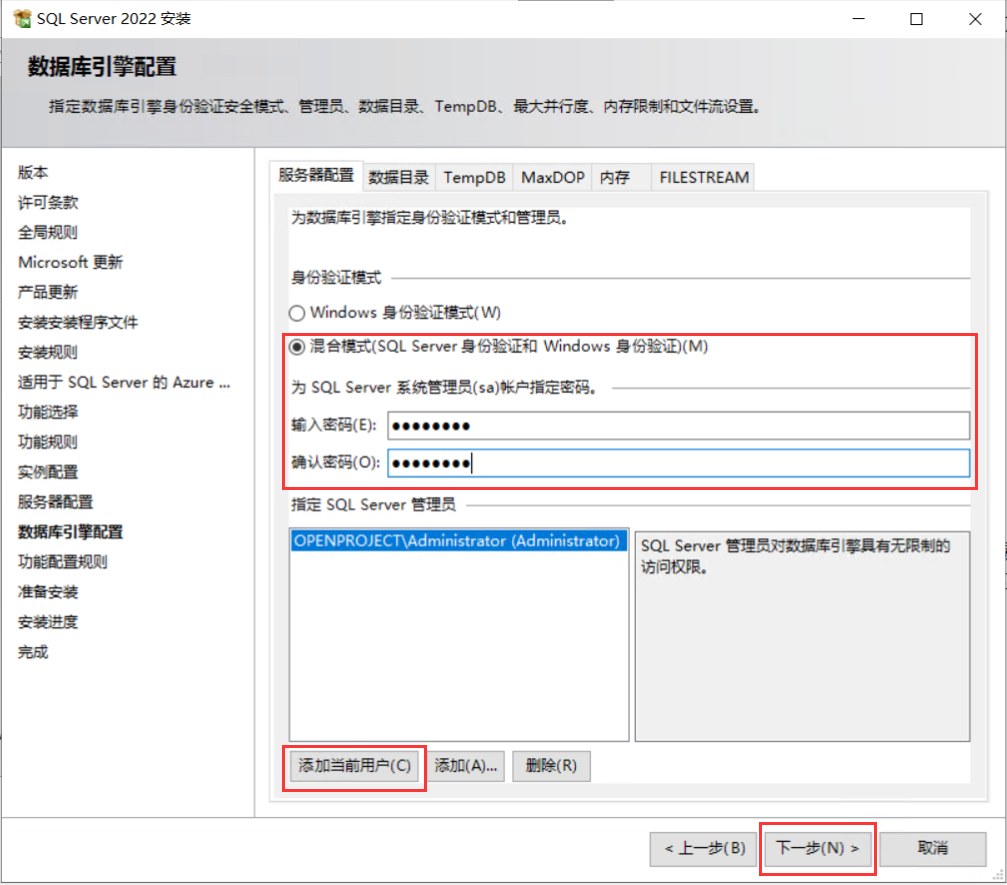
- 数据库引擎配置:身份验证模式选择【混合模式】-【设置sa账号密码】-【添加当前用户】-【下一步】
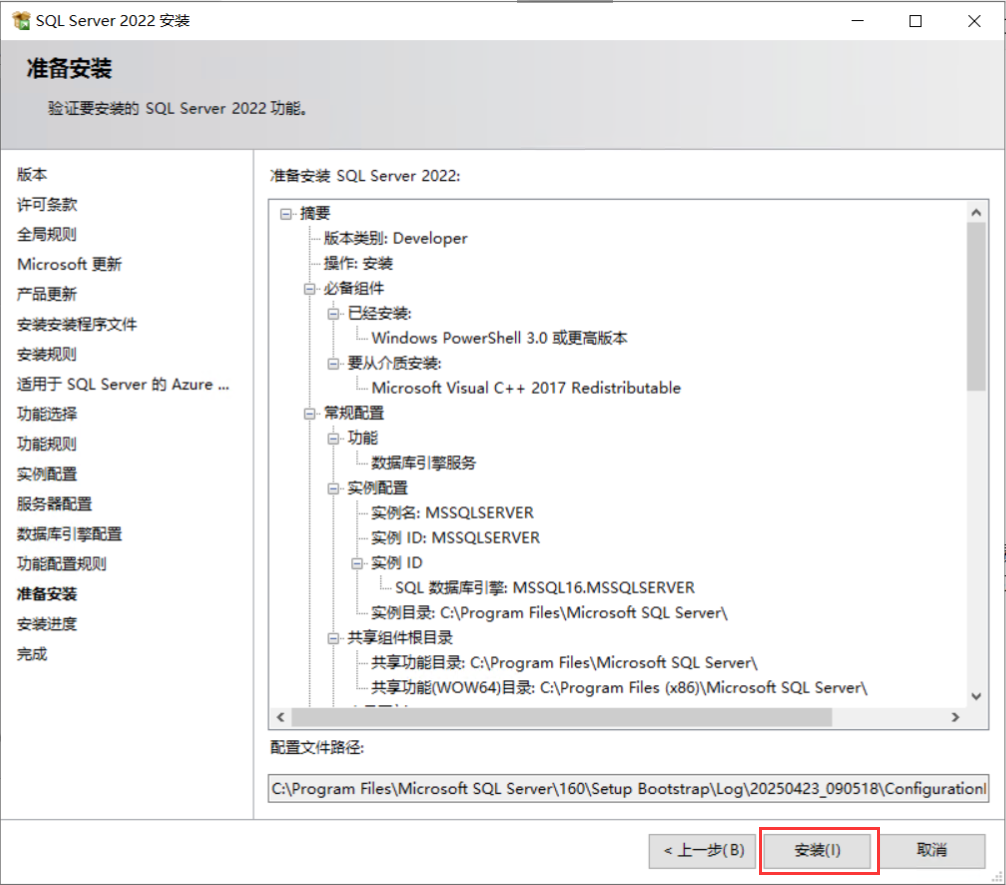
- 准备安装:直接【下一步】
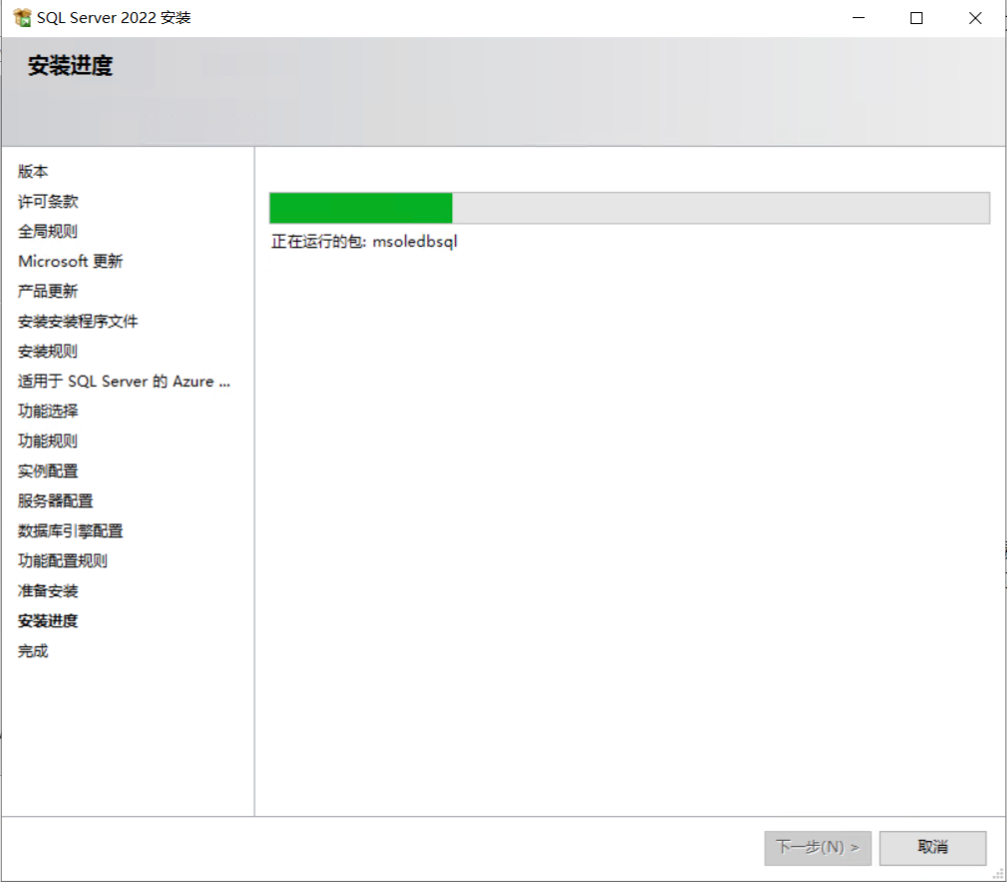
- 安装进度
- 安装完成:点击【关闭】

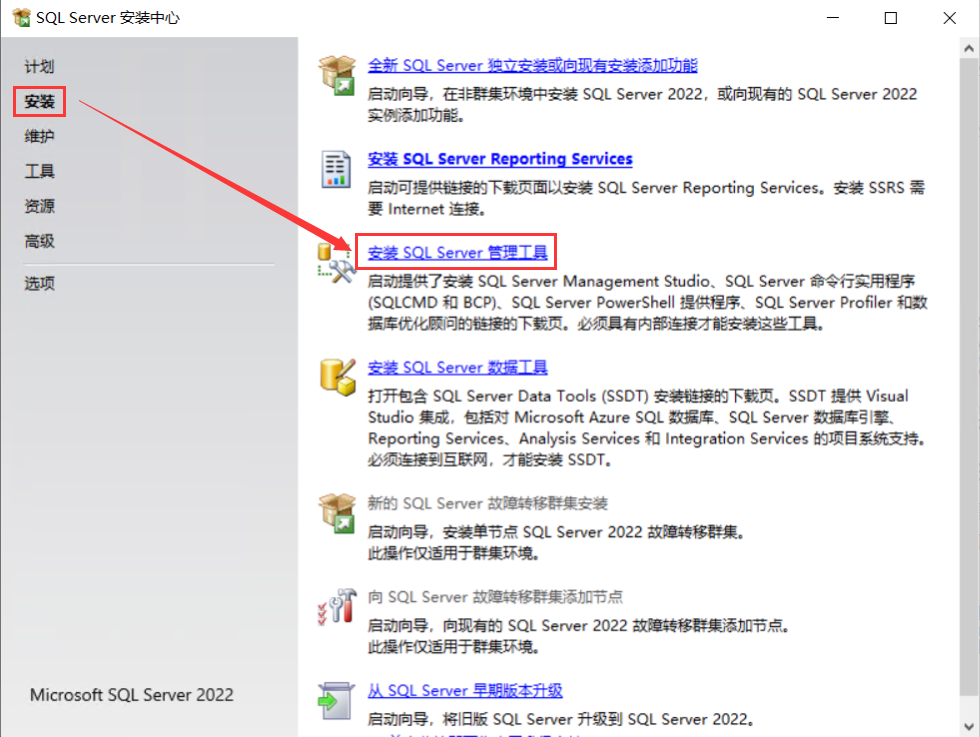
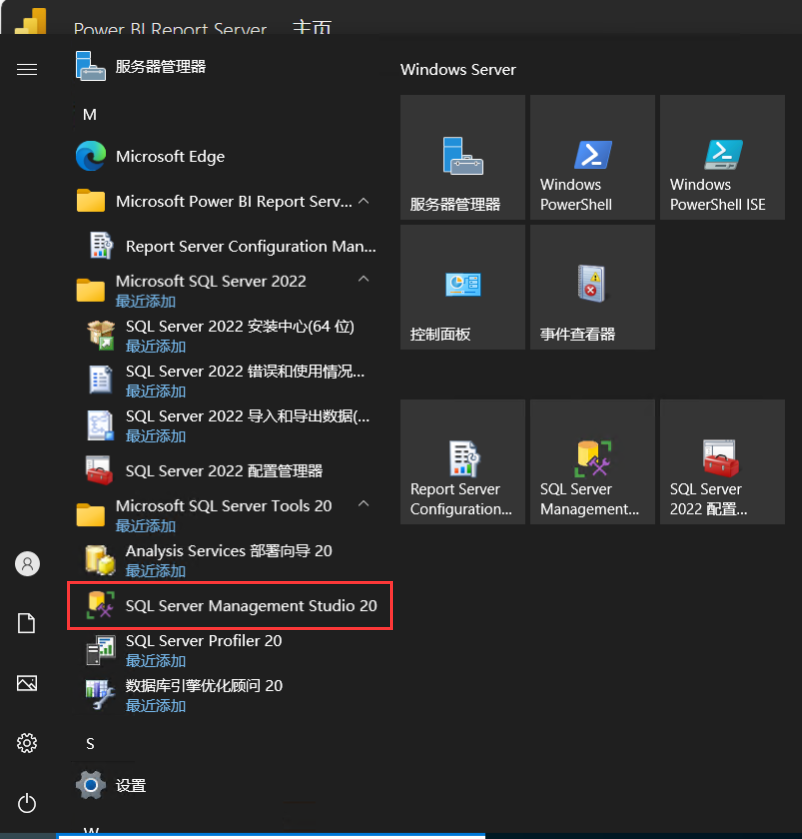
安装 SSMS
下载地址:下载 SQL Server Management Studio (SSMS) | Microsoft Learn
可以直接按下图进入下载地址
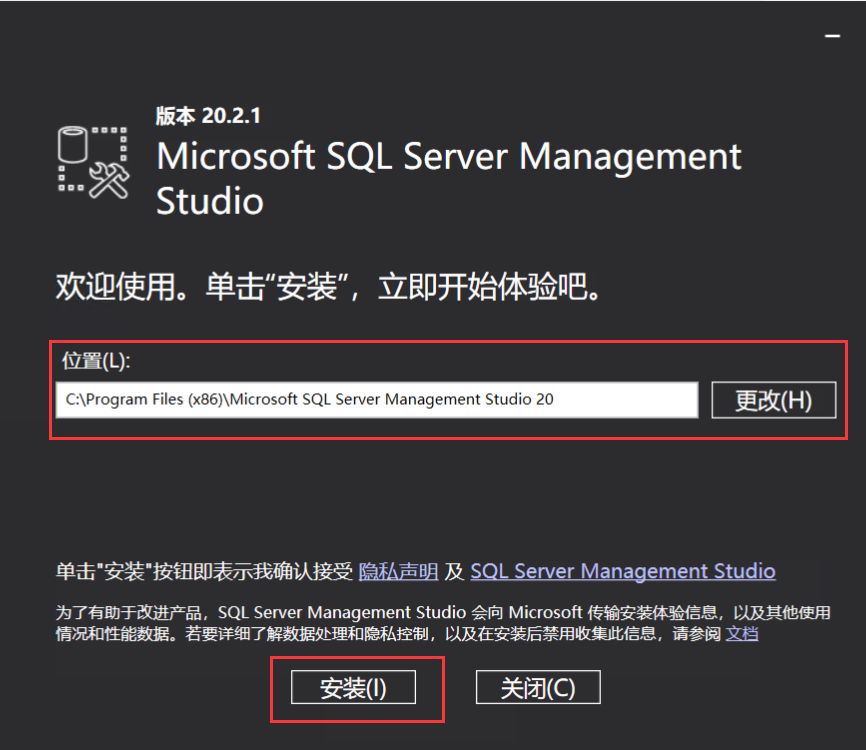
- 运行exe文件进行安装:【选择安装位置】-【安装】
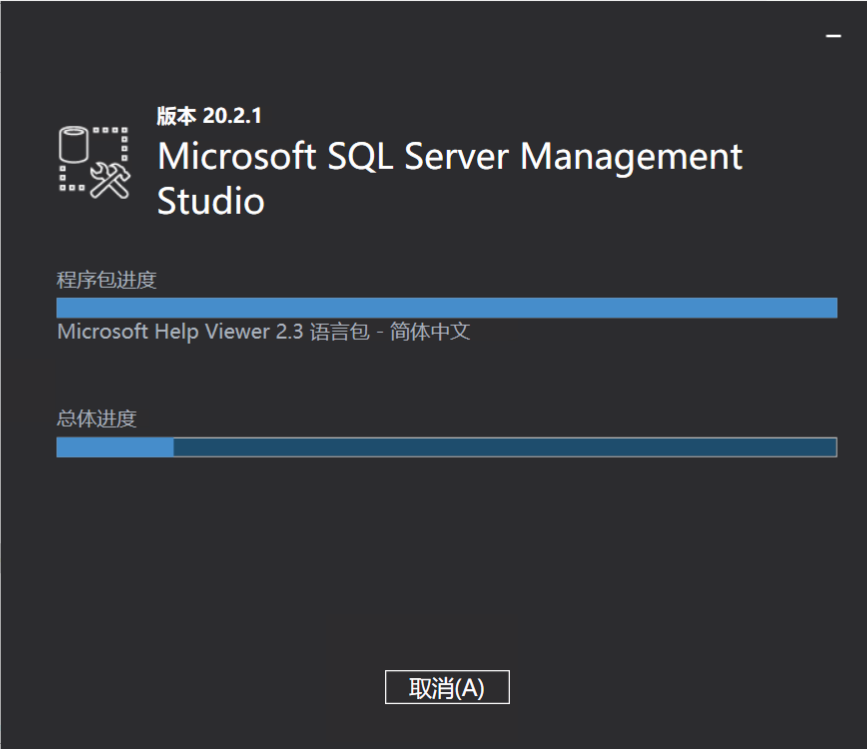
- 安装进度
- 安装完成
安装 PBIRS
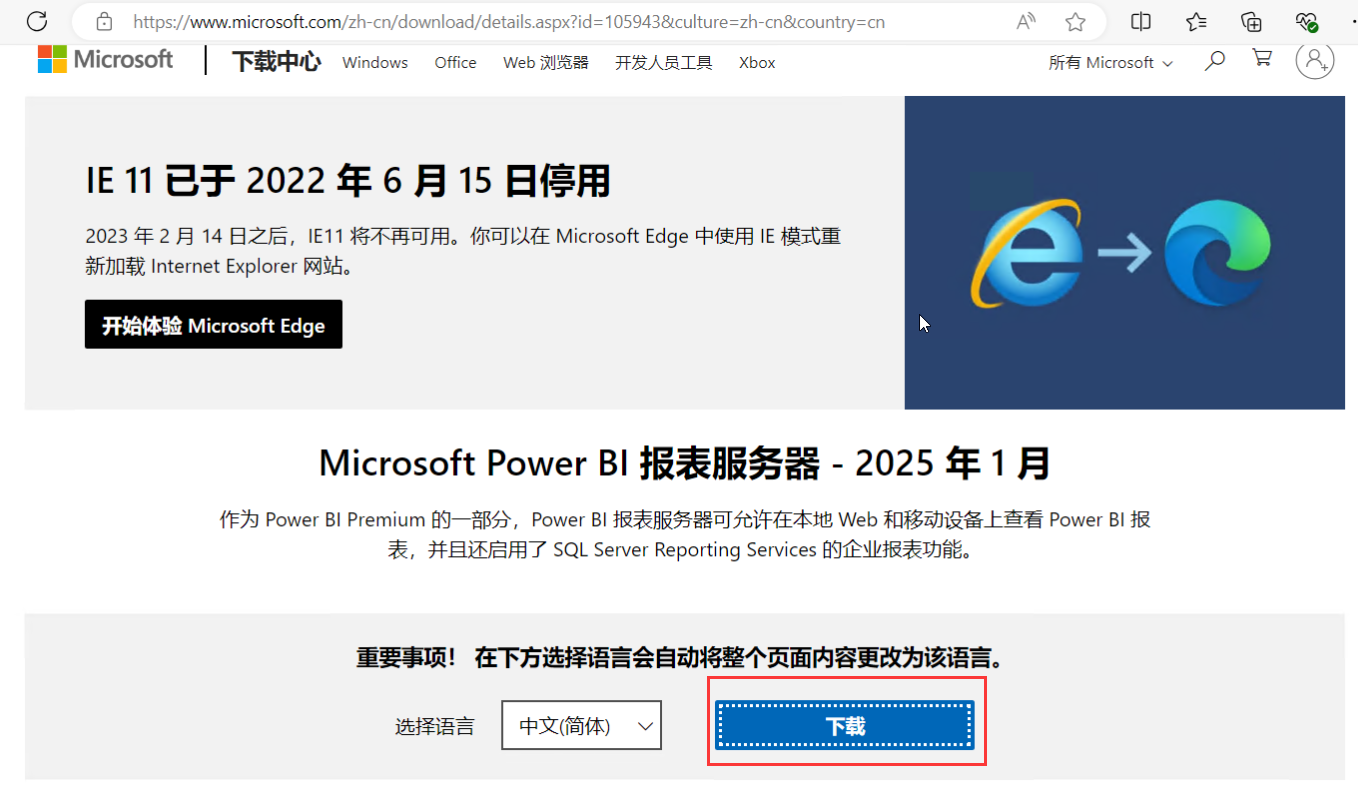
下载地址:https://www.microsoft.com/zh-cn/download/details.aspx?id=105943&culture=zh-cn&country=cn
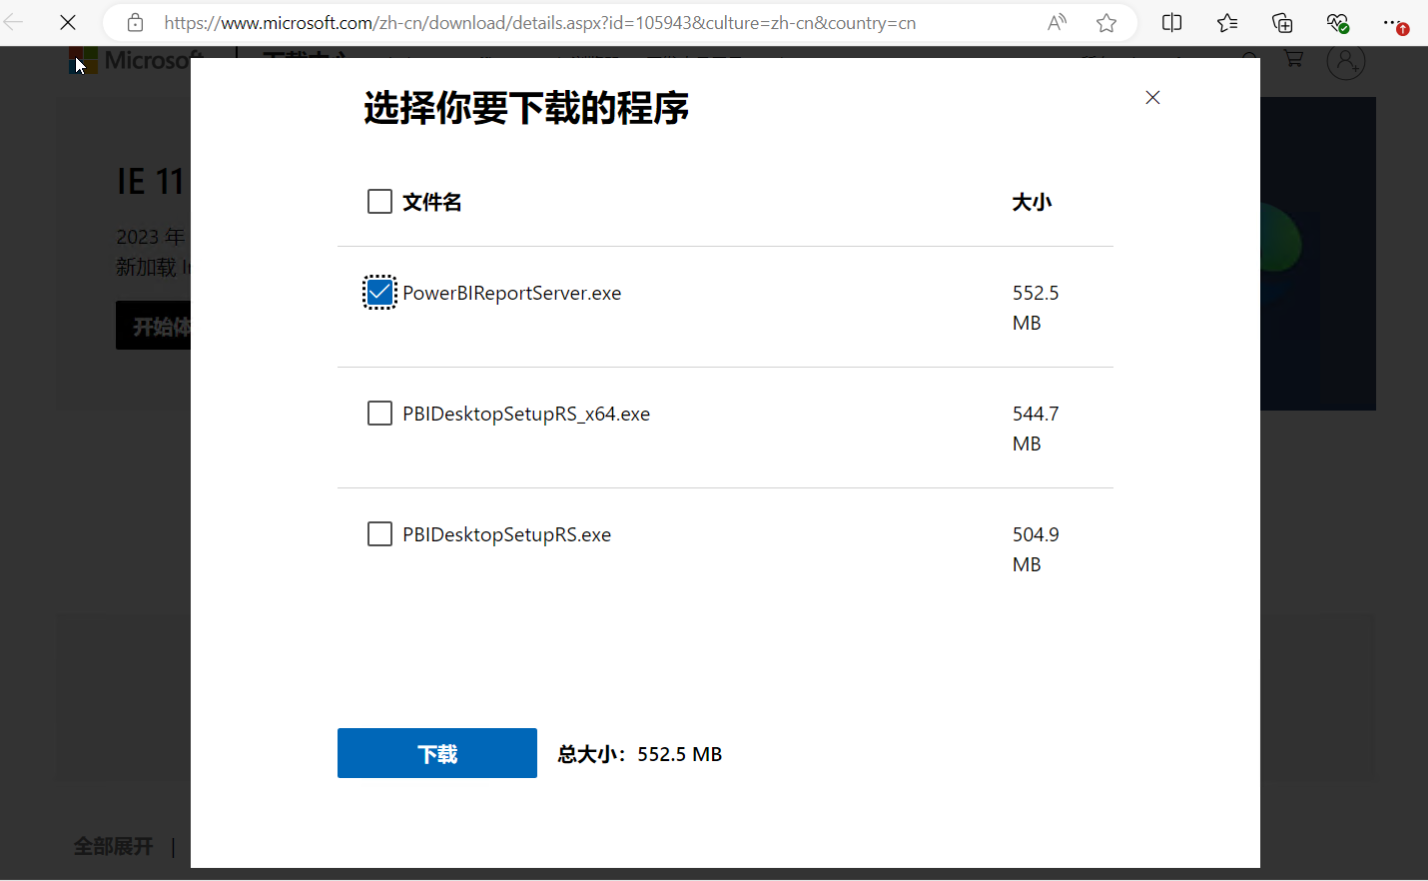
选择下载的程序:【PowerBIReportServer.exe]
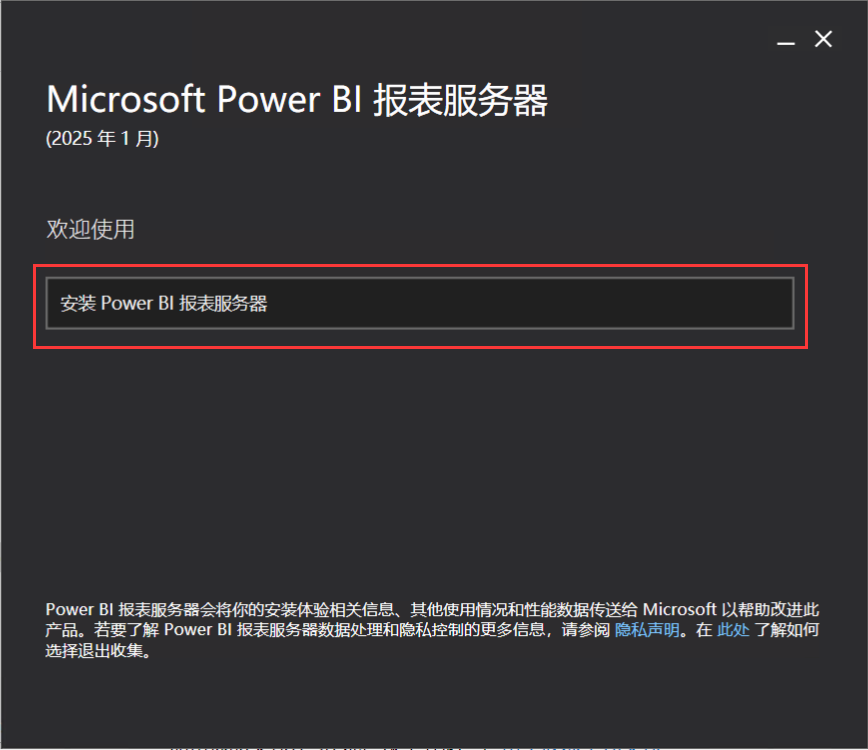
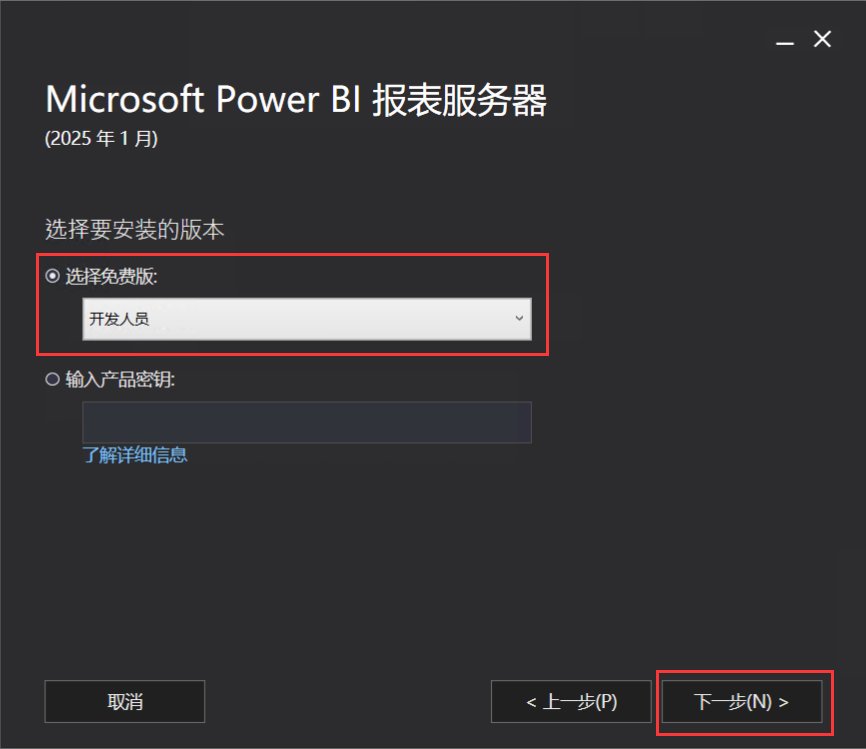
- 运行 PowerBIReportServer.exe 文件:【安装 Power BI 报表服务器】
- 【选择安装版本】-【下一步】
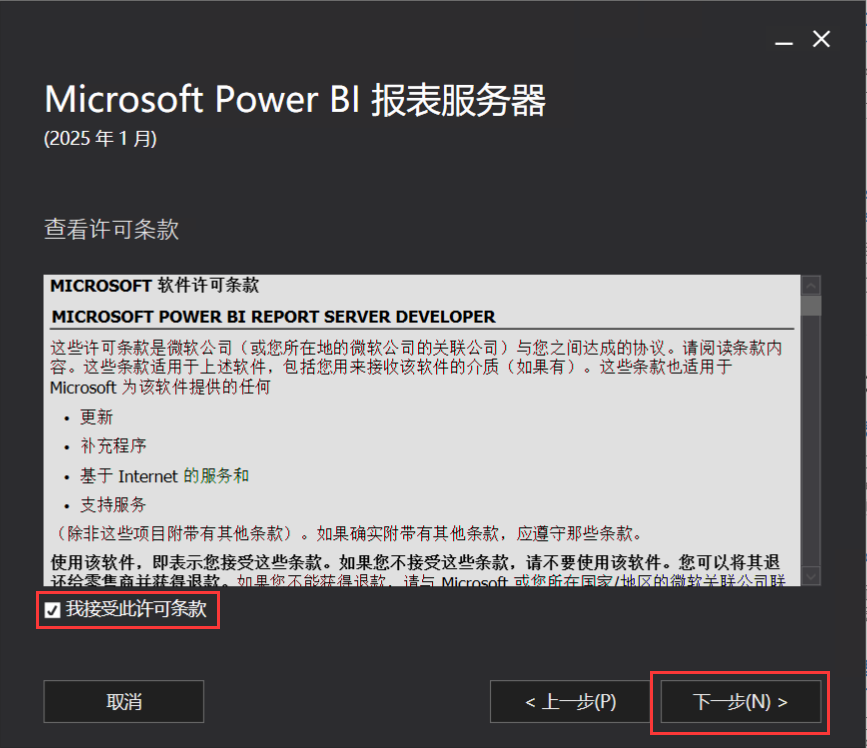
- 【勾选许可条款】-【下一步】
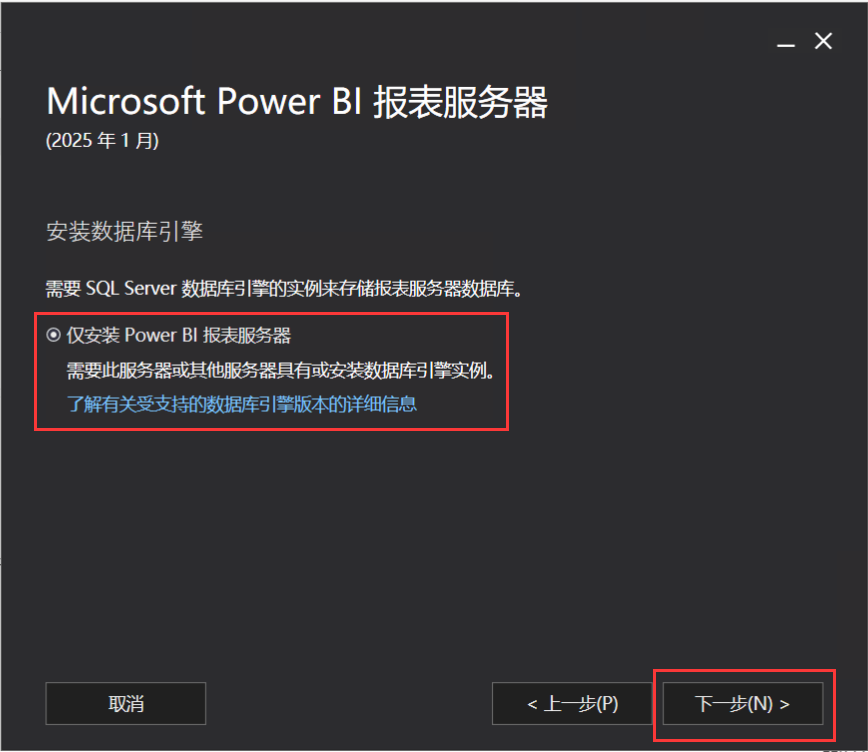
- 直接【下一步】
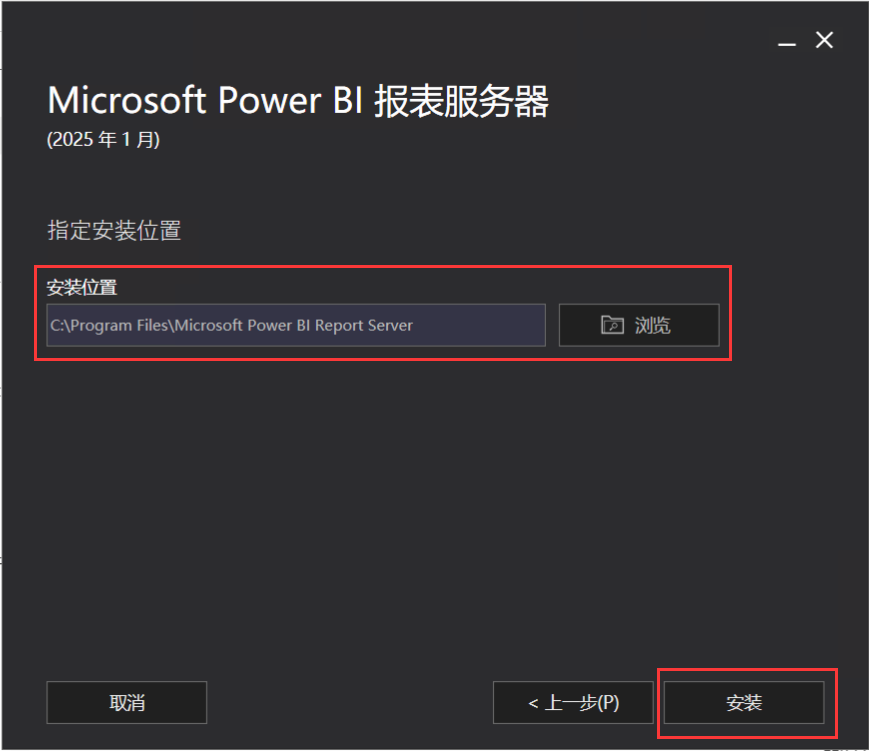
- 【指定安装位置】-【下一步】
- 安装进度
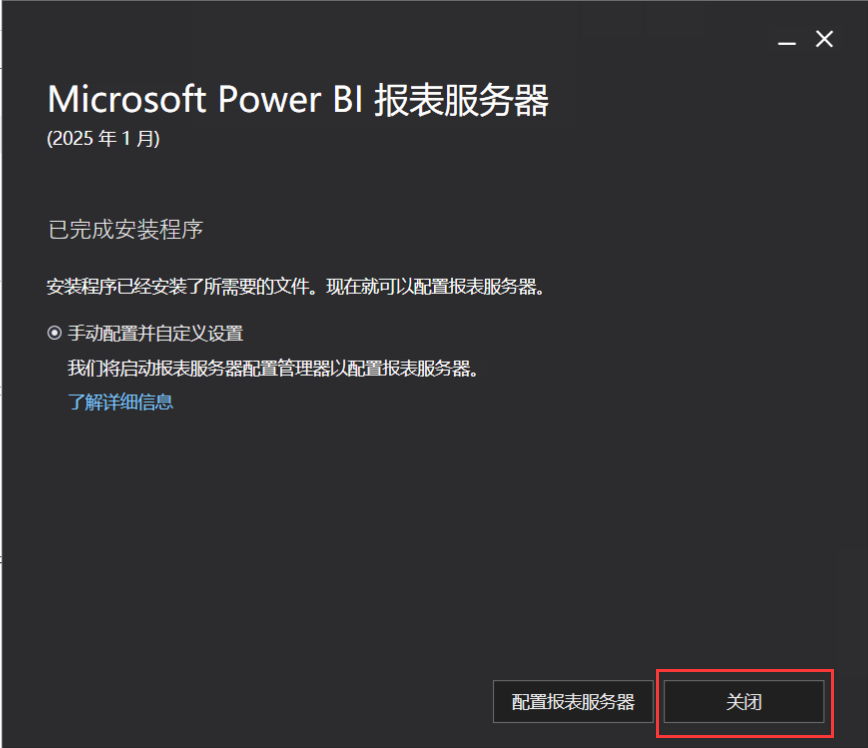
- 安装完成
安装 IIS 证书
:::color4 开启https,需要满足以下条件,:
- 需要购买证书
- 服务器导入证书
- 需要购买域名
- 需要将域名与服务器的ID地址做域名解析
- 在 web 服务部署证书
:::
本地下载证书
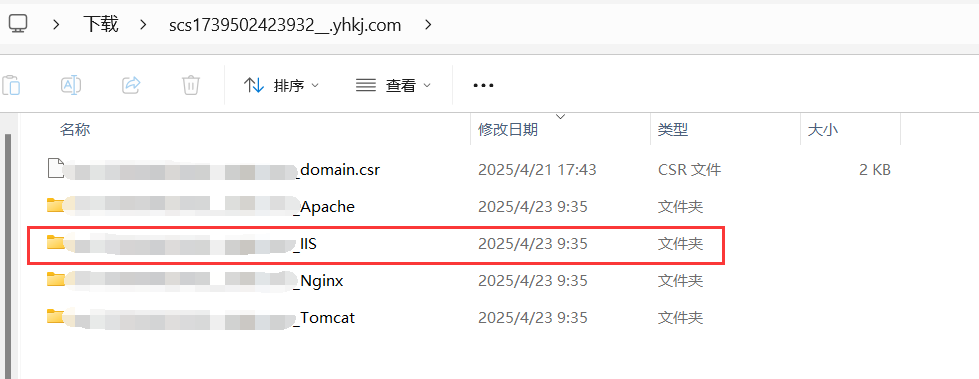
- 在本地下载已经授权好的证书,这里使用的是在华为云购买的证书

- 将下载好的 IIS 证书传到服务器上
服务器上安装证书
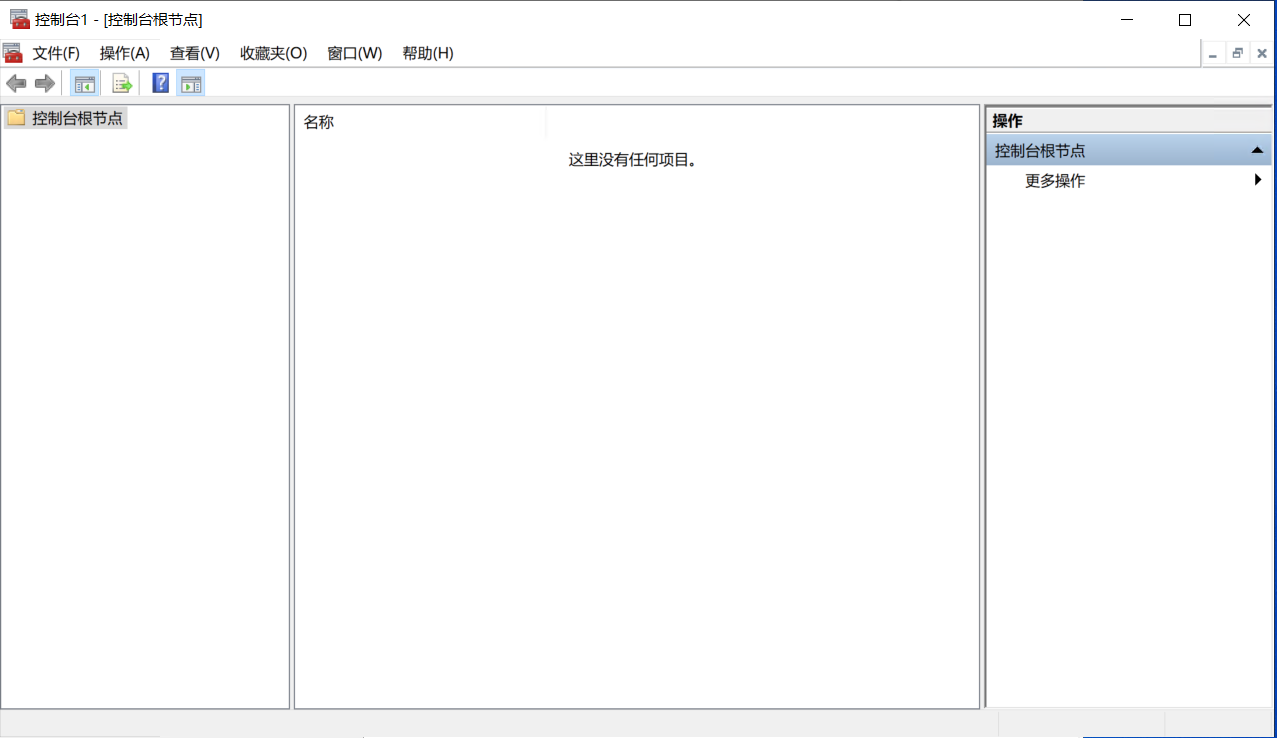
- 在服务器上 Win+R 打开运行,输入
mmc
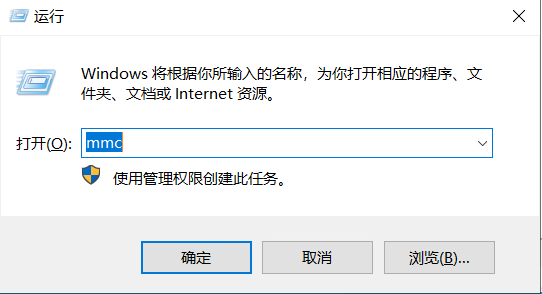
- 控制台
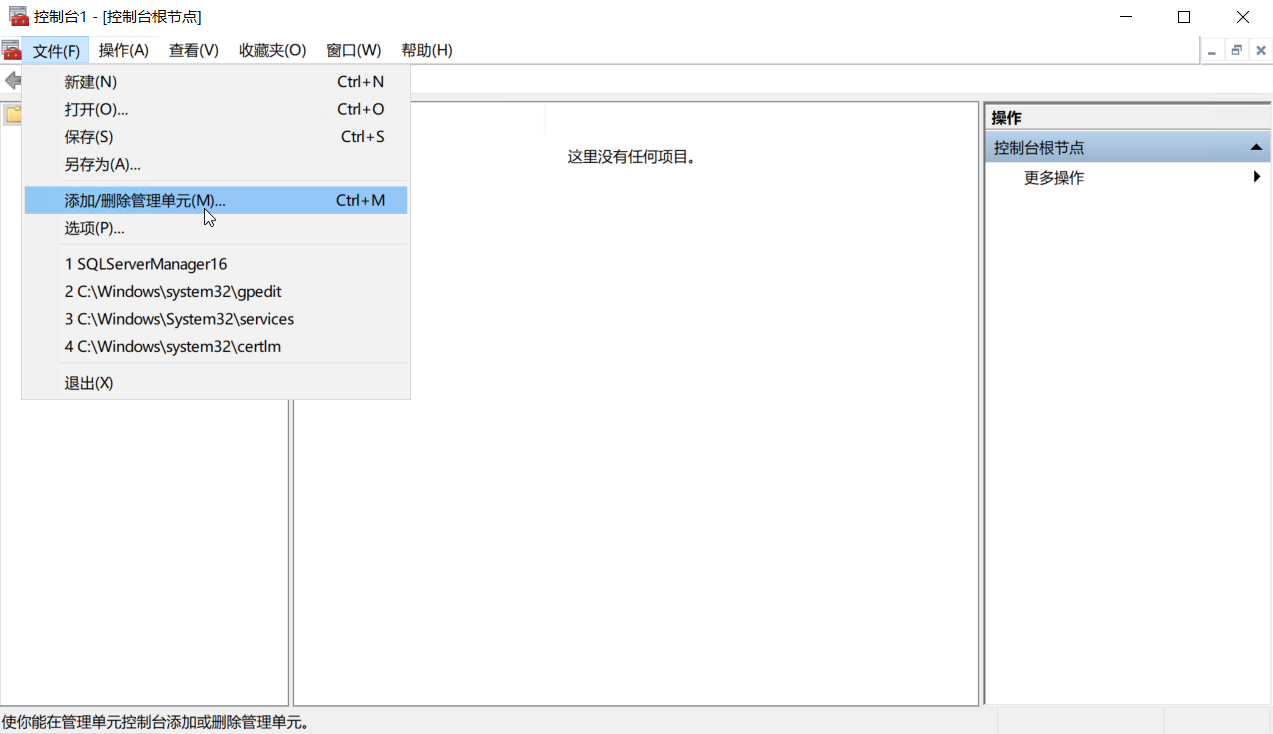
- 【文件】-【添加管理单元】
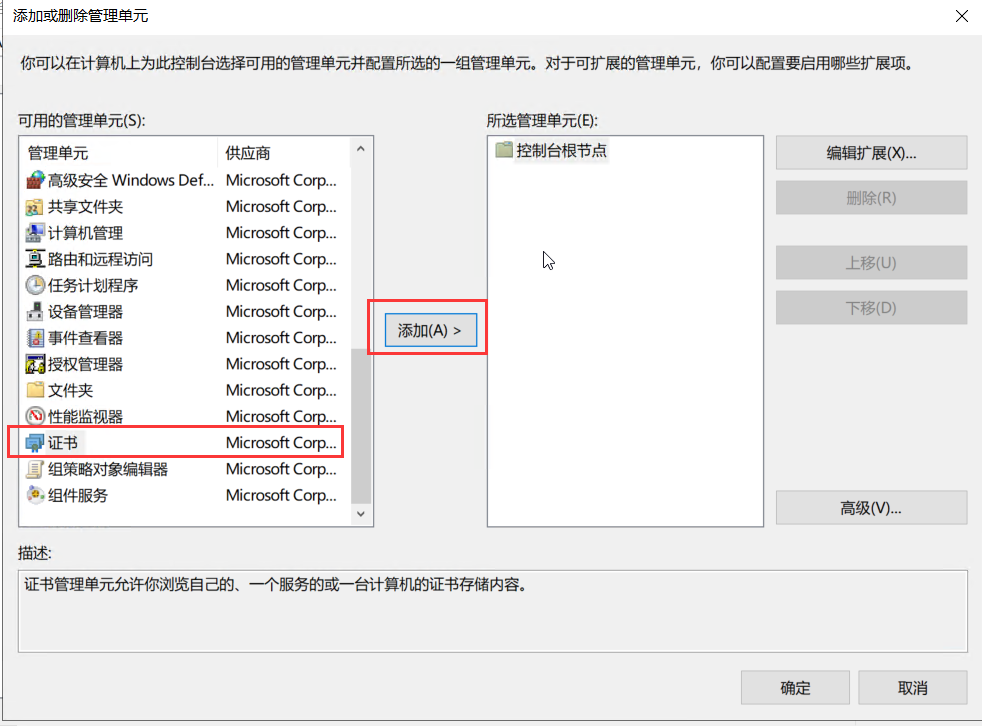
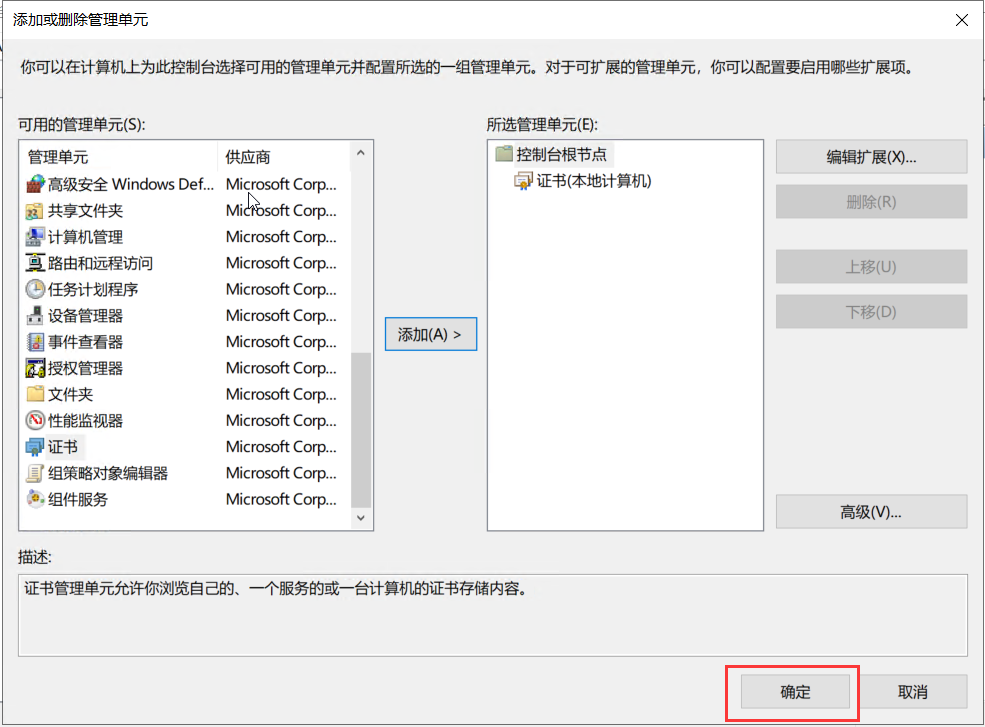
- 选择【证书】-【添加】
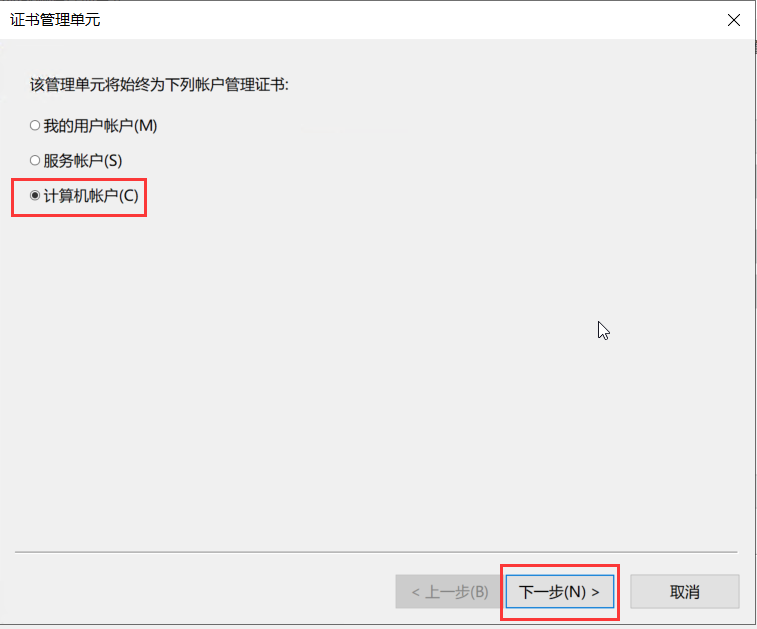
- 设置证书管理单元:【计算机账户】-【下一步】
- 选择计算机:【本地计算机】-【下一步】
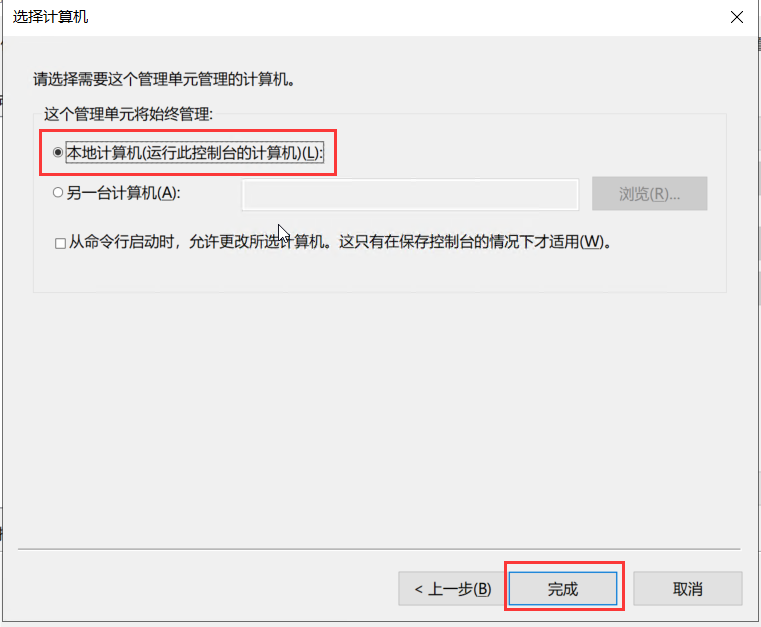
- 证书管理单元添加完成:【确定】
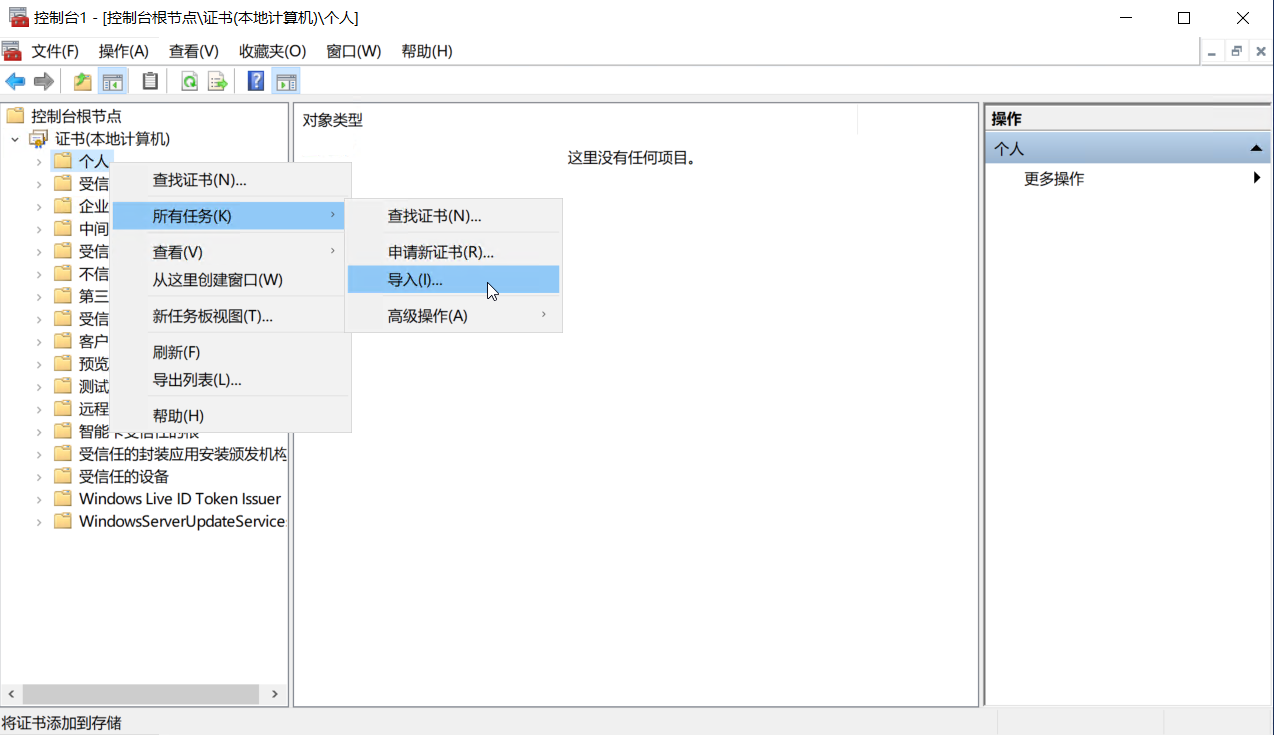
- 在左侧找到【个人】右键选择【所有任务】-【导入】
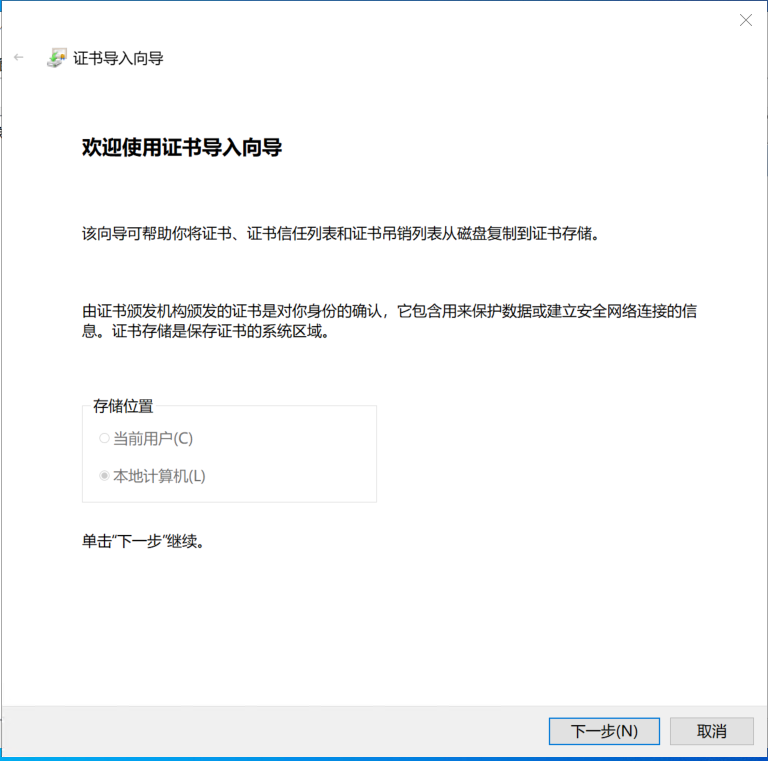
- 证书导入向导
- 选择证书
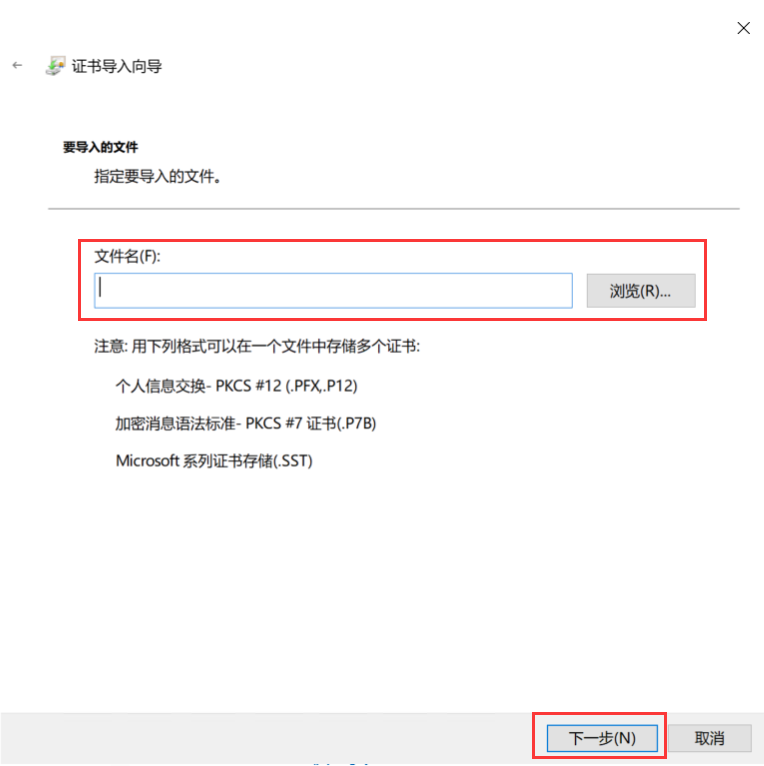
- 要选择所有文件,才能在指定文件夹下显示证书
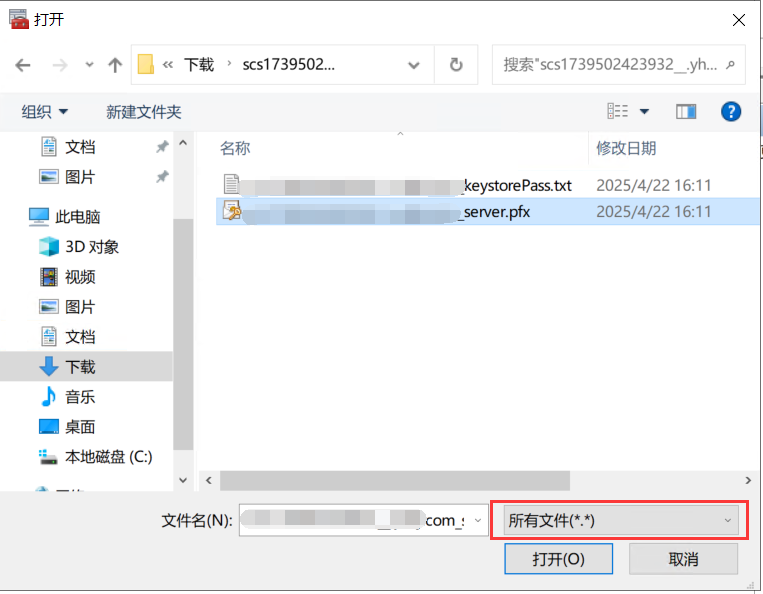
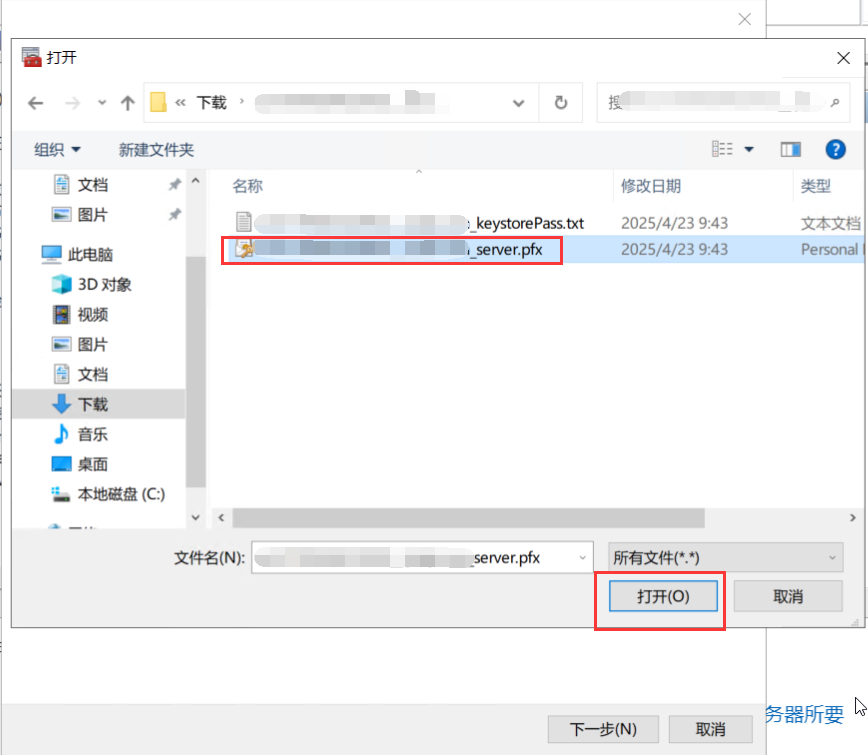
- 选择 pfx 文件-【打开】
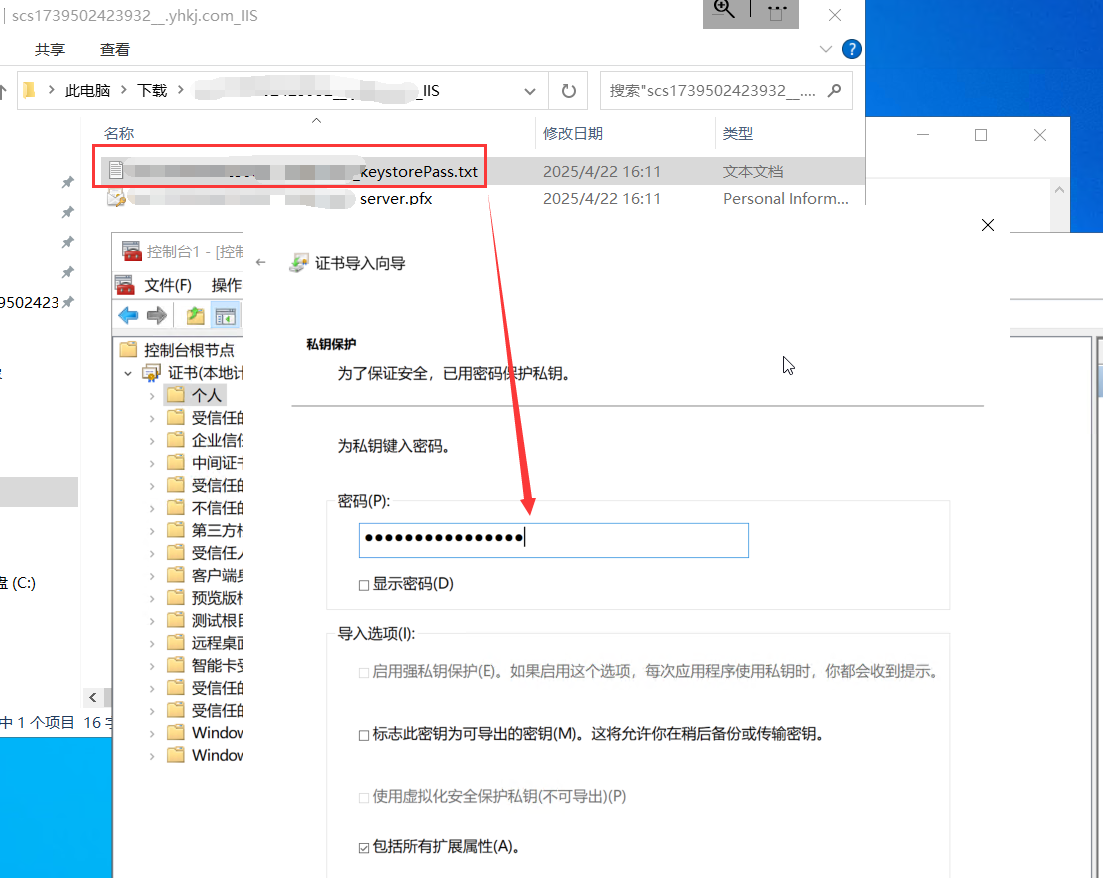
- 打开txt格式的密钥文件,复制文件内容到密码-【下一步】
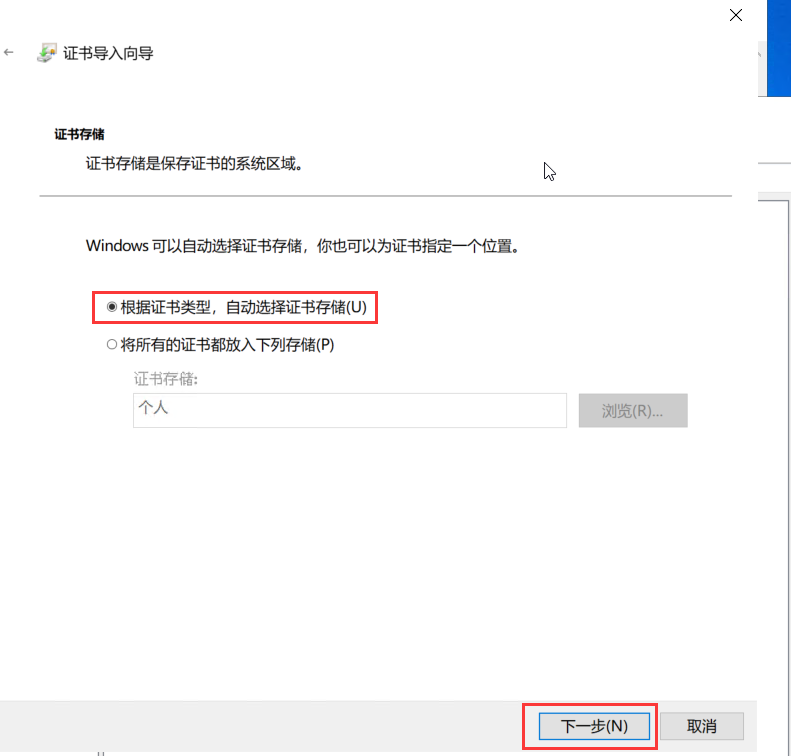
- 证书存储:选择【根据证书类型,自动选择证书存储】-【下一步】
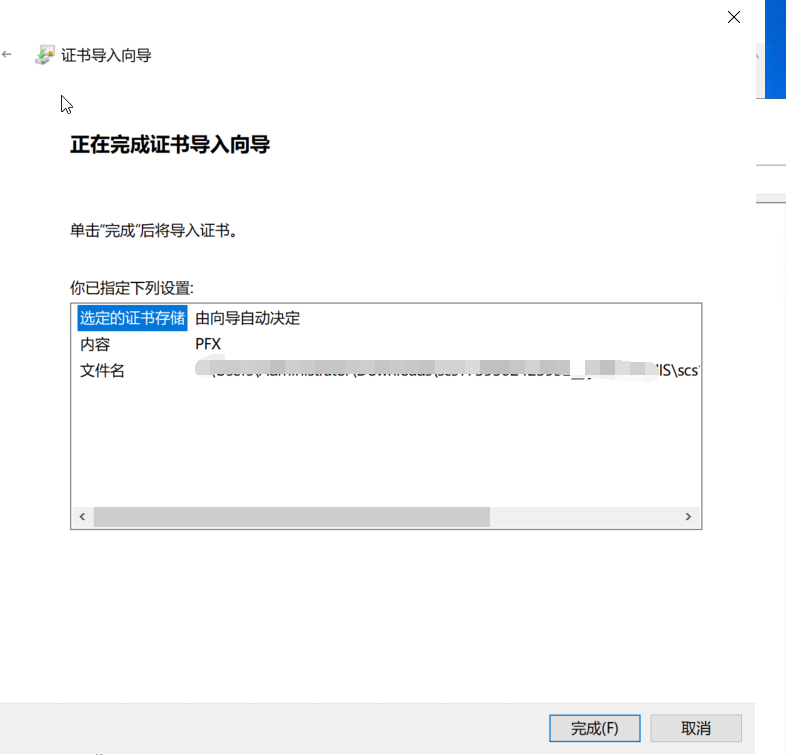
- 完成导入
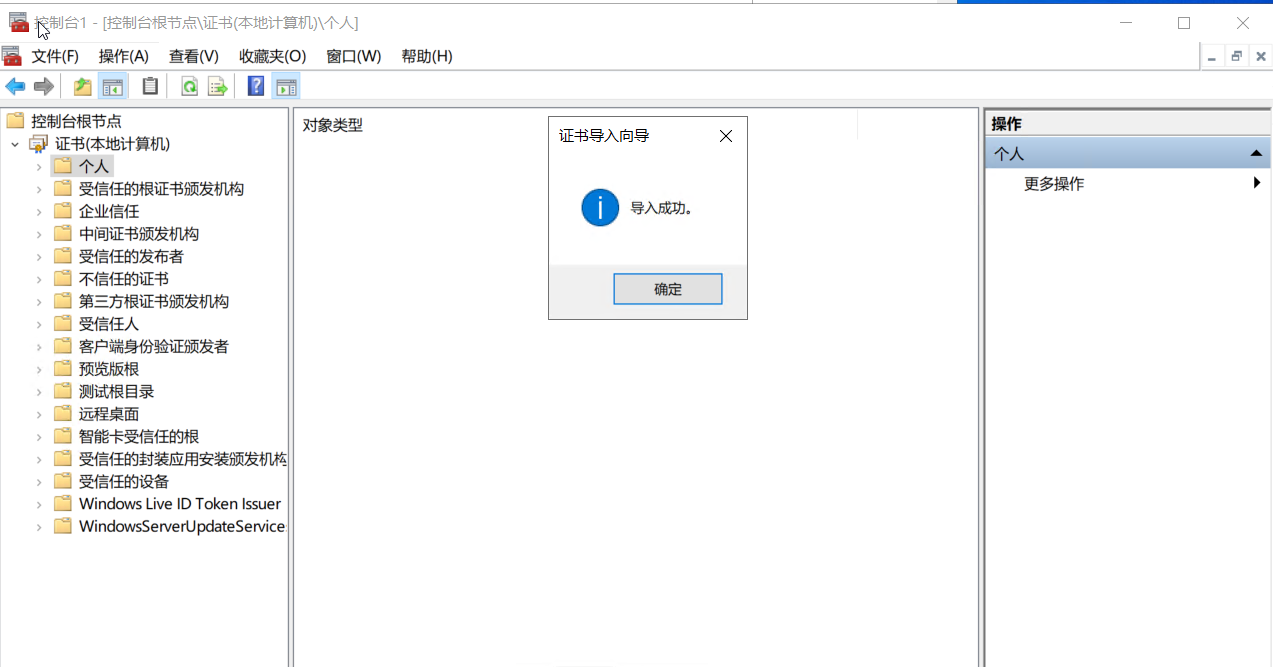
- 导入成功
安装 Visual Studio
:::info 安装 Visual Studio 是为了自定义Form登录,如果不需要修改登录,可以不用安装这个
:::
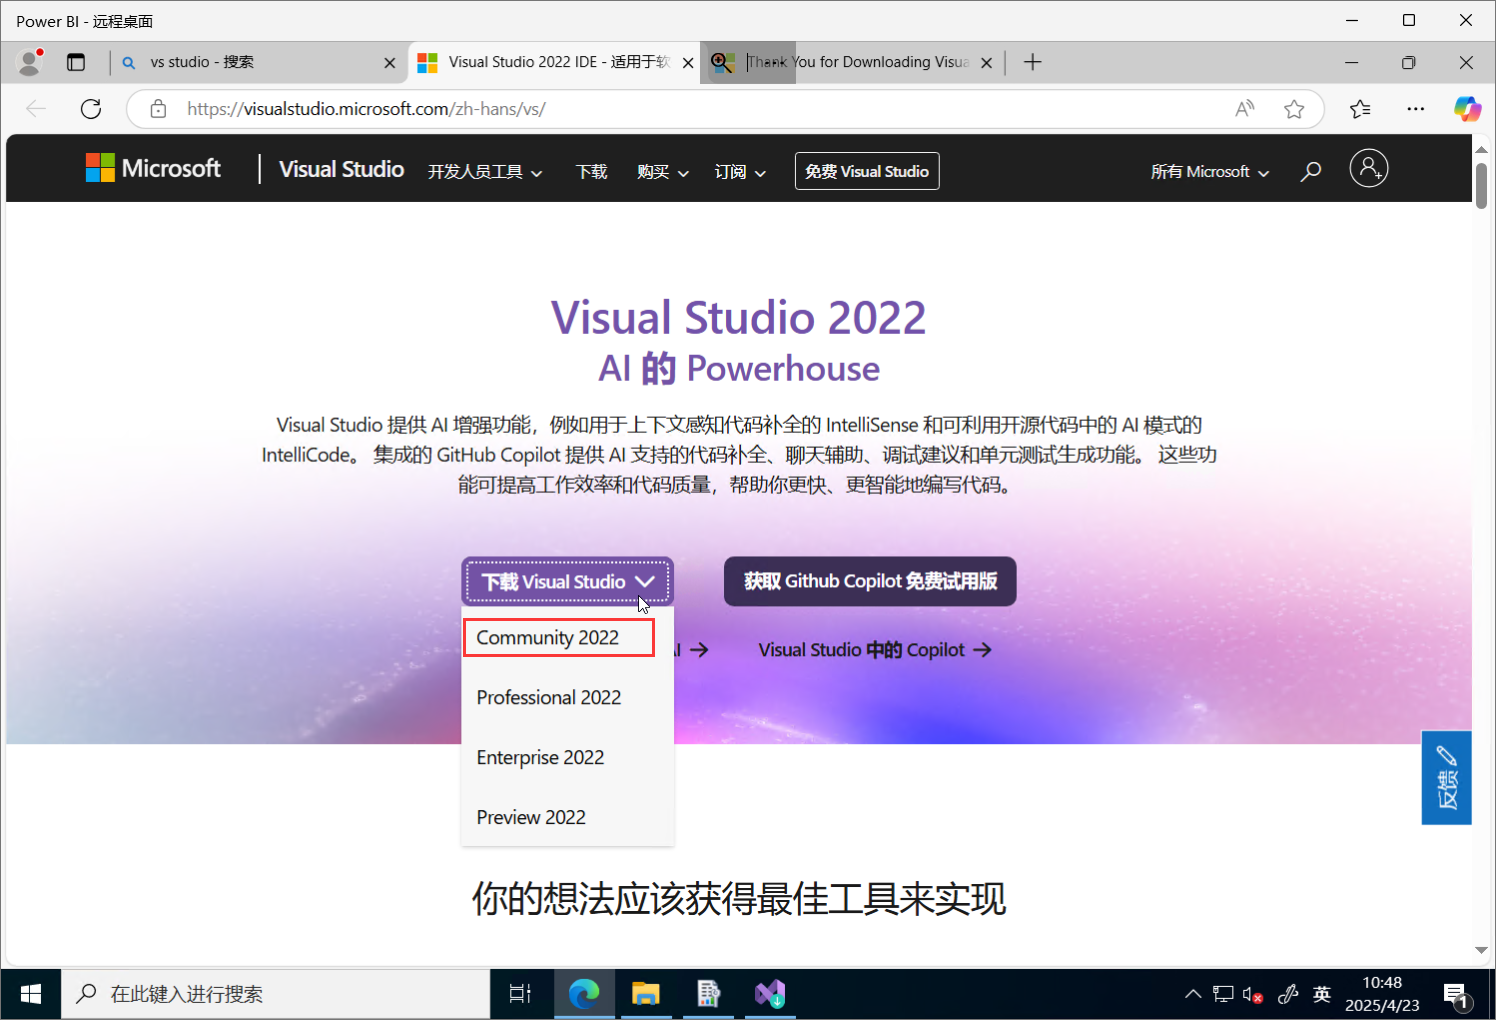
- 下载地址:Visual Studio 2022 IDE - 适用于软件开发人员的编程工具
- 运行
VisualStudioSetup.exe准备安装程序
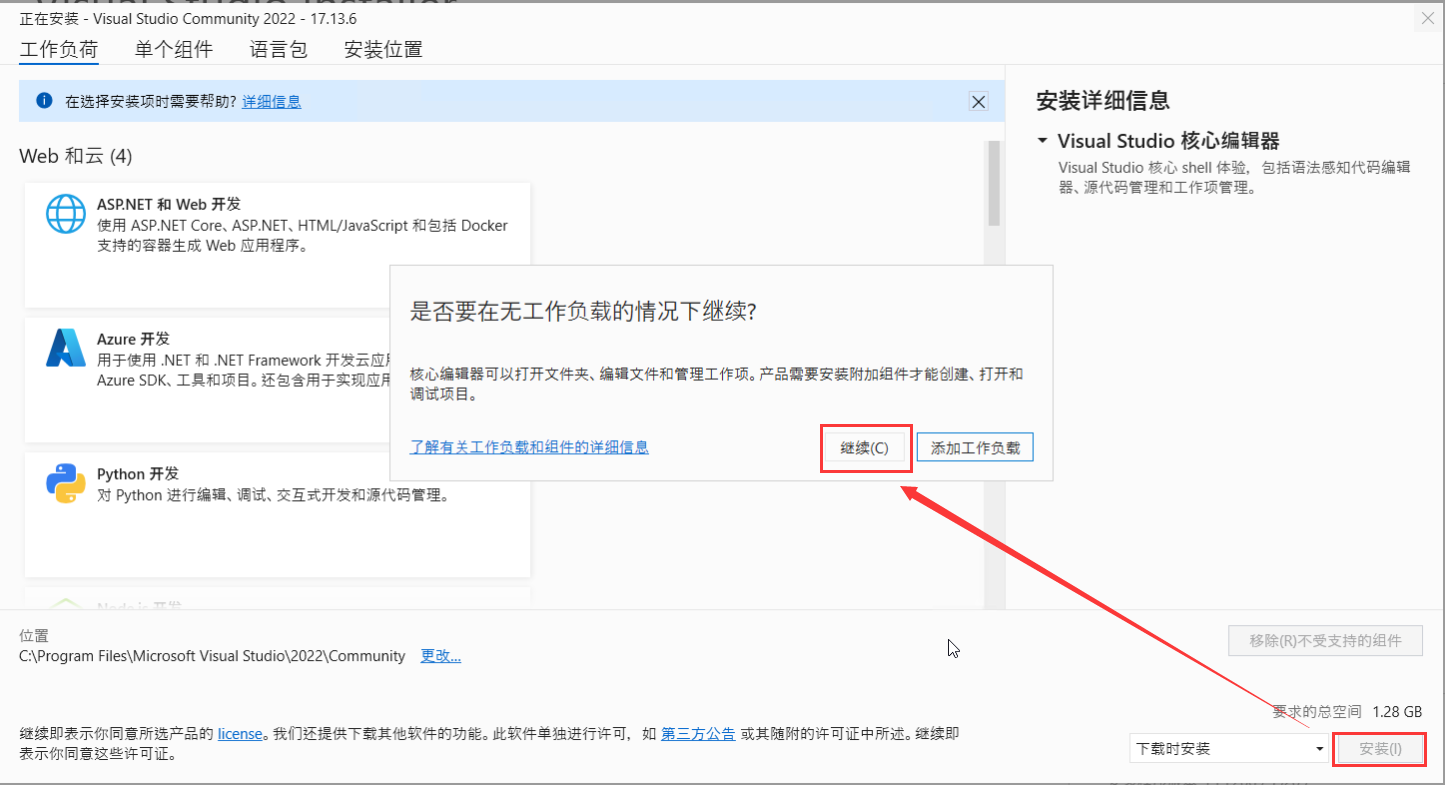
- 什么都不需要选,直接点【安装】-【继续】
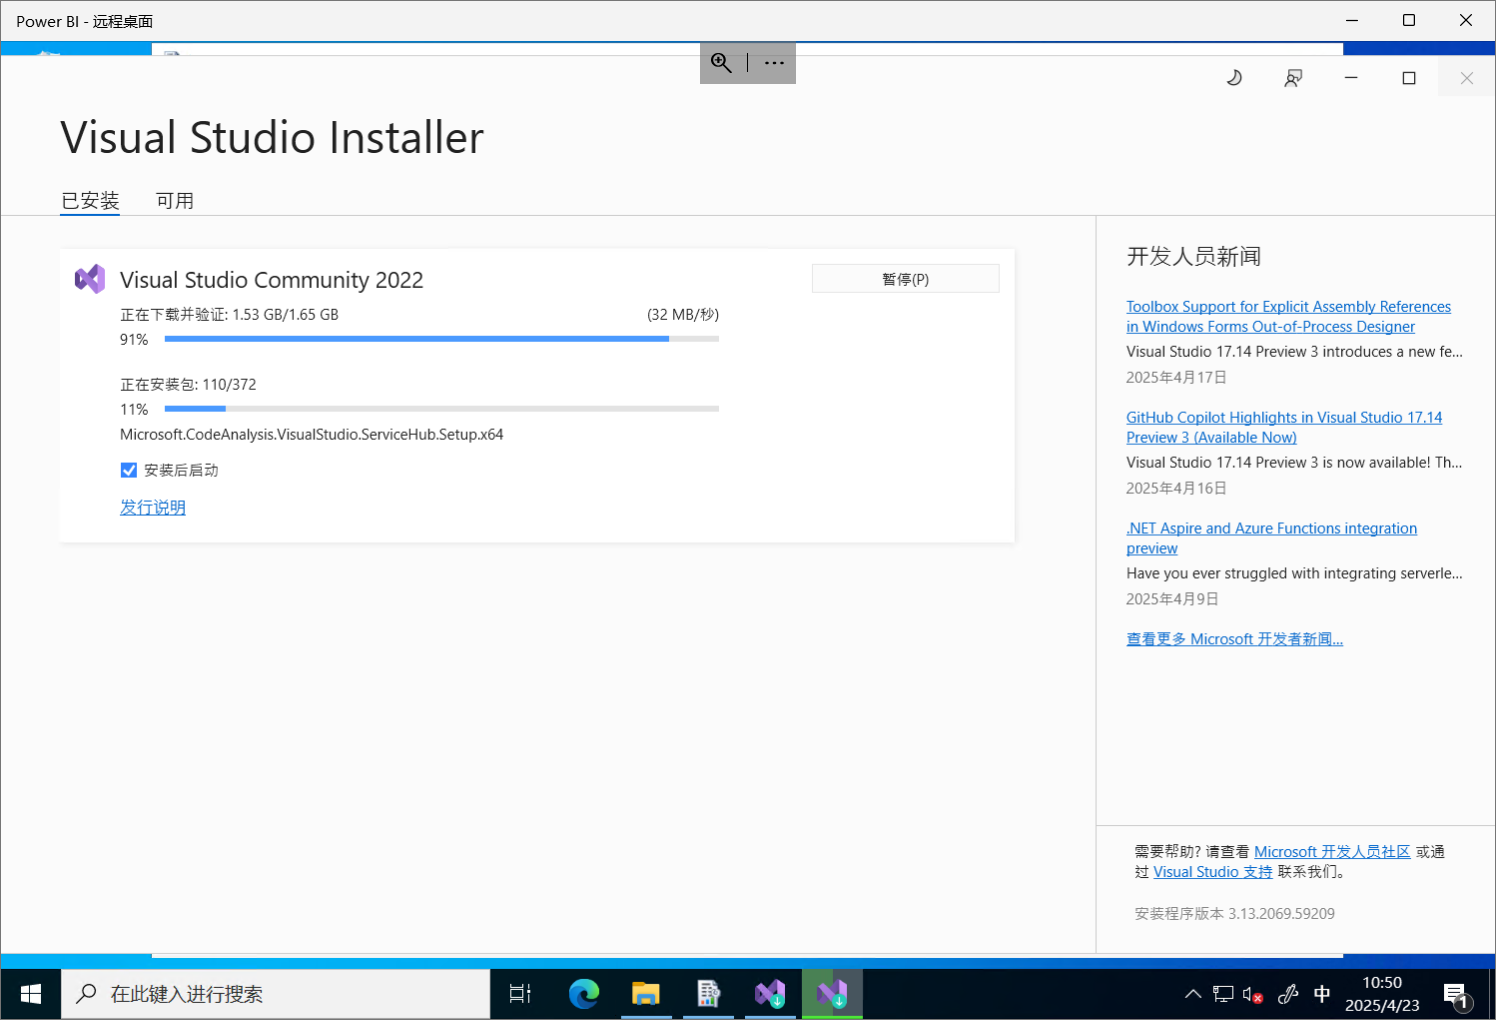
- 安装进度
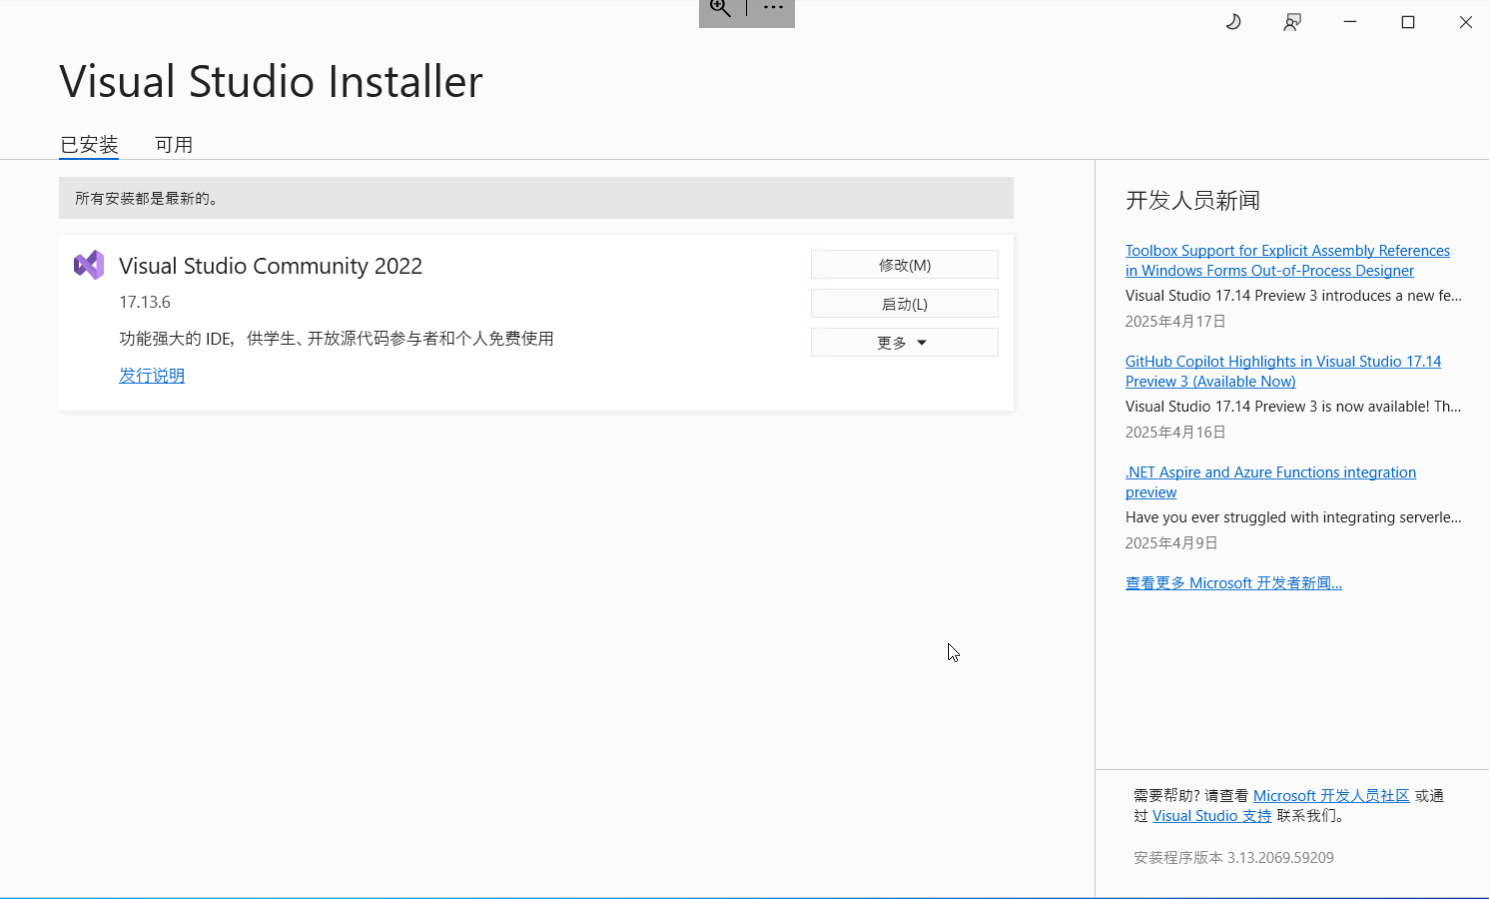
- 安装完成
配置
配置 PBIRS
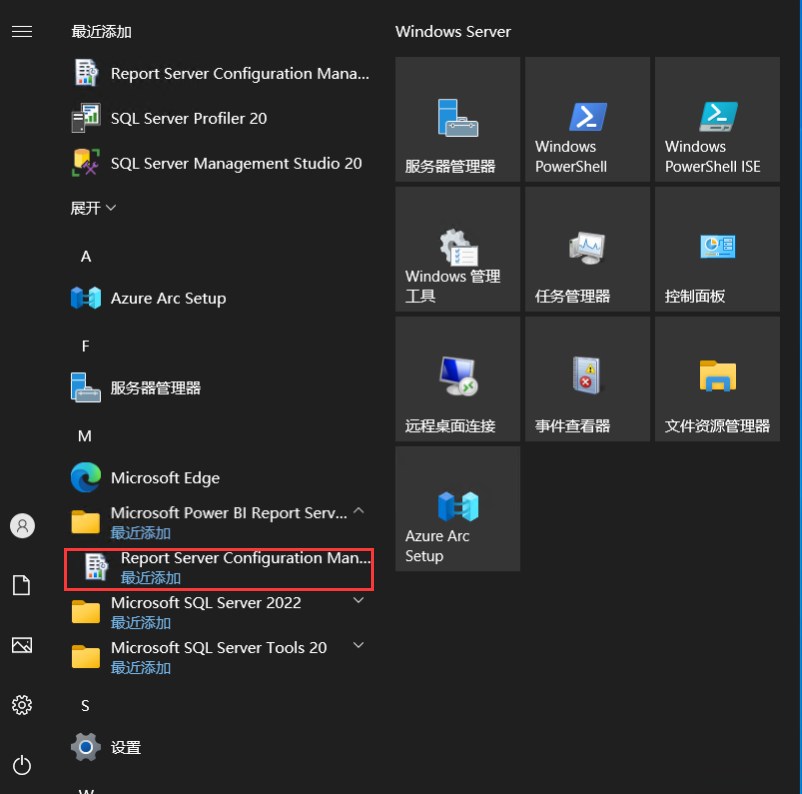
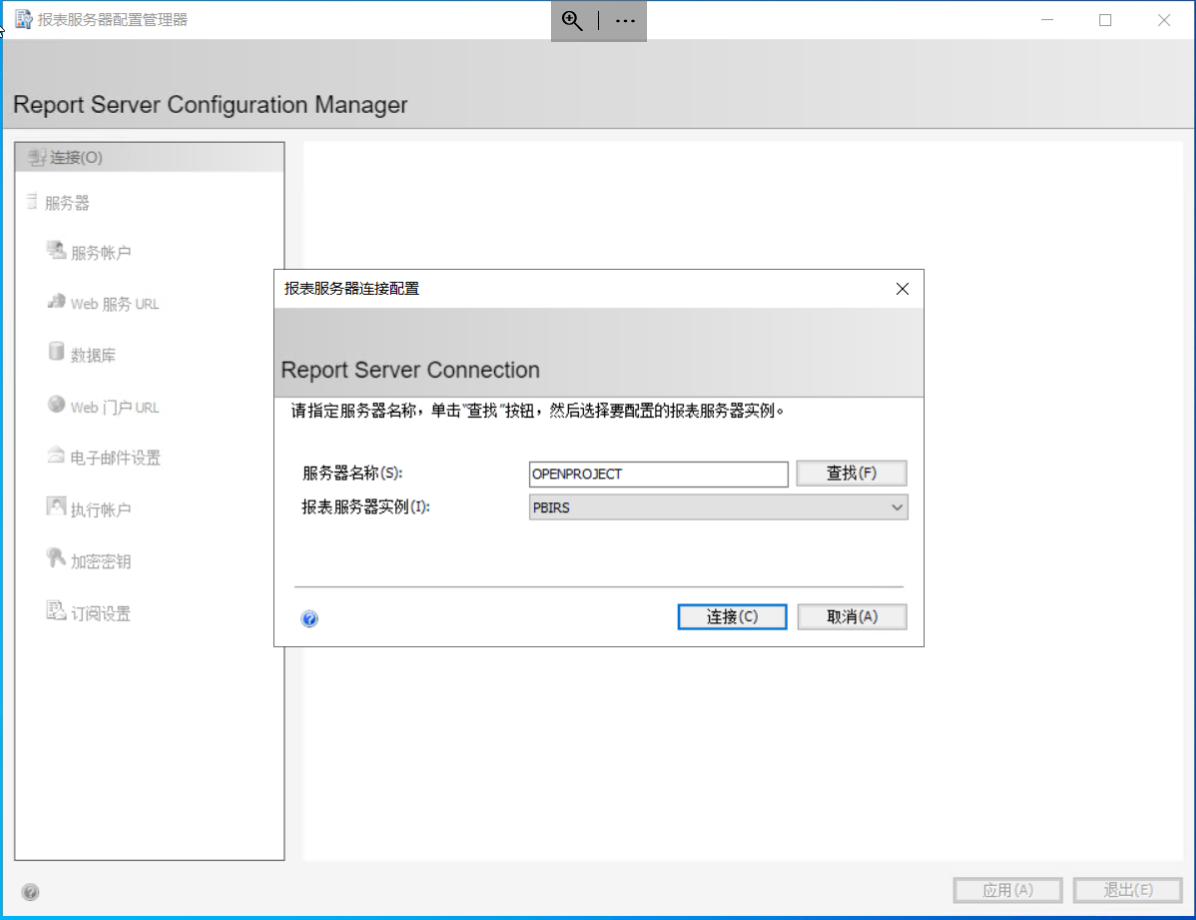
- 打开 PBIRS 配置管理
- 报表服务器连接配置
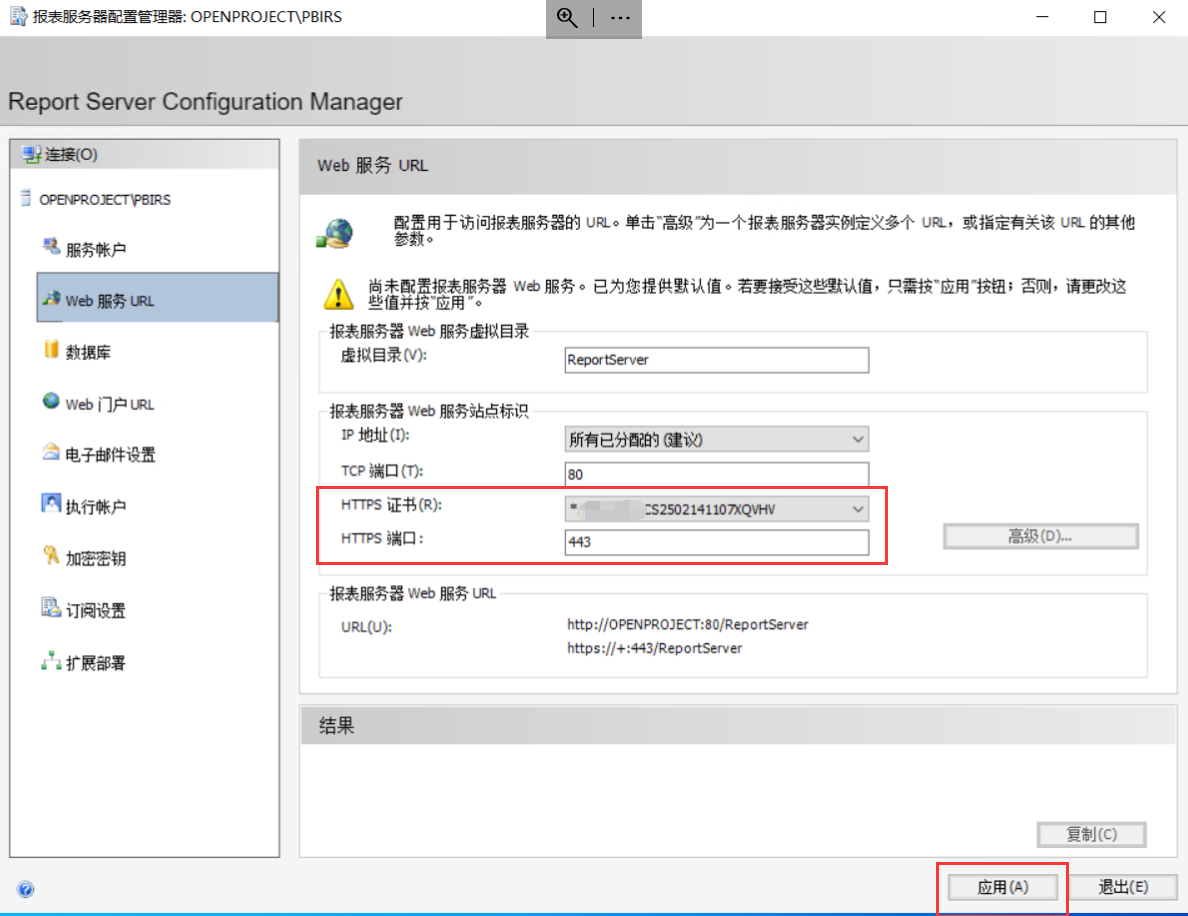
- web 服务 URL:【选择HTTPS 证书】-【应用】
:::color4 如果没有证书,可以不用选择 https 证书,但如果不启用https,就无法实现使用 iframe 嵌入
:::
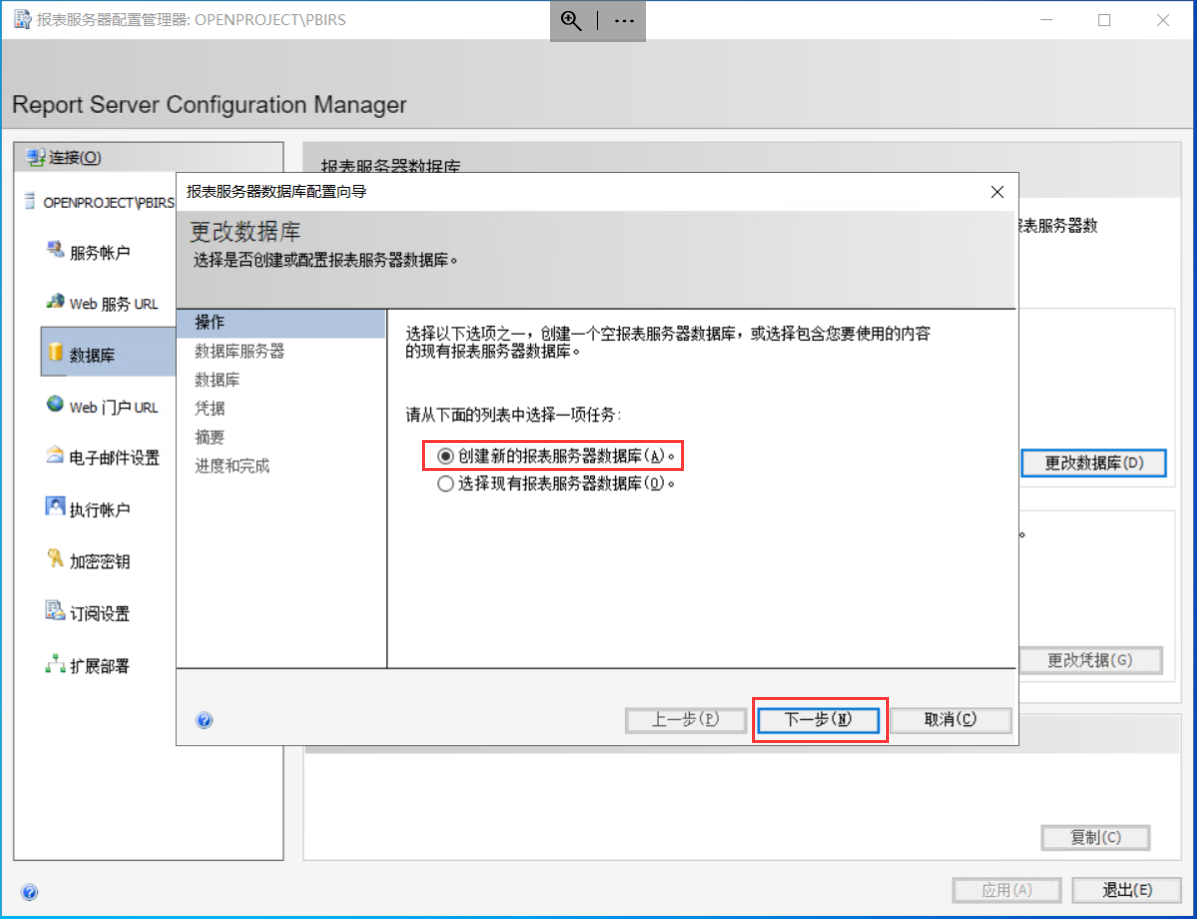
- 数据库:【更改数据库连接】
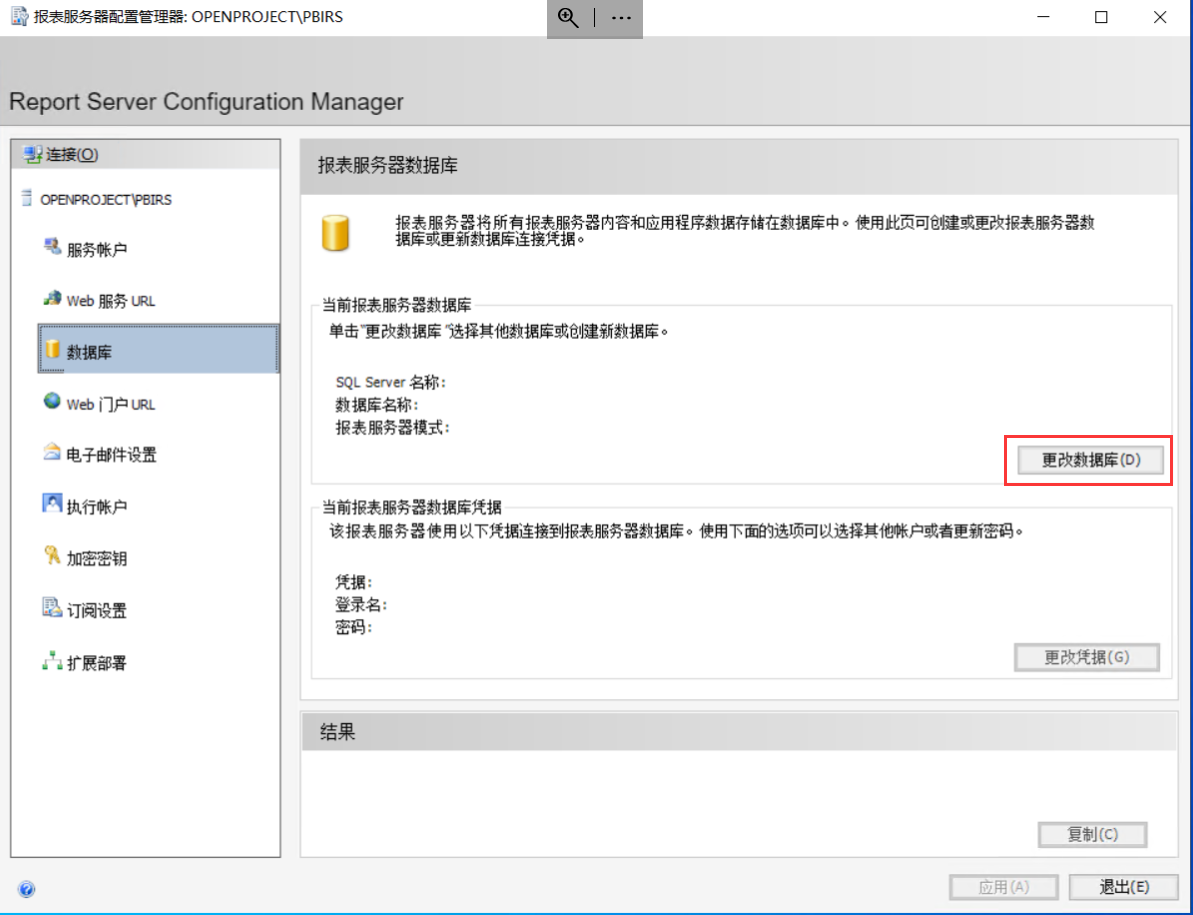
- 操作:【创建新的报表服务器数据库】-【下一步】
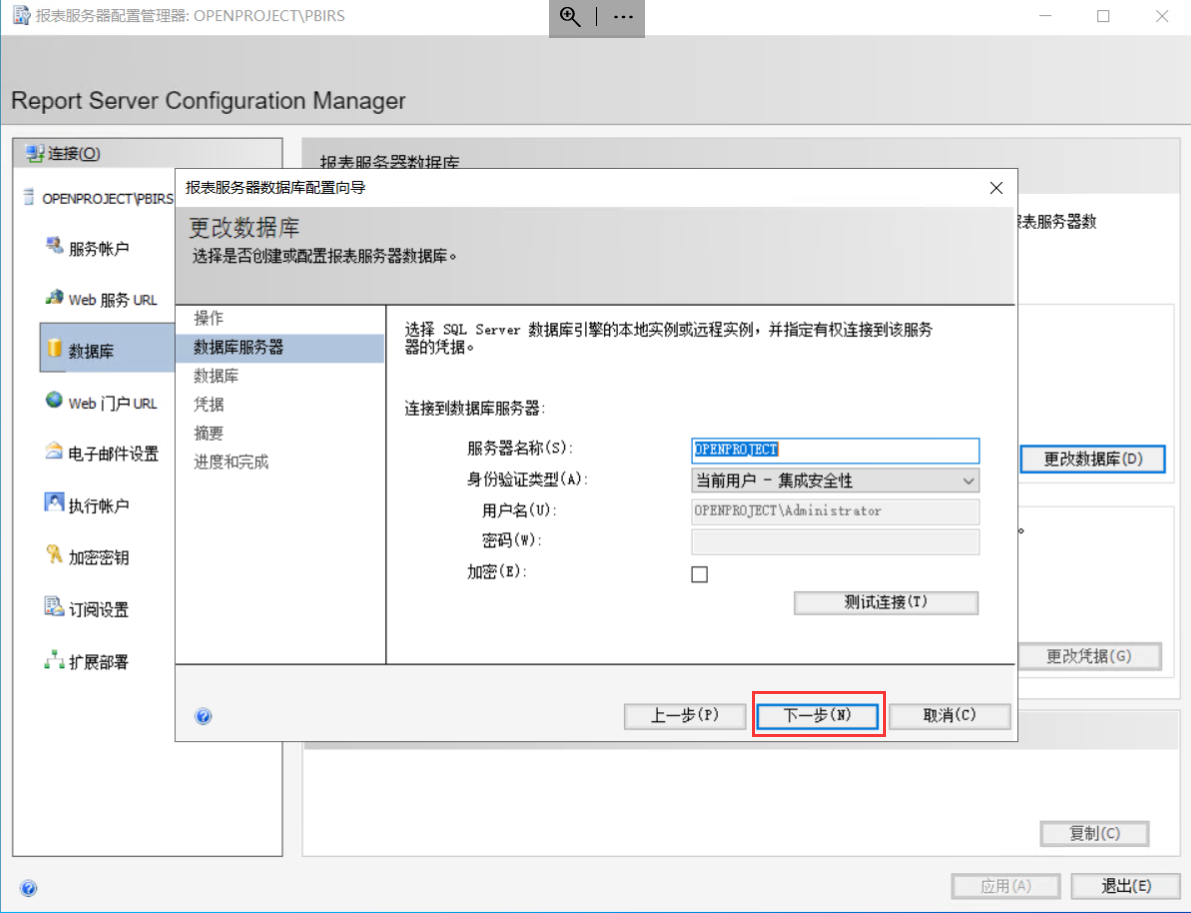
- 数据库服务器:【直接下一步】
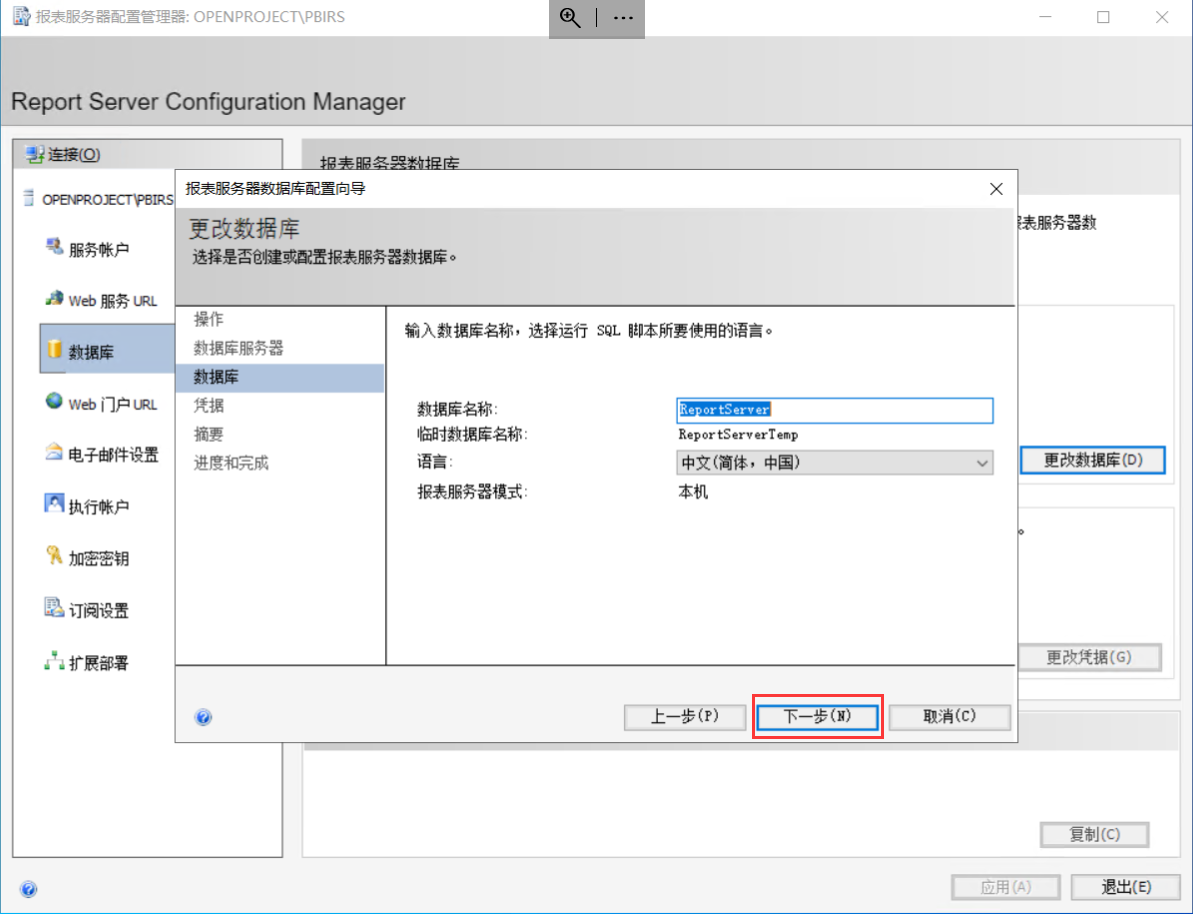
- 数据库:【直接下一步】
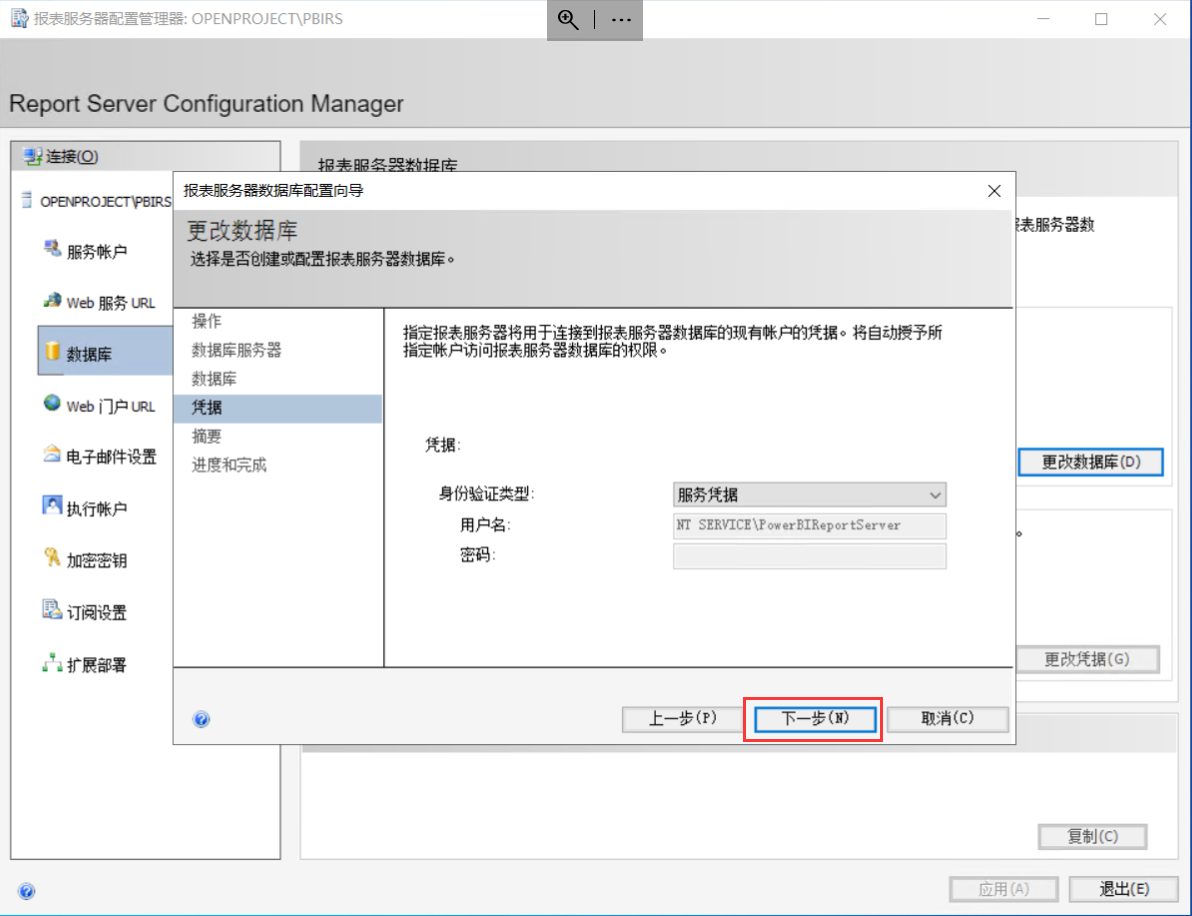
- 凭据:【直接下一步】
- 摘要:【直接下一步】
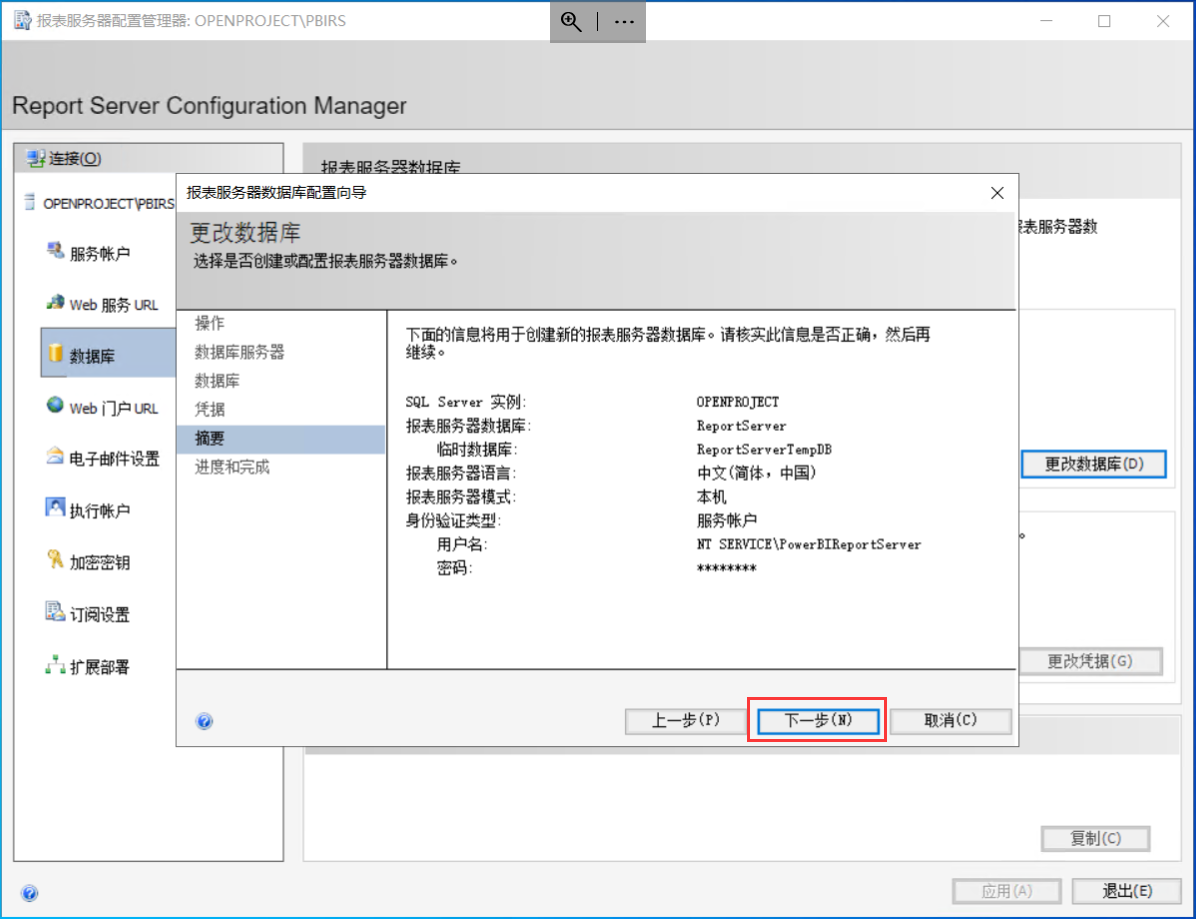
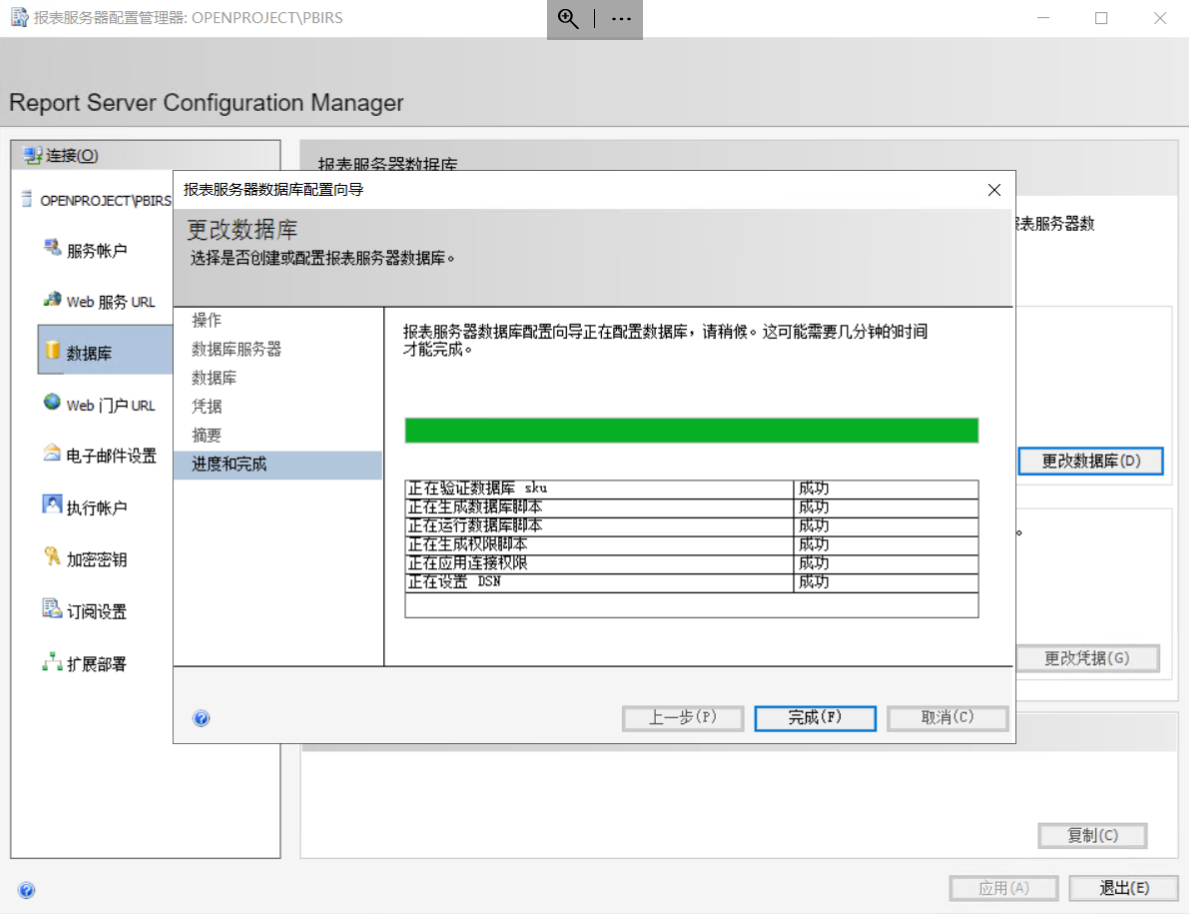
- 数据库配置完成
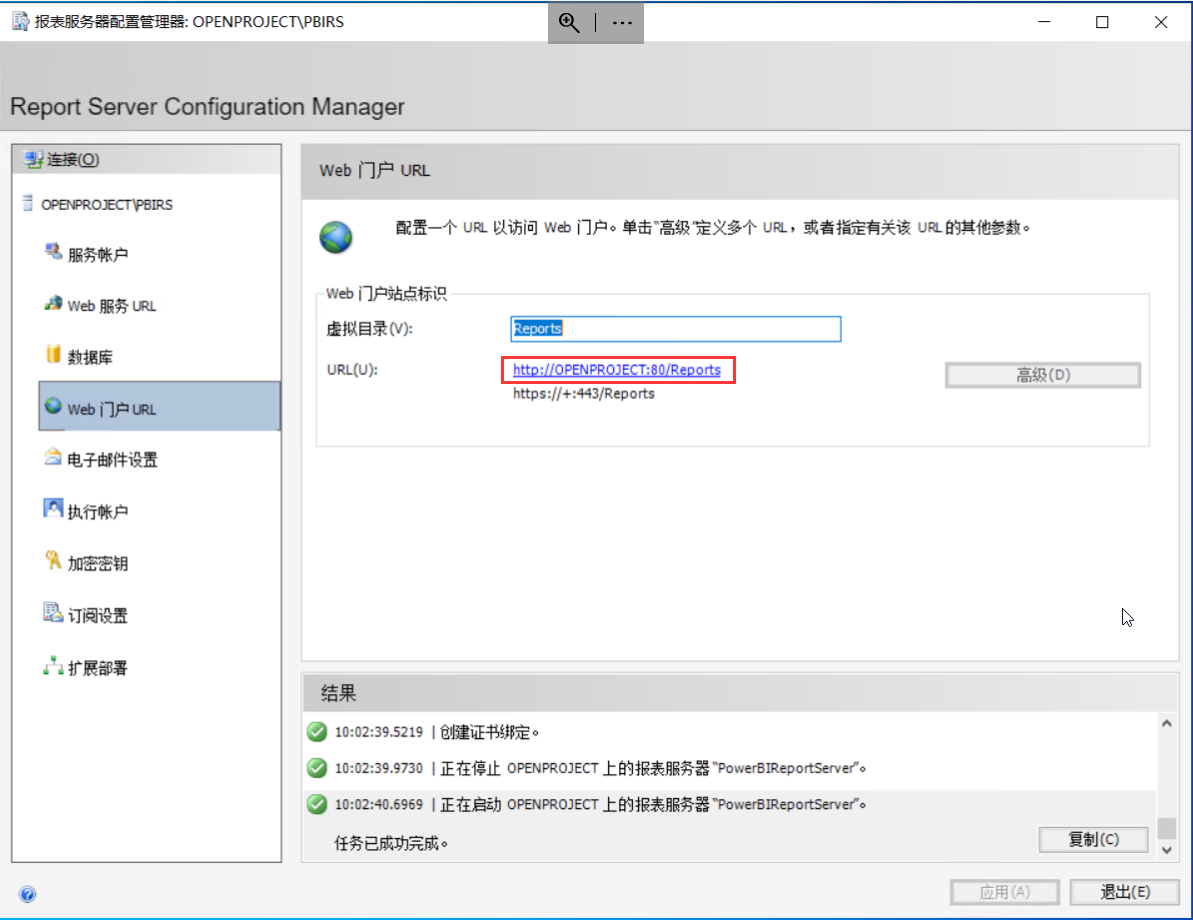
web 门户 URL:【应用】,点击url 地址即可访问报表服务器了
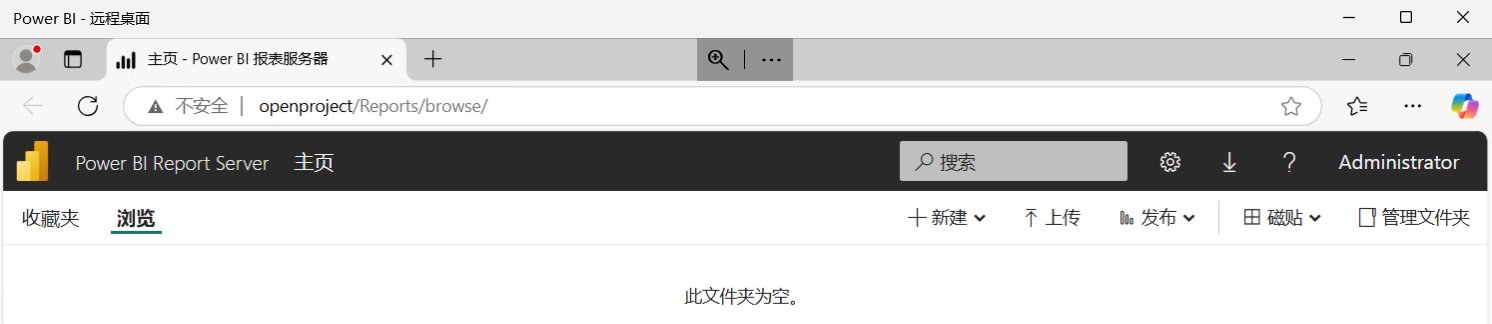
服务器访问效果:不需要登录
外网通过ID地址访问,并上传一个pbi文件
:::color4 需要用服务器的账号密码登录
:::

外网采用https访问,并在线预览pbi文件
:::color4 需要用服务器的账号密码登录
注意使用 https 需要先做域名解析
:::
使用 SSMS 连接报表服务器
- 连接报表服务器
:::color4 如果使用了自定义 form 登录,报表服务器就连不上了
:::

- 修改报表服务器的
CustomHeaders删掉X-Frame-Options
:::color4 这里很重要,如果这里没有设置,最后面在使用 iframe 嵌套的时候会提示
a frame because it set 'X-Frame-Options' to 'sameorigin
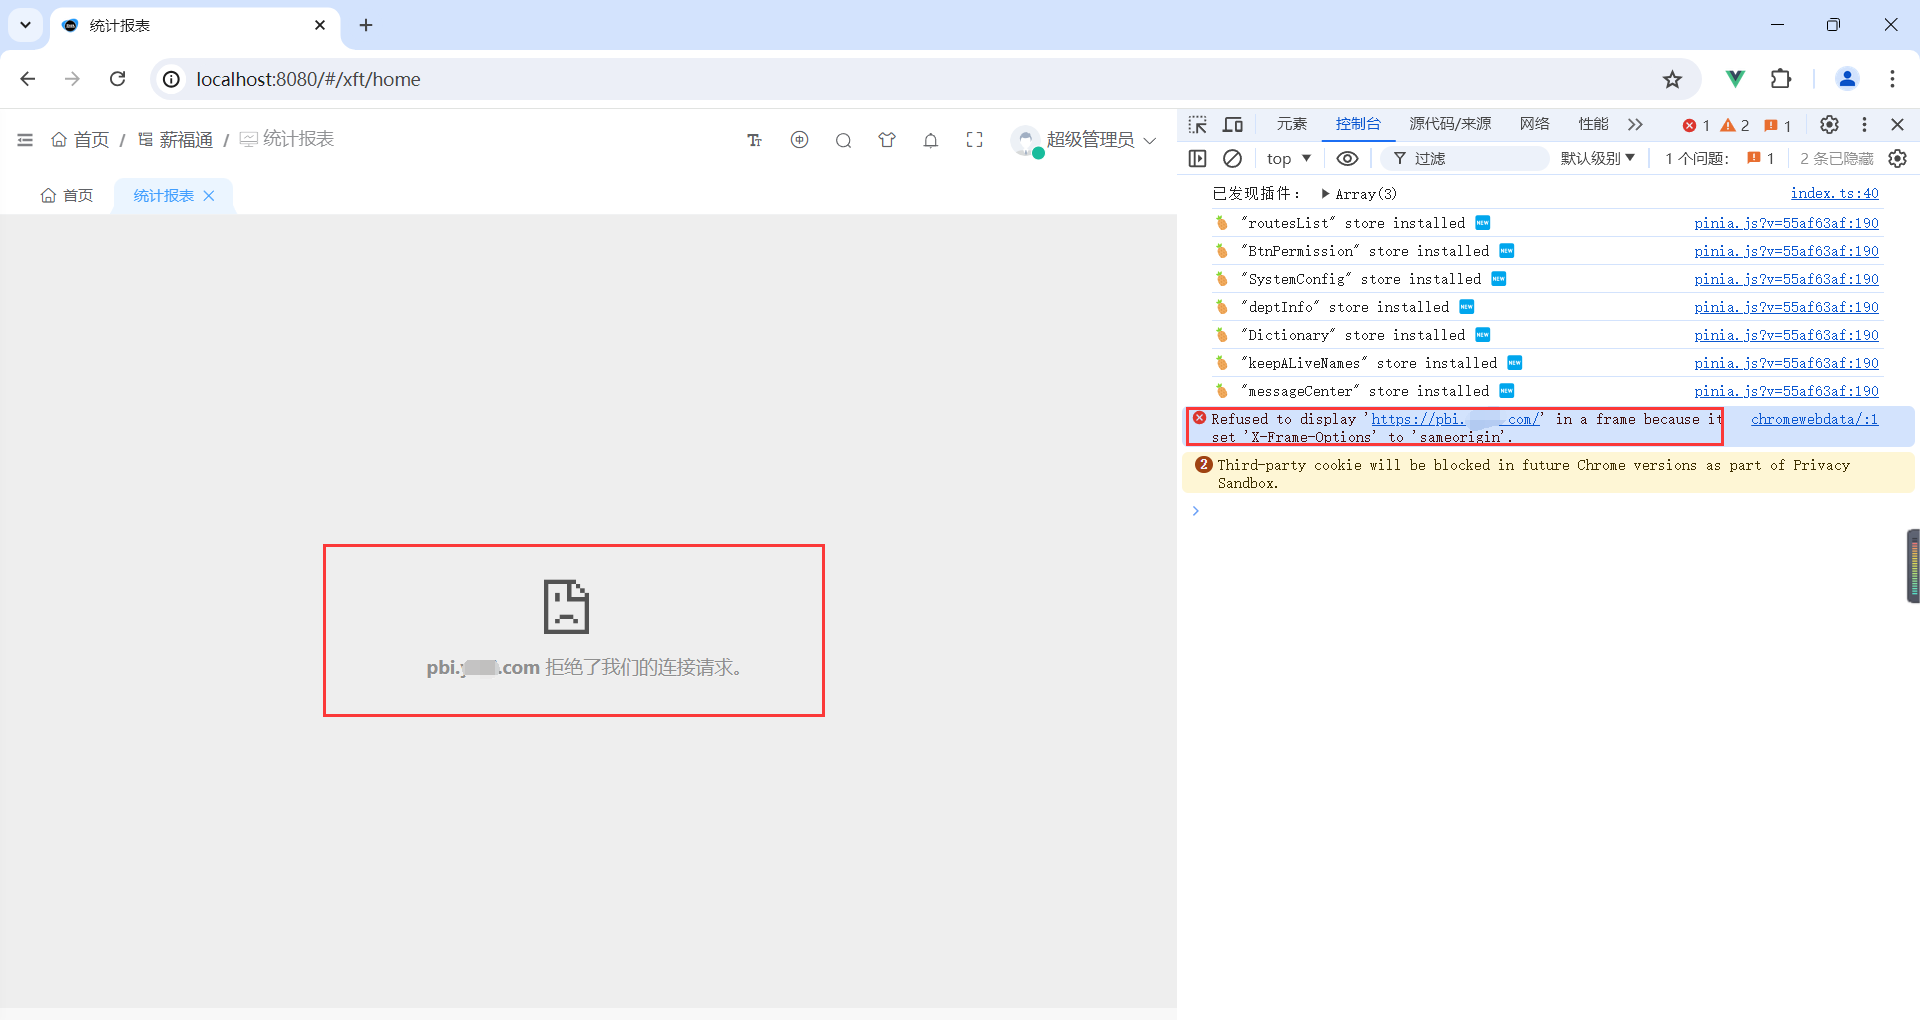
:::
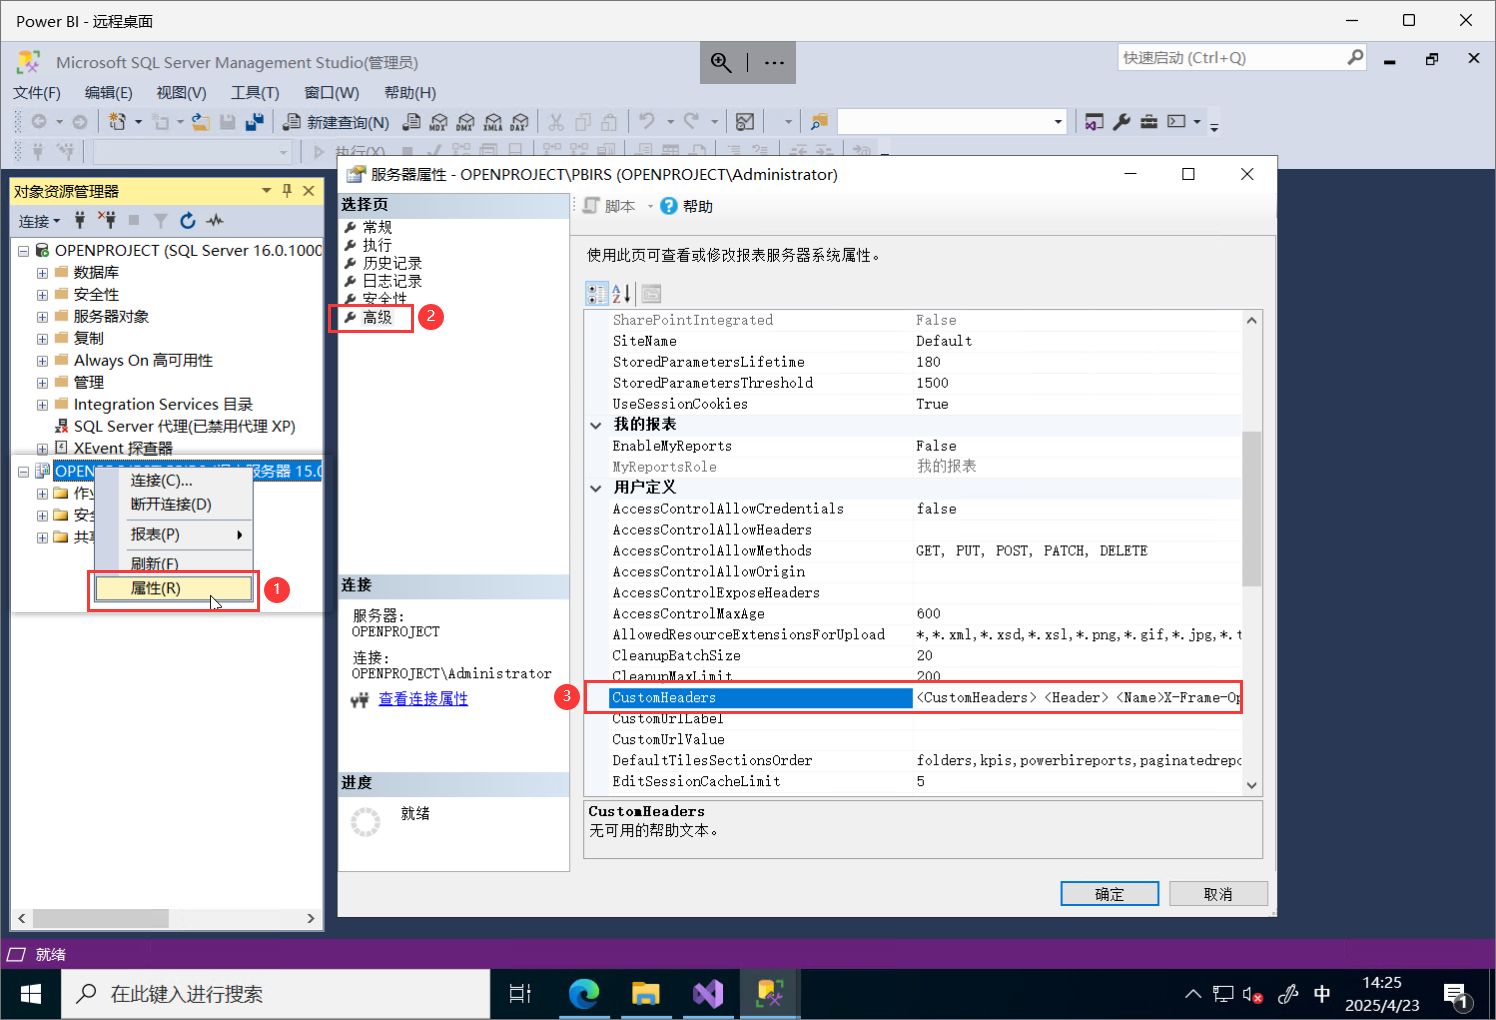
修改前
<CustomHeaders> <Header> <Name>X-Frame-Options</Name> <Pattern>(?(?=((?![?]).)*api.*|.*rs:embed=true.*|.*rc:toolbar=false.*)(^((?!(.+)((\/api)|(\/(.+)(rs:embed=true|rc:toolbar=false)))).*$))|(^(?!(http|https):\/\/([^\/]+)((\/powerbi.*$)|(.*OpType=Calendar.*)))))</Pattern> <Value>SAMEORIGIN</Value> </Header> <Header> <Name>X-Content-Type-Options</Name> <Pattern>.*((\.js$)|(\.css$)|(\.html$))</Pattern> <Value>nosniff</Value> </Header>
</CustomHeaders>
修改后
<CustomHeaders><Header><Name>X-Content-Type-Options</Name><Pattern>.*((\.js$)|(\.css$)|(\.html$))</Pattern><Value>nosniff</Value></Header></CustomHeaders>嵌入
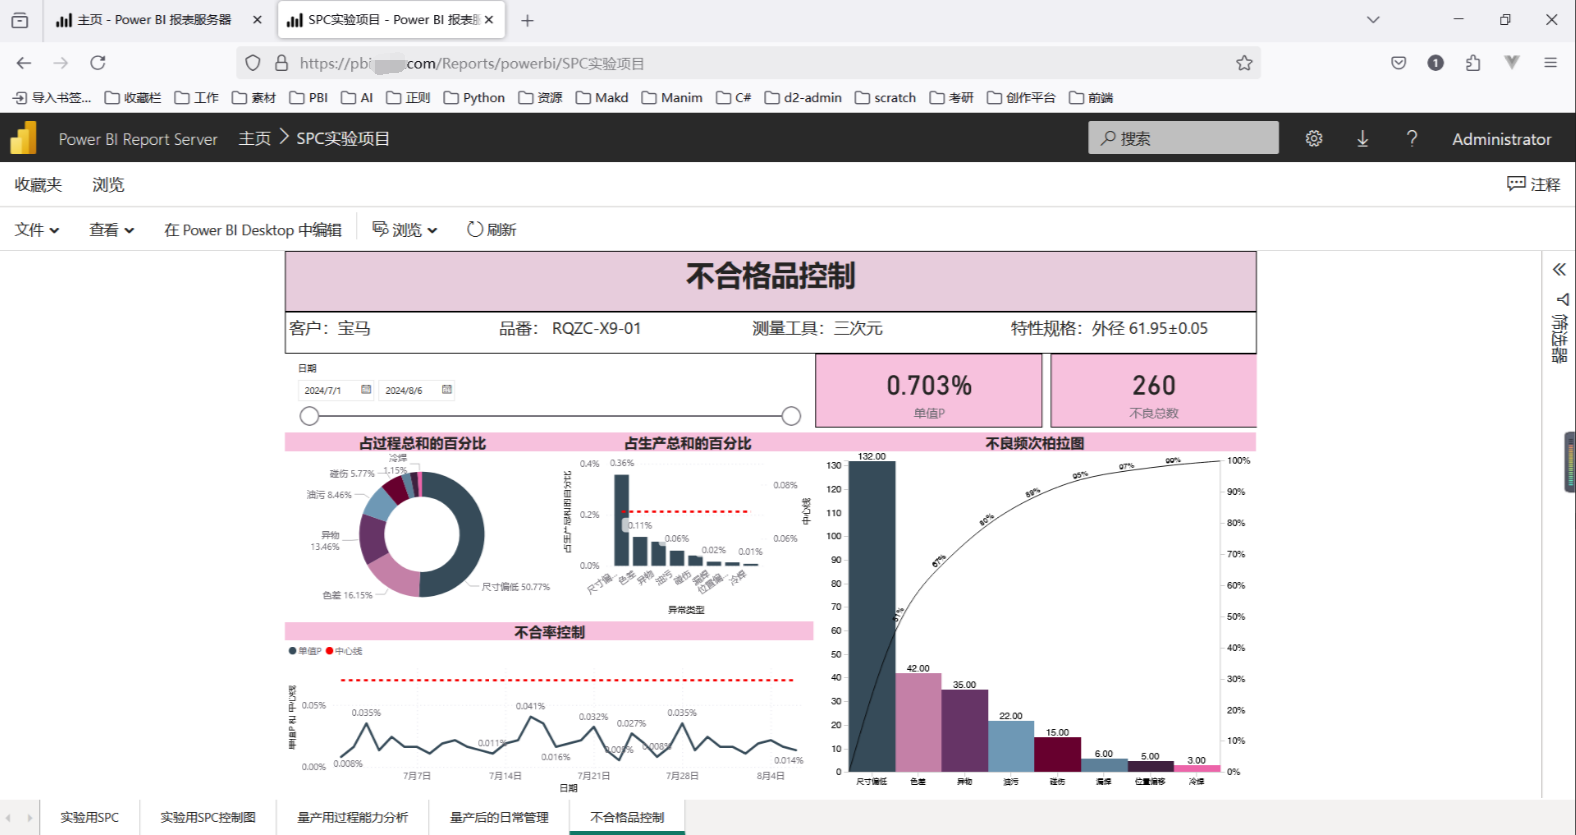
使用 iFrame 嵌入报表
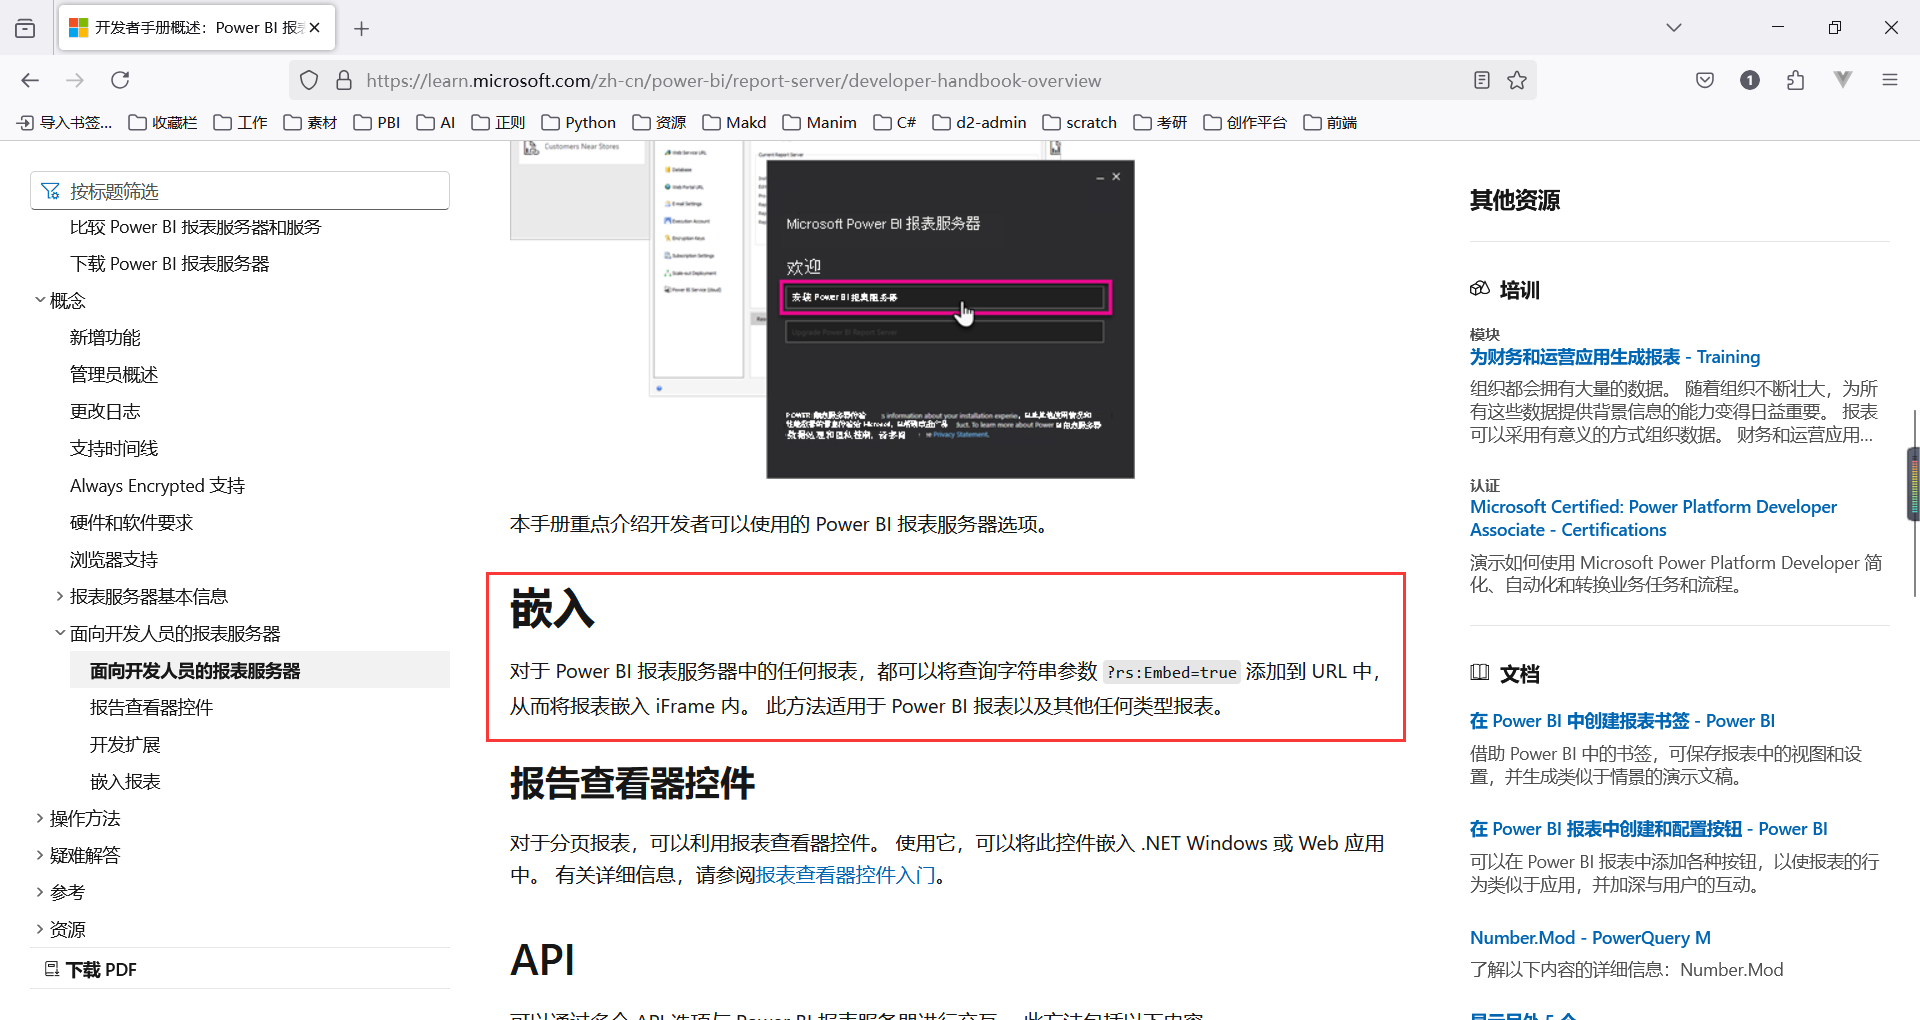
将报表服务器嵌套到内部系统
<template><iframe class="h-[87vh]" src="https://xxx/Reports/powerbi/SPC?rs:embed=true&iframe"></iframe>
</template>
:::color4 如果需要嵌套,pbi报表名字最好不要用中文,不然嵌套的url 就是这样
https://.../Reports/powerbi/SPC%E5%AE%9E%E9%AA%8C%E9%A1%B9%E7%9B%AE?rs:embed=true
:::
- 在访问嵌套页面的时候,会有一个登录窗口
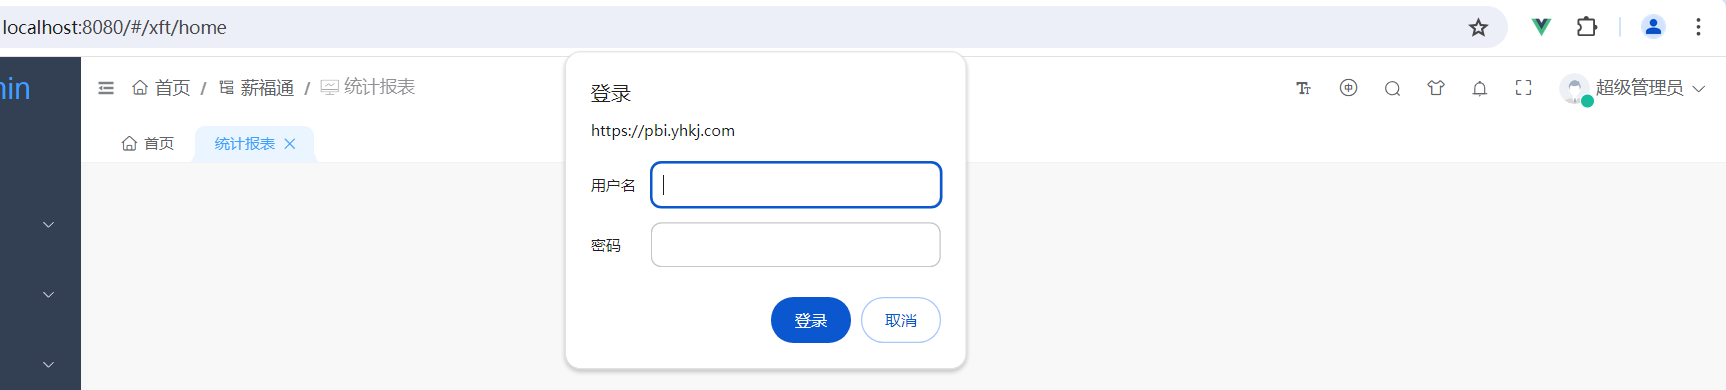
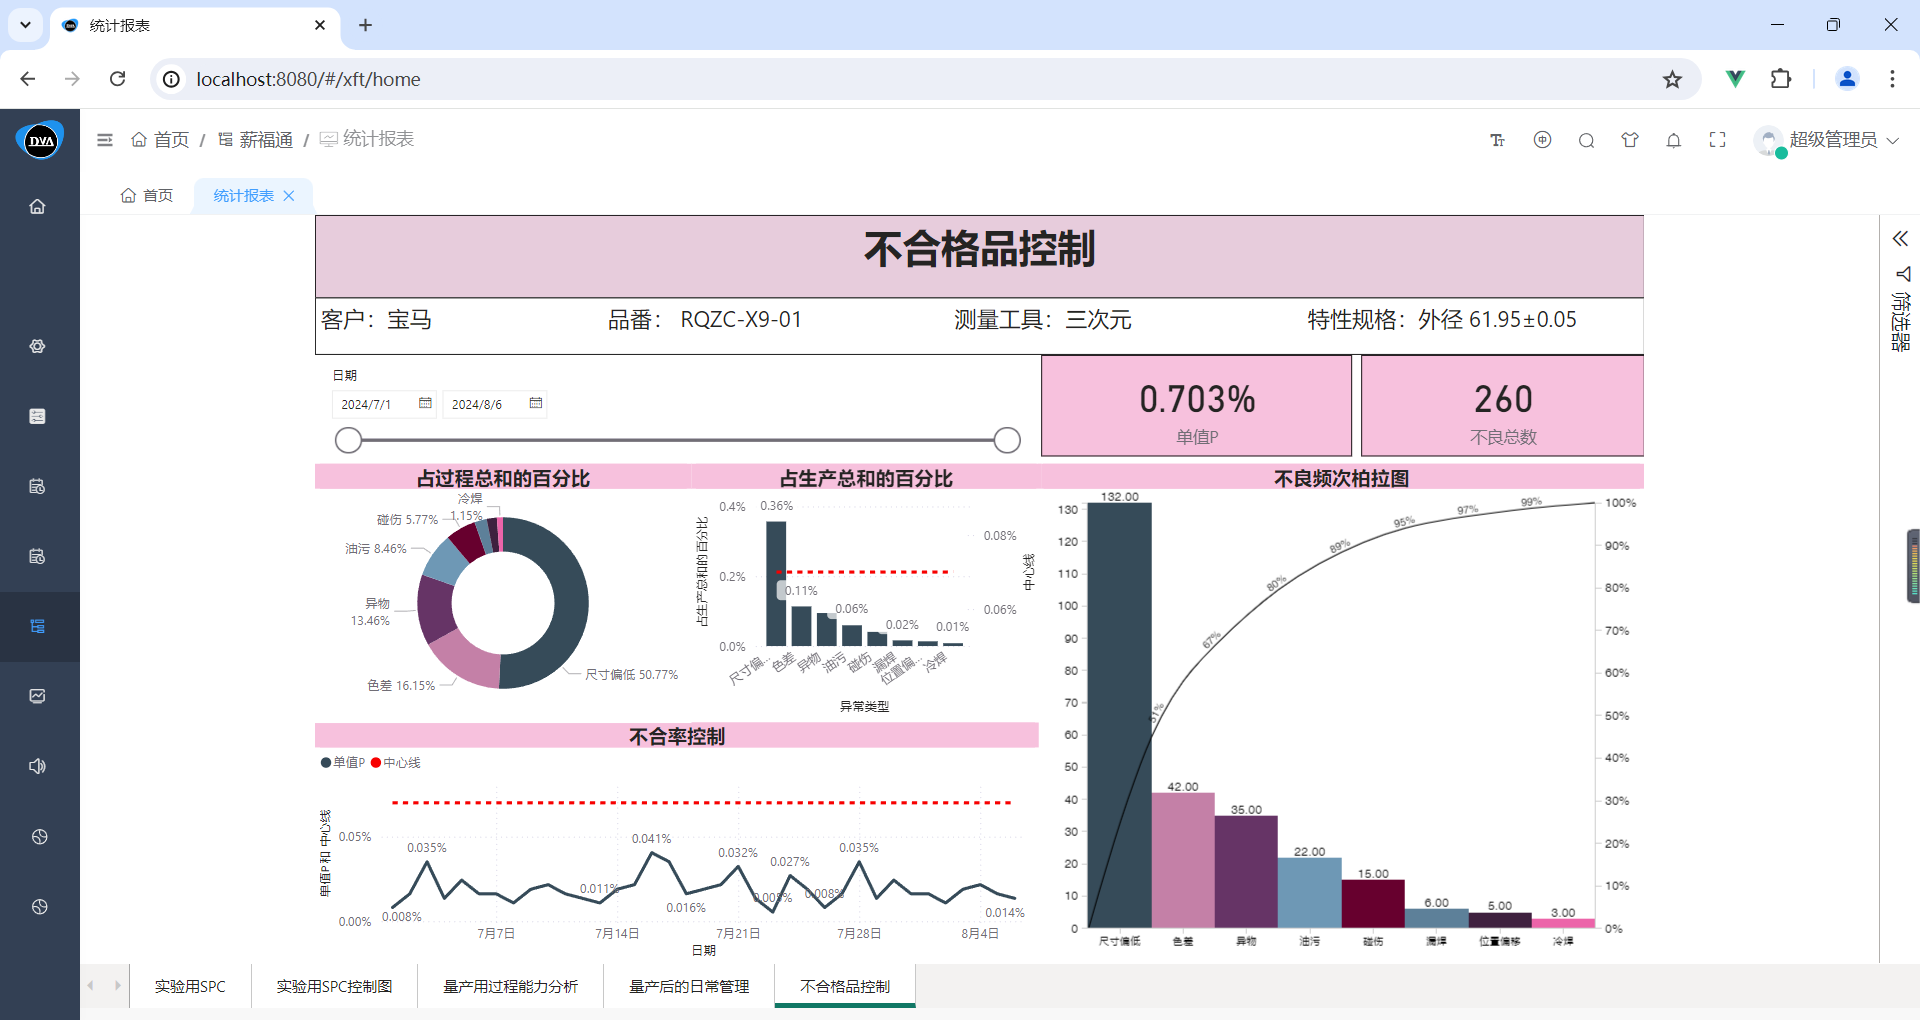
- 登录之后的效果
自定义 Form 登录
:::info 因为Power BI 报表服务器不支持单点登录,为了解决这个登录问题,所以需要自定义 Form 登录
:::

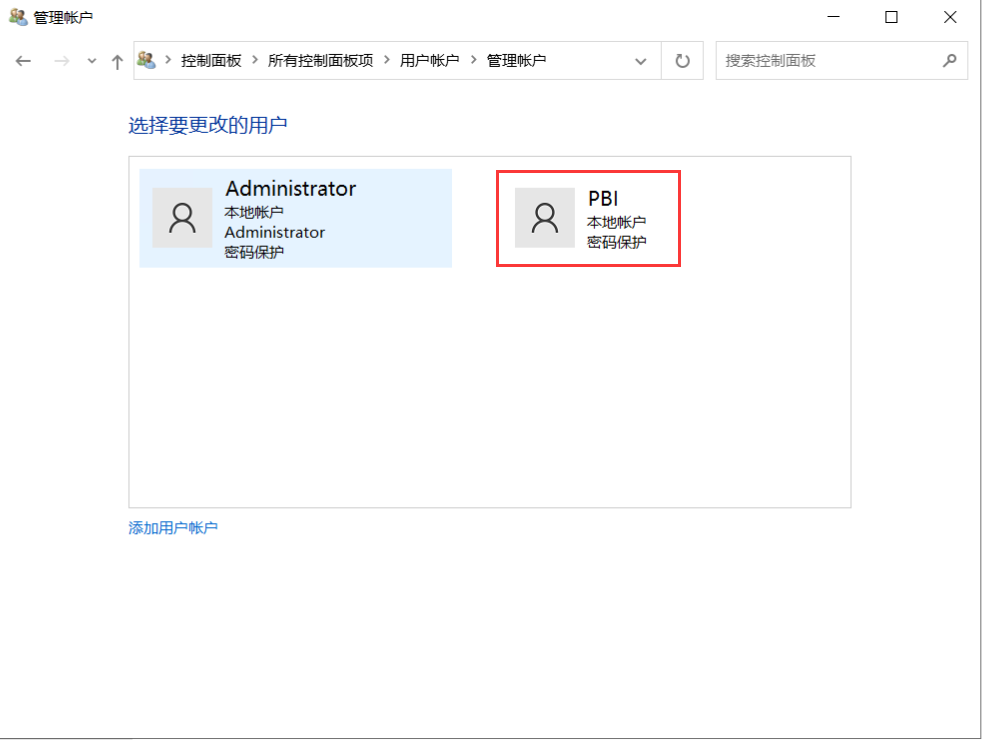
- 在服务器上先创建一个 PBI 的管理账号
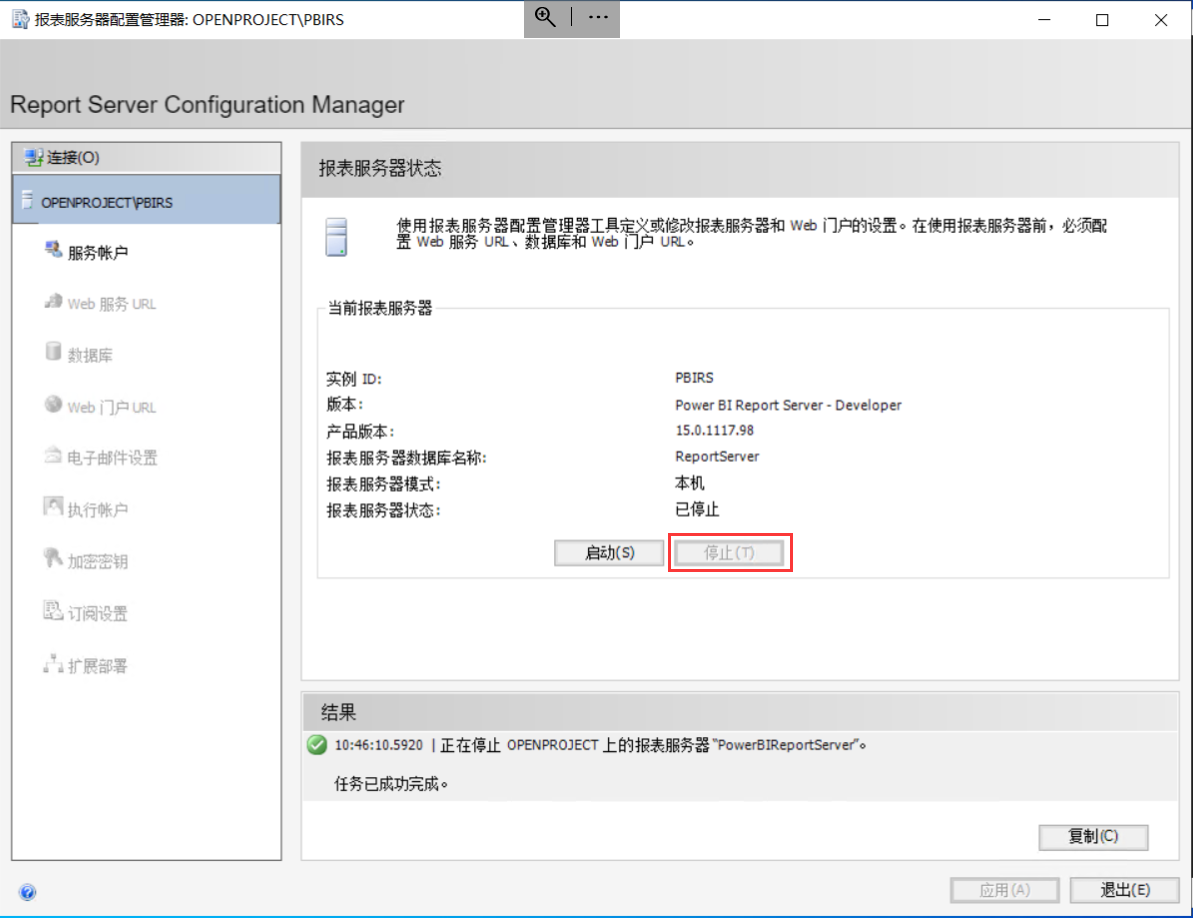
- 停止PBIRS
- 下载Form自定义登录demo,源文件在GitHub上,链接:https://github.com/Microsoft/Reporting-Services/tree/master/CustomSecuritySample。
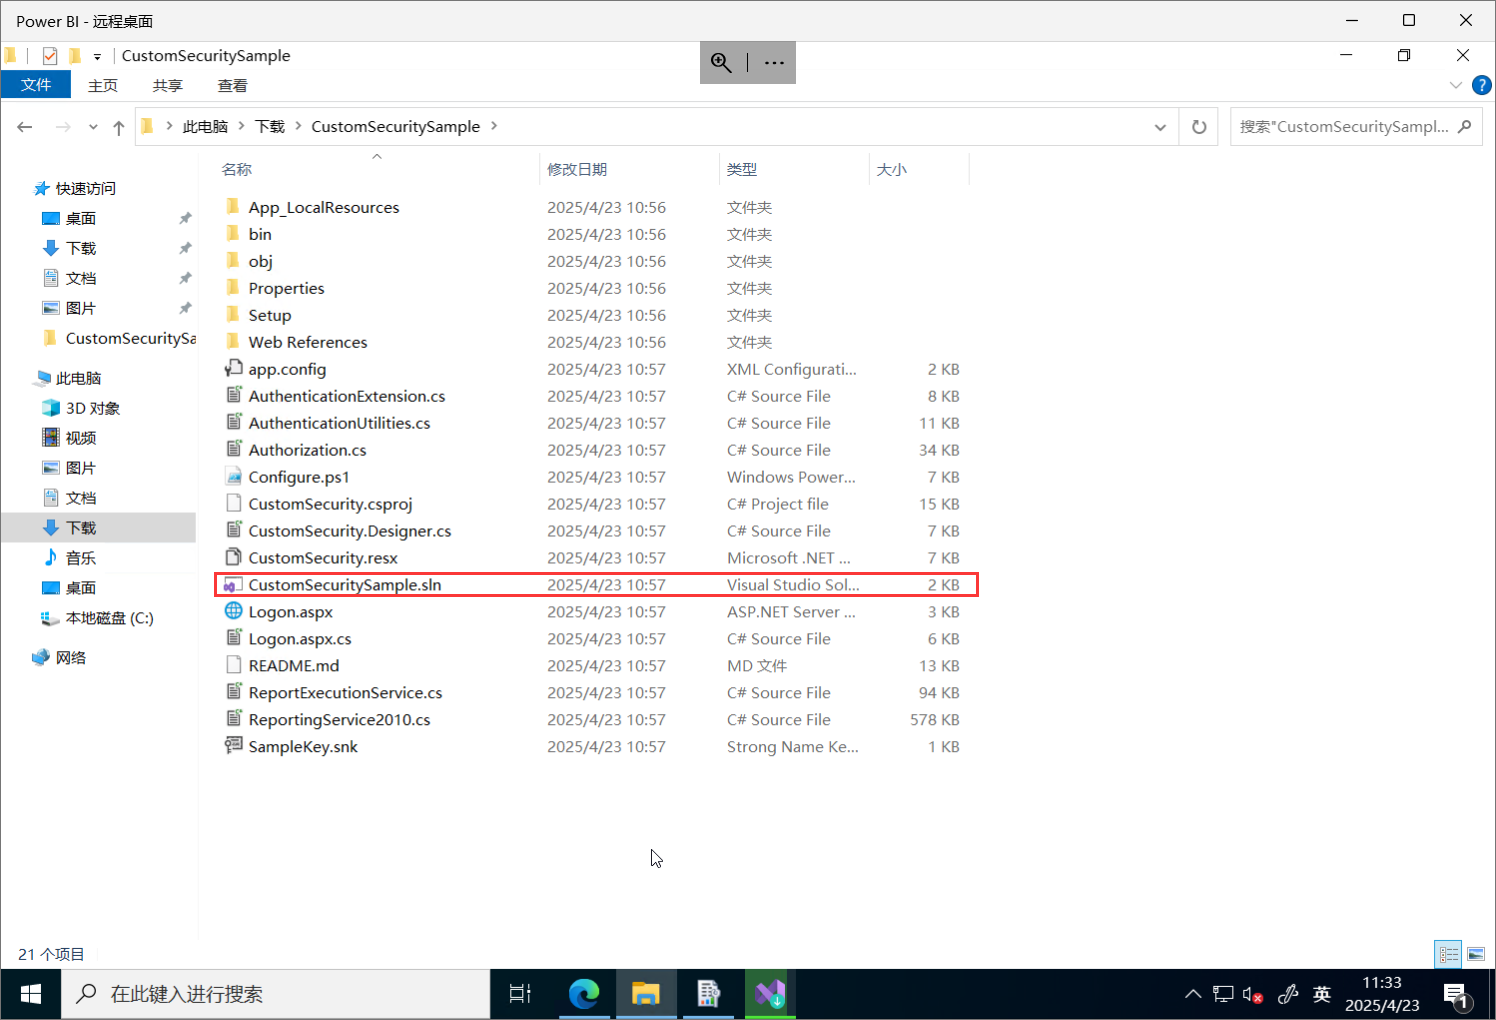
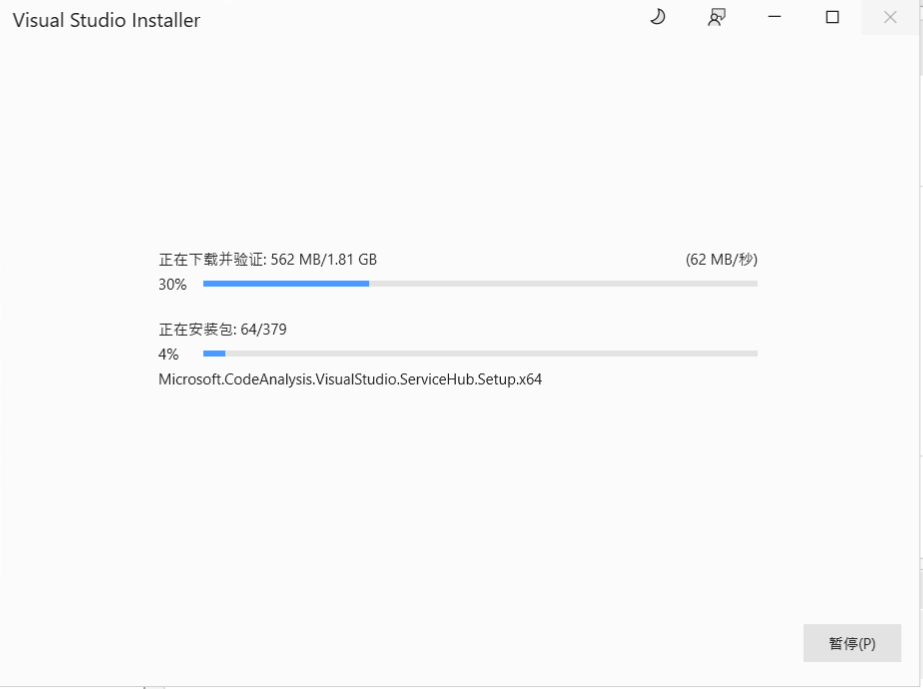
- 用Visual Studio打开项目文件 CustomSecuritySample.sln 提示需要额外的组件,点击安装
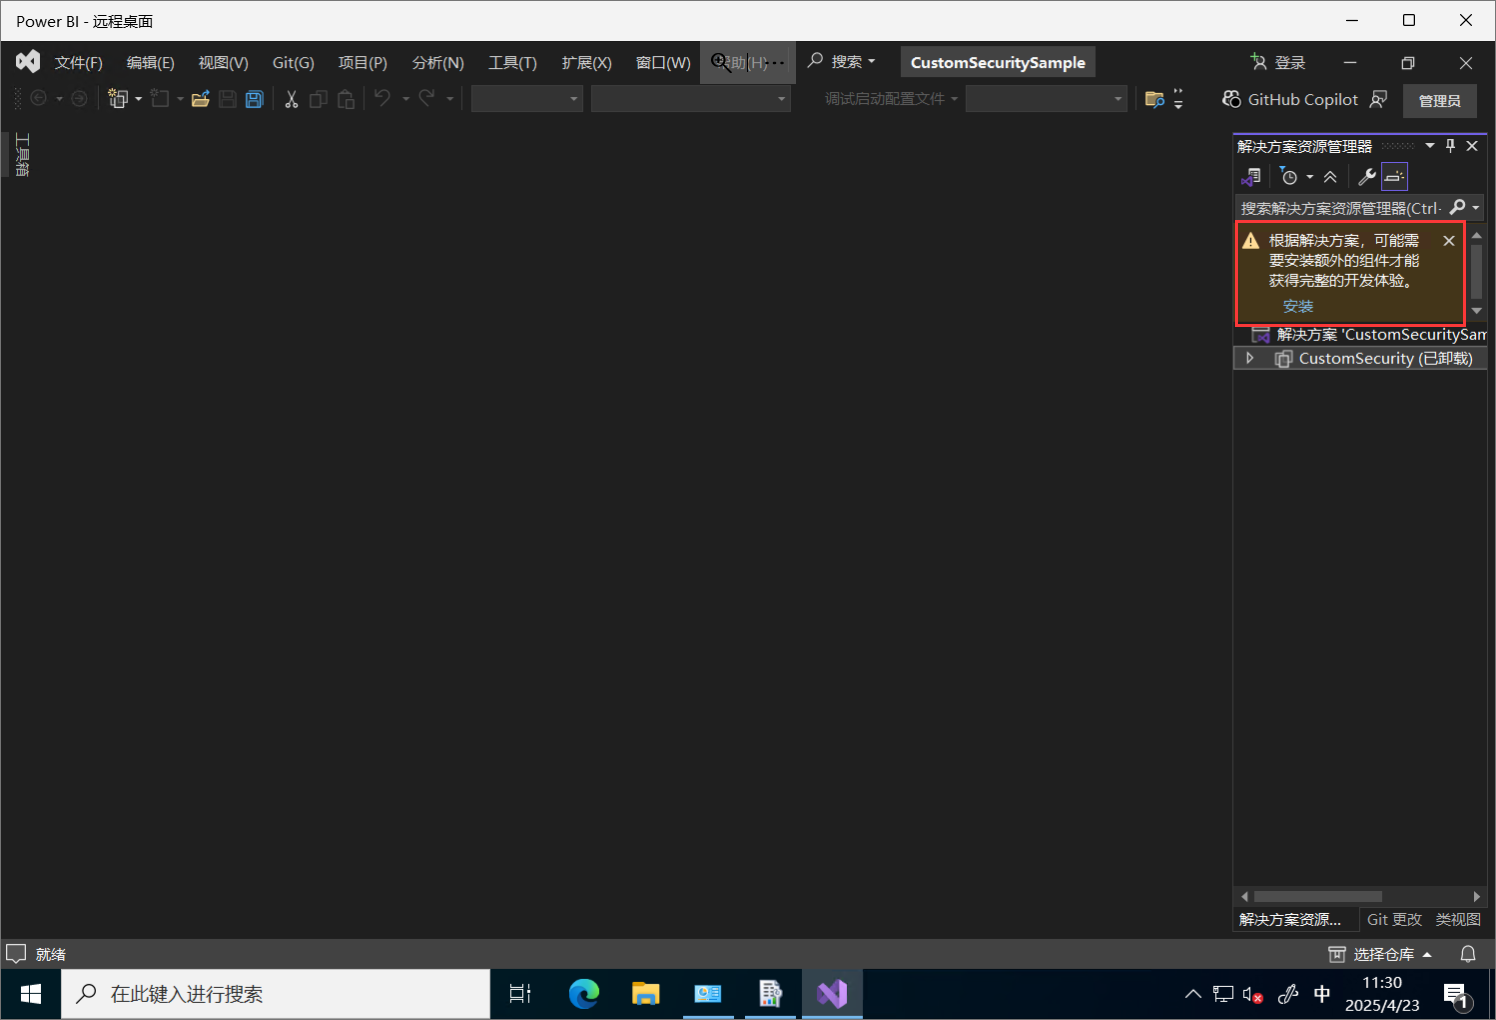
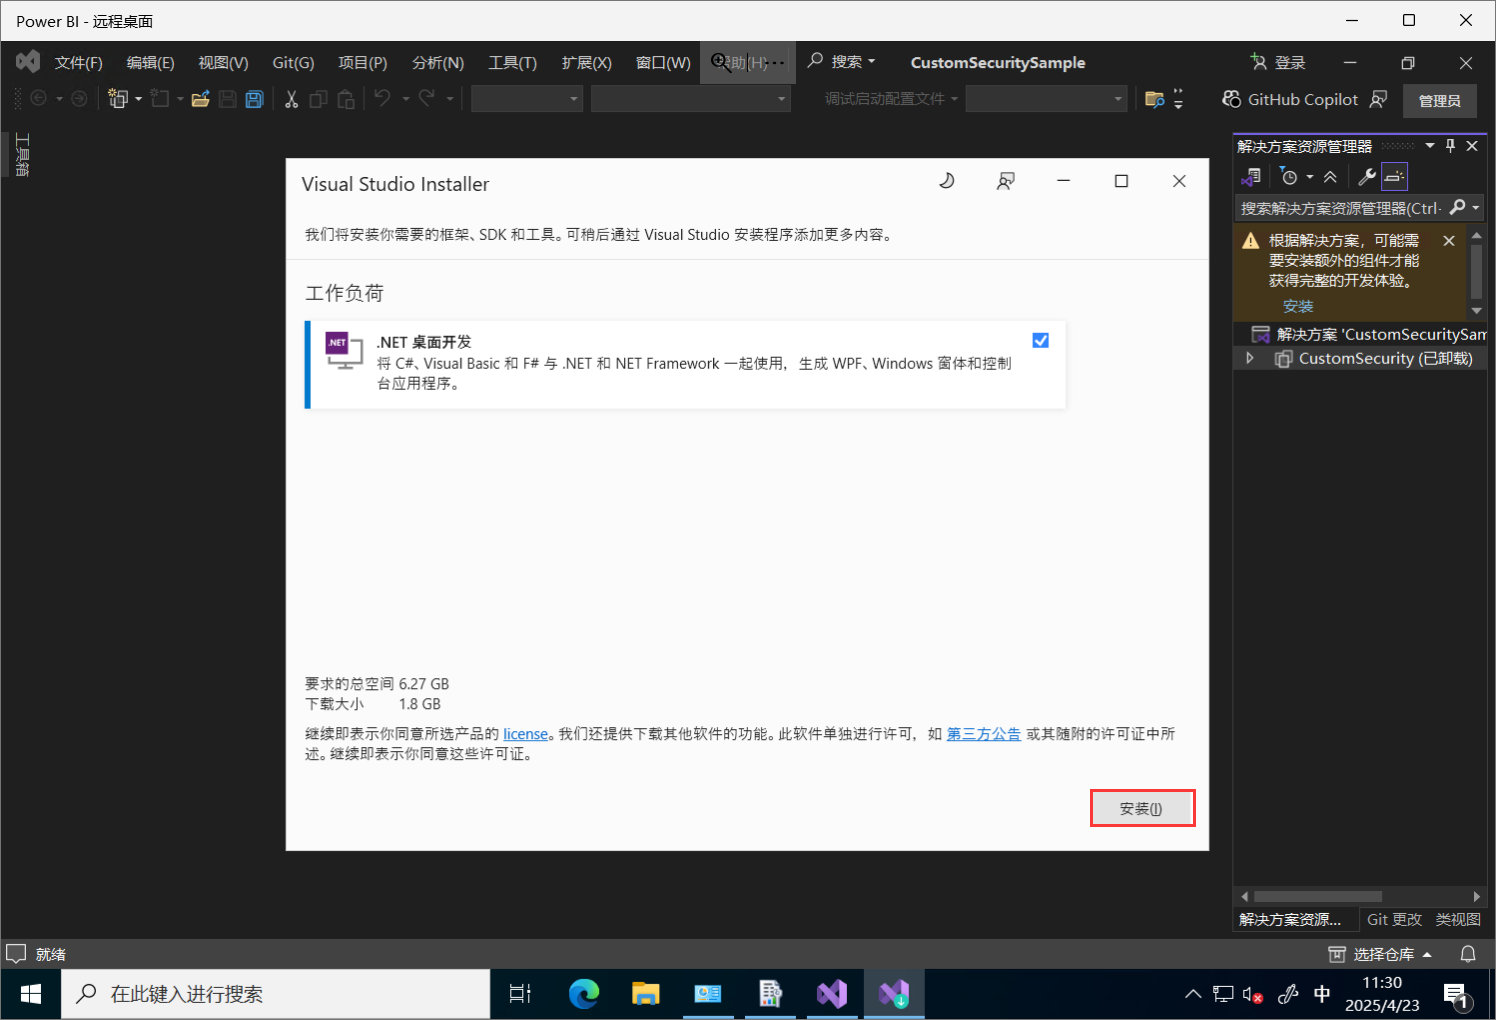
- 安装组件
- 安装进度
- 安装完成之后,在打开项目,修改
Logon.aspx代码
<%@ Page Language="C#" CodeBehind="Logon.aspx.cs" AutoEventWireup="false" Inherits="Microsoft.Samples.ReportingServices.CustomSecurity.Logon, Microsoft.Samples.ReportingServices.CustomSecurity" Culture="auto" UICulture="auto" %>
<!DOCTYPE html>
<html xmlns="http://www.w3.org/1999/xhtml">
<head runat="server"><title>SQL Server 2016 Reporting Services Samples</title><meta name="GENERATOR" content="Microsoft Visual Studio .NET 7.1" /><meta name="CODE_LANGUAGE" content="C#" /><meta name="vs_defaultClientScript" content="JavaScript" /><meta name="vs_targetSchema" content="http://schemas.microsoft.com/intellisense/ie5" /><style>body {font-family: 'Segoe UI', Tahoma, Geneva, Verdana, sans-serif;background-color: #f4f4f9;margin: 0;padding: 0;display: flex;justify-content: center;align-items: center;height: 100vh;}form {background: #ffffff;border-radius: 8px;box-shadow: 0 4px 8px rgba(0, 0, 0, 0.1);width: 400px;padding: 20px;text-align: center;}h1 {font-size: 24px;color: #333333;margin-bottom: 20px;}.form-group {display: flex;flex-direction: row;align-items: center;margin-bottom: 15px;}.form-label {font-size: 14px;font-weight: bold;color: #555555;margin-right: 10px;white-space: nowrap;}.form-control {width: calc(100% - 80px); /* Adjust the width to fit next to the label */padding: 10px;margin-top: 5px;border: 1px solid #cccccc;border-radius: 4px;font-size: 14px;}.btn {width: 100%;padding: 10px;font-size: 14px;font-weight: bold;color: #ffffff;border: none;border-radius: 4px;cursor: pointer;transition: background-color 0.3s ease;}.btn-primary {background-color: #0078d4;}.btn-primary:hover {background-color: #005fa1;}.btn-success {background-color: #2ecc71;}.btn-success:hover {background-color: #27ae60;}.message {margin-top: 20px;font-size: 14px;color: #e74c3c;text-align: left;}</style>
</head>
<body><form id="Form1" runat="server"><h1>SQL Server Reporting Services Sample</h1><!-- 用户名 --><div class="form-group"><asp:Label ID="LblUser" runat="server" CssClass="form-label" Text="账号:" meta:resourcekey="LblUserResource1" /><asp:TextBox ID="TxtUser" runat="server" CssClass="form-control" TabIndex="1" meta:resourcekey="TxtUserResource1" /></div><!-- 密码 --><div class="form-group"><asp:Label ID="LblPwd" runat="server" CssClass="form-label" Text="密码:" meta:resourcekey="LblPwdResource1" /><asp:TextBox ID="TxtPwd" runat="server" TextMode="Password" CssClass="form-control" TabIndex="2" meta:resourcekey="TxtPwdResource1" /></div><!-- 登录按钮 --><asp:Button ID="BtnLogon" runat="server" CssClass="btn btn-primary" Text="登录" TabIndex="3" meta:resourcekey="BtnLogonResource1" /><!-- 注册按钮 --><asp:Button ID="BtnRegister" runat="server" CssClass="btn btn-success" Text="注册" TabIndex="4" meta:resourcekey="BtnRegisterResource1" /><!-- 消息提示 --><asp:Label ID="lblMessage" runat="server" CssClass="message" meta:resourcekey="lblMessageResource1" /></form>
</body>
</html>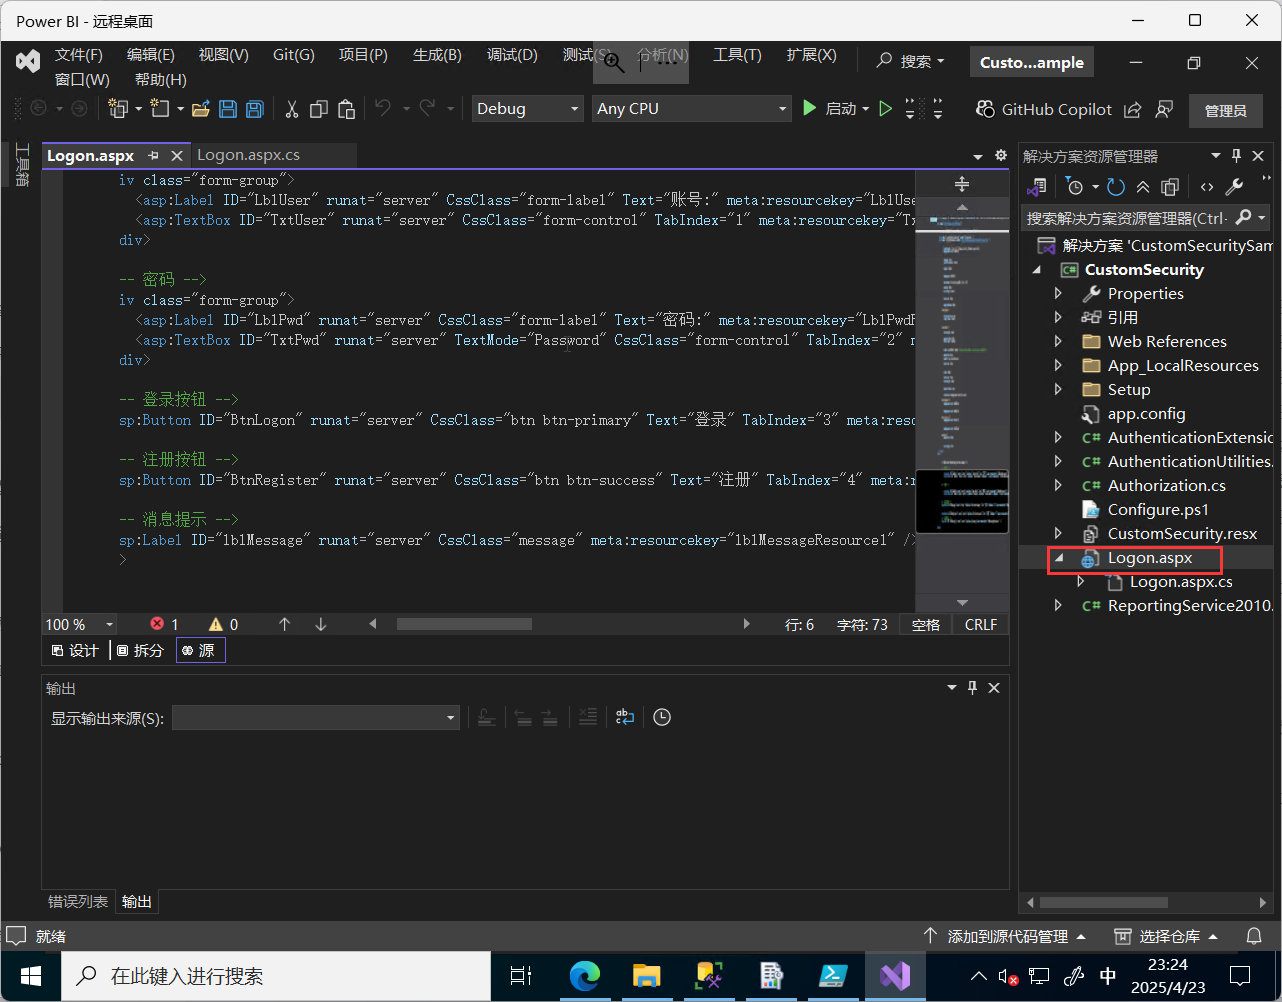
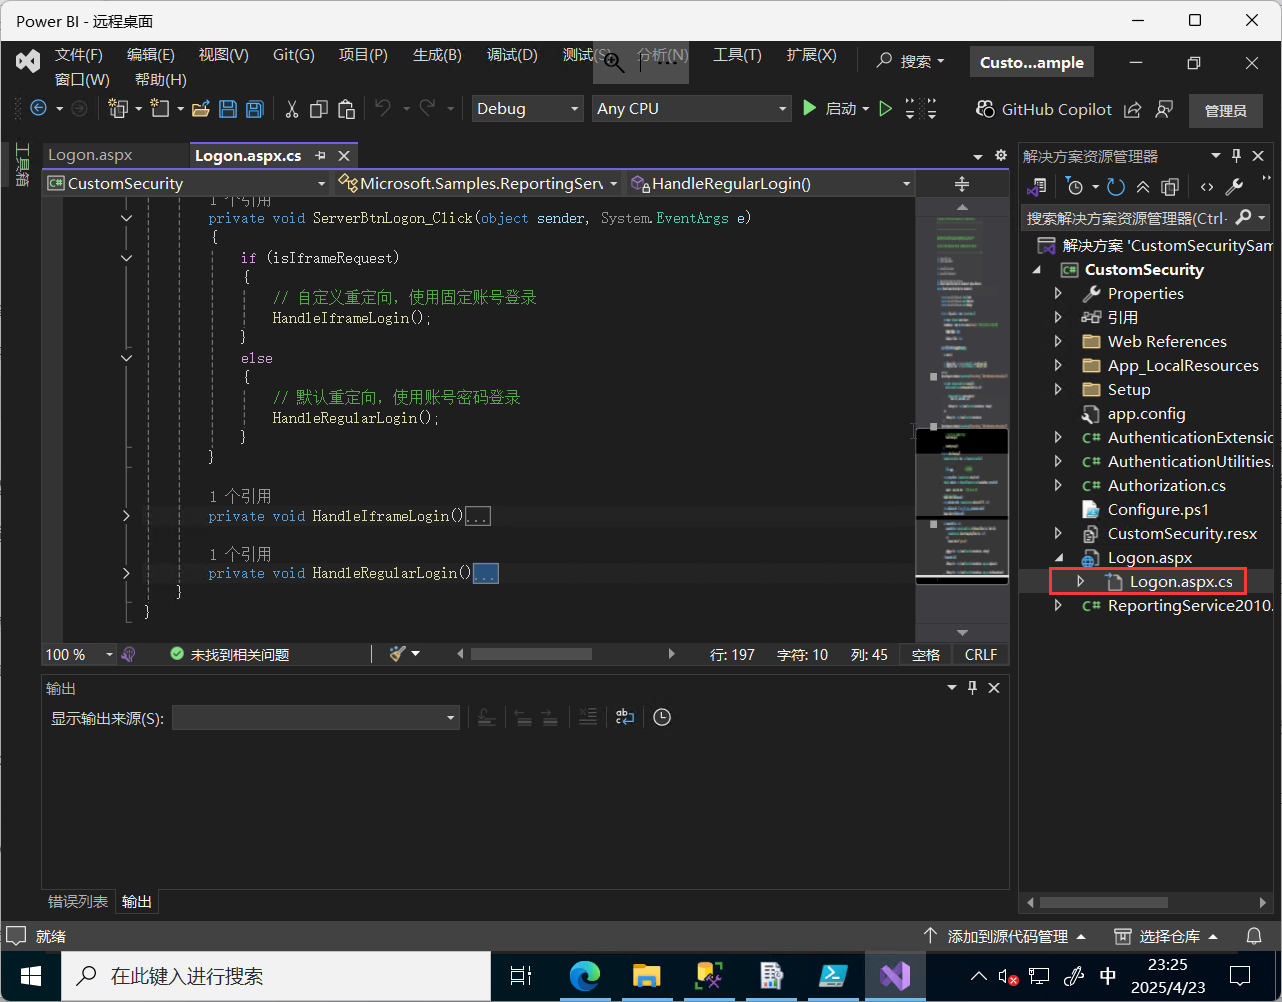
修改Logon.axps.cs代码
#region
// Copyright (c) 2016 Microsoft Corporation. All Rights Reserved.
// Licensed under the MIT License (MIT)
/*============================================================================File:     Logon.aspx.csSummary:  The code-behind for a logon page that supports FormsAuthentication in a custom security extension
--------------------------------------------------------------------This file is part of Microsoft SQL Server Code Samples.This source code is intended only as a supplement to MicrosoftDevelopment Tools and/or on-line documentation. See these othermaterials for detailed information regarding Microsoft code samples.THIS CODE AND INFORMATION ARE PROVIDED "AS IS" WITHOUT WARRANTY OF ANY KIND, EITHER EXPRESSED OR IMPLIED, INCLUDING BUT NOT LIMITED TO THE IMPLIED WARRANTIES OF MERCHANTABILITY AND/OR FITNESS FOR APARTICULAR PURPOSE.
===========================================================================*/
#endregionusing System;
using System.Collections;
using System.ComponentModel;
using System.Data;
using System.Drawing;
using System.Web;
using System.Web.SessionState;
using System.Web.UI;
using System.Web.UI.WebControls;
using System.Web.UI.HtmlControls;
using System.Data.SqlClient;
using System.Security.Cryptography;
using System.Web.Security;
using Microsoft.ReportingServices.Interfaces;
using Microsoft.Samples.ReportingServices.CustomSecurity.App_LocalResources;
using System.Globalization;namespace Microsoft.Samples.ReportingServices.CustomSecurity
{public class Logon : System.Web.UI.Page{protected System.Web.UI.WebControls.Label LblUser;protected System.Web.UI.WebControls.TextBox TxtPwd;protected System.Web.UI.WebControls.TextBox TxtUser;protected System.Web.UI.WebControls.Button BtnRegister;protected System.Web.UI.WebControls.Button BtnLogon;protected System.Web.UI.WebControls.Label lblMessage;protected System.Web.UI.WebControls.Label Label1;protected System.Web.UI.WebControls.Label LblPwd;// 定义 isIframeRequest 为类级别字段private bool isIframeRequest;private void Page_Load(object sender, System.EventArgs e){var request = HttpContext.Current.Request;string referer = request.UrlReferrer?.ToString();bool isEmpty = !string.IsNullOrEmpty(referer);isIframeRequest = isEmpty && referer.Contains("iframe"); // 判断是否存在关键字,根据实际调整if (isEmpty){LblUser.Visible = false;TxtUser.Visible = false;LblPwd.Visible = false;TxtPwd.Visible = false;BtnRegister.Visible = false;}}#region Web Form Designer generated codeoverride protected void OnInit(EventArgs e){InitializeComponent();base.OnInit(e);}private void InitializeComponent(){this.BtnLogon.Click += new System.EventHandler(this.ServerBtnLogon_Click);this.BtnRegister.Click += new System.EventHandler(this.BtnRegister_Click);this.Load += new System.EventHandler(this.Page_Load);}#endregion[System.Diagnostics.CodeAnalysis.SuppressMessage("Microsoft.Design", "CA1031:DoNotCatchGeneralExceptionTypes")]private void BtnRegister_Click(object sender,System.EventArgs e){string salt = AuthenticationUtilities.CreateSalt(5);string passwordHash =AuthenticationUtilities.CreatePasswordHash(TxtPwd.Text, salt);if (AuthenticationUtilities.ValidateUserName(TxtUser.Text)){try{AuthenticationUtilities.StoreAccountDetails(TxtUser.Text, passwordHash, salt);}catch (Exception ex){lblMessage.Text = string.Format(CultureInfo.InvariantCulture, ex.Message);}}else{lblMessage.Text = string.Format(CultureInfo.InvariantCulture,Logon_aspx.UserNameError);}}[System.Diagnostics.CodeAnalysis.SuppressMessage("Microsoft.Design", "CA1031:DoNotCatchGeneralExceptionTypes")]private void ServerBtnLogon_Click(object sender, System.EventArgs e){if (isIframeRequest){// 自定义重定向,使用固定账号登录HandleIframeLogin();}else{// 默认重定向,使用账号密码登录HandleRegularLogin();}}private void HandleIframeLogin(){// 统一使用默认账号登录FormsAuthenticationTicket ticket = new FormsAuthenticationTicket(1,                              // 版本号"PBI",                          // 用户名DateTime.Now,                   // 创建时间DateTime.Now.AddMinutes(30),    // 过期时间false,                          // 是否持久化string.Empty,                   // 用户数据FormsAuthentication.FormsCookiePath);// 加密票据string encryptedTicket = FormsAuthentication.Encrypt(ticket);// 创建 CookieHttpCookie authCookie = new HttpCookie(FormsAuthentication.FormsCookieName, encryptedTicket){HttpOnly = true,Secure = true,                  // 必须通过 HTTPS 传输SameSite = SameSiteMode.None    // 设置 SameSite 属性};// 添加 Cookie 到响应Response.Cookies.Add(authCookie);// 获取默认的重定向路径string defaultRedirectPath = FormsAuthentication.GetRedirectUrl("PBI", false);// 在默认路径前加上域名string fullRedirectUrl = $"https://pbi.xxx.com{defaultRedirectPath}";// 使用完整的 URL 进行重定向Response.Redirect(fullRedirectUrl);}private void HandleRegularLogin(){bool passwordVerified = false;try{passwordVerified = AuthenticationUtilities.VerifyPassword(TxtUser.Text, TxtPwd.Text);if (passwordVerified){FormsAuthentication.RedirectFromLoginPage(TxtUser.Text, false);}else{Response.Redirect("logon.aspx");}}catch (Exception ex){lblMessage.Text = string.Format(CultureInfo.InvariantCulture, ex.Message);return;}if (passwordVerified){// 用户已认证lblMessage.Text = string.Format(CultureInfo.InvariantCulture, Logon_aspx.LoginSuccess);BtnRegister.Enabled = false;}else{lblMessage.Text = string.Format(CultureInfo.InvariantCulture, Logon_aspx.InvalidUsernamePassword);}}}
}
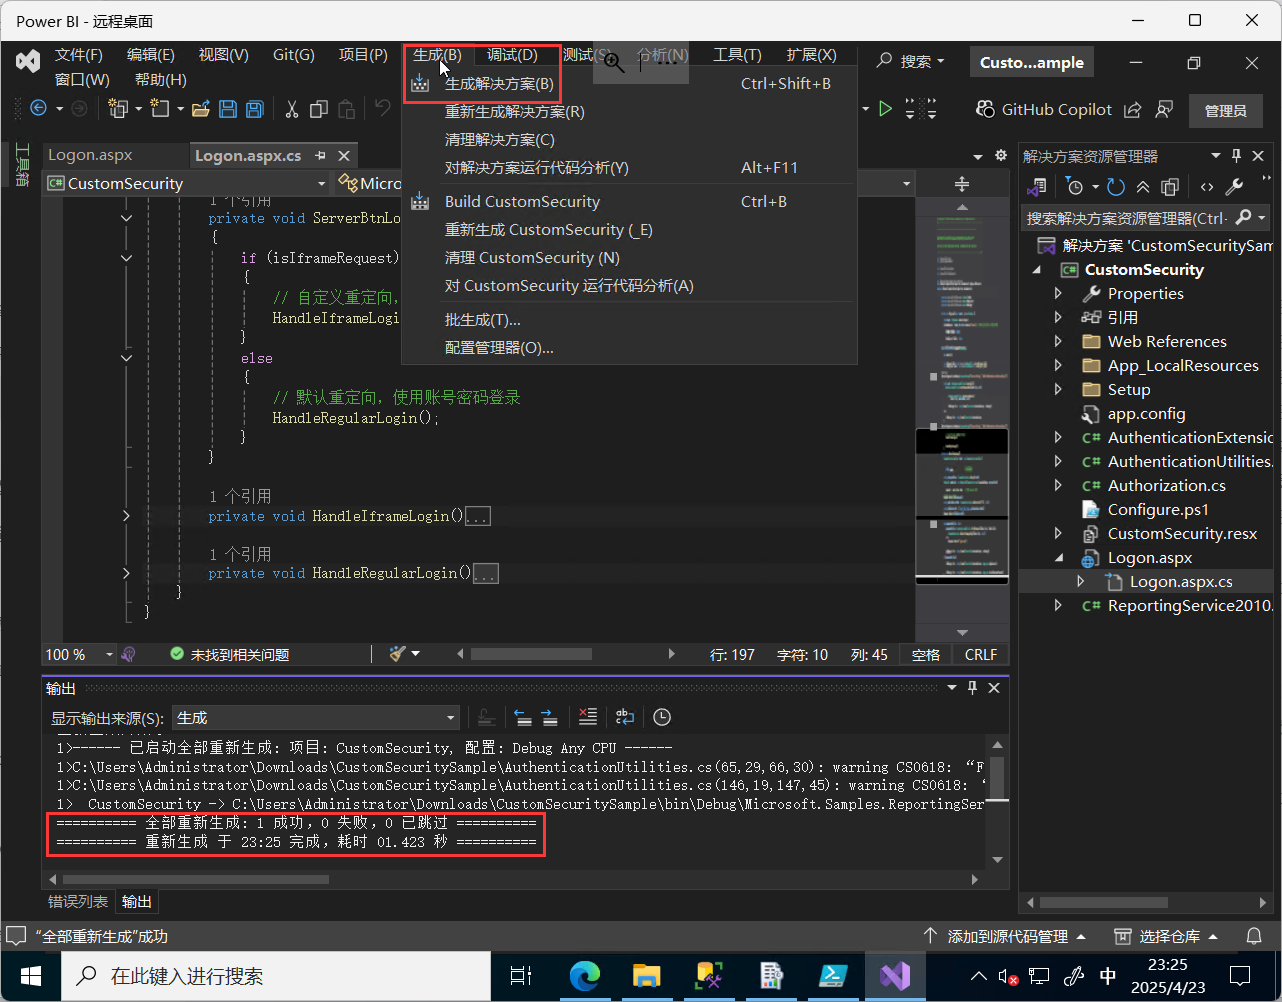
- 生成解决方案
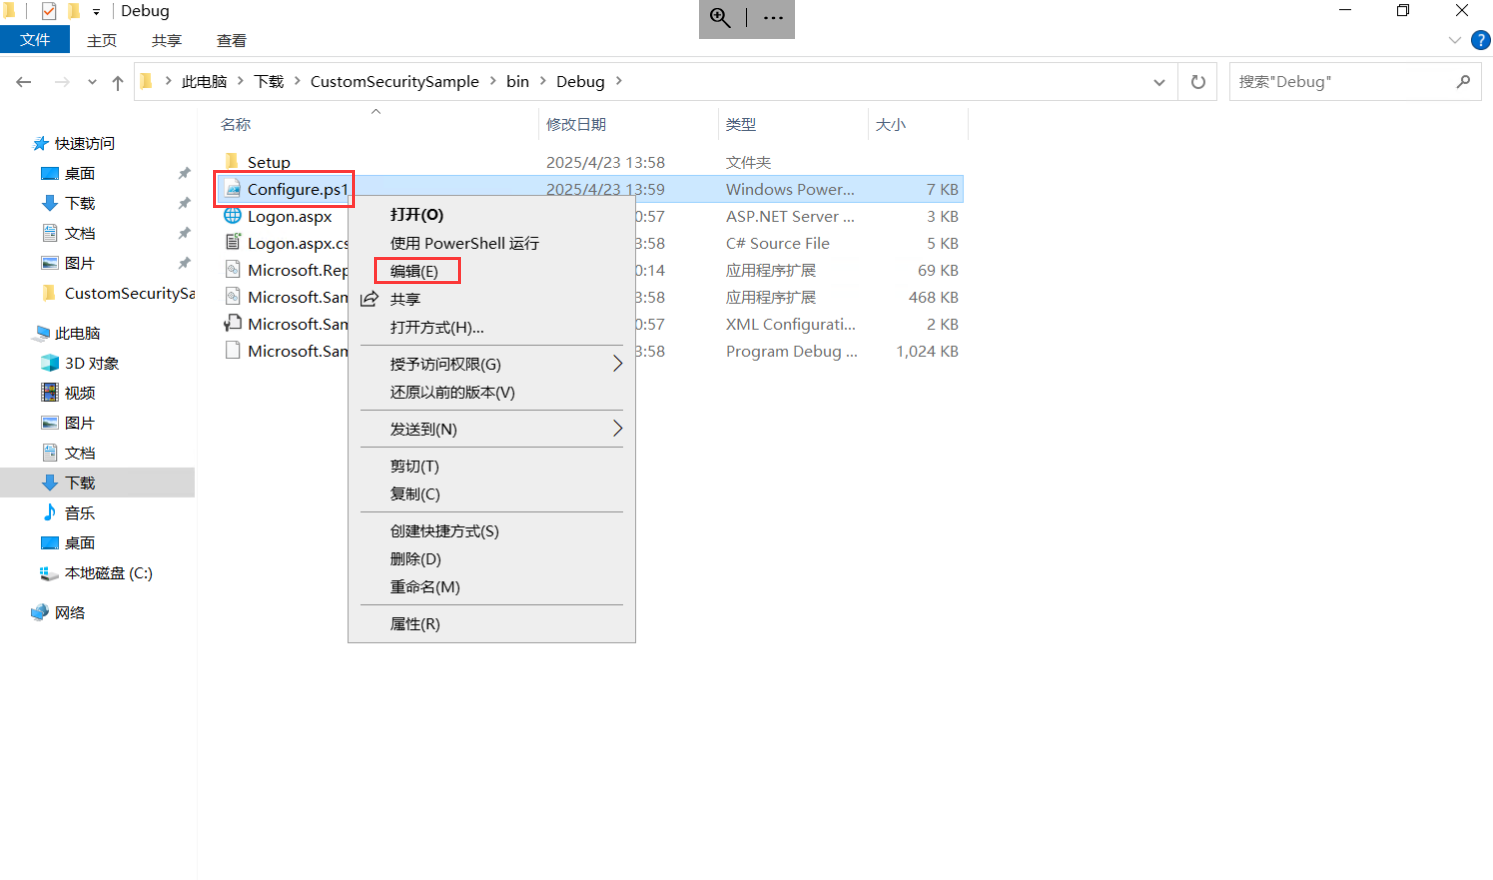
- 在项目目录下找到
CustomSecuritySample\bin\Debug\Configure.ps1文件,点击右键编辑
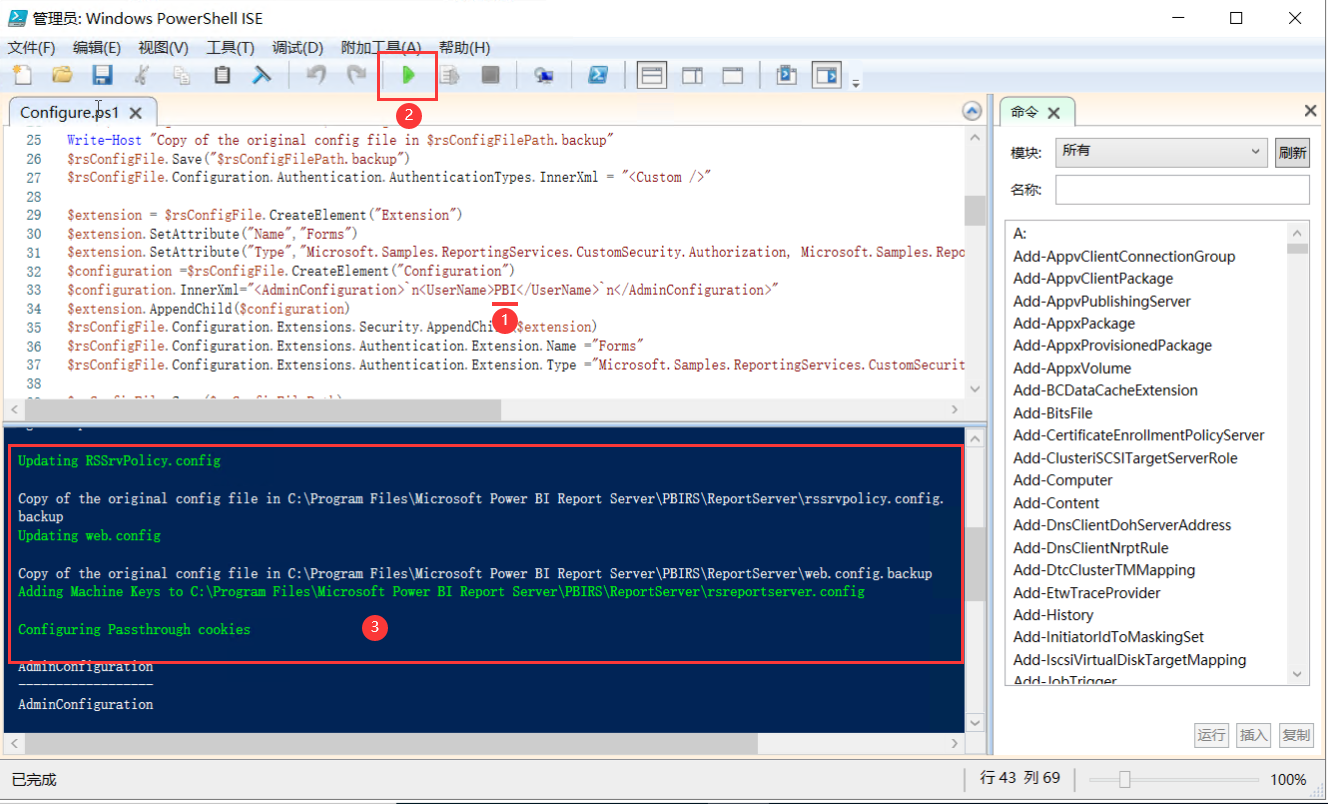
- 在第33行,把刚才前面创建的 PBI 账号添加进去,然后再点击上面的运行按钮, 运行正确情况下面的是绿色字体显示结果
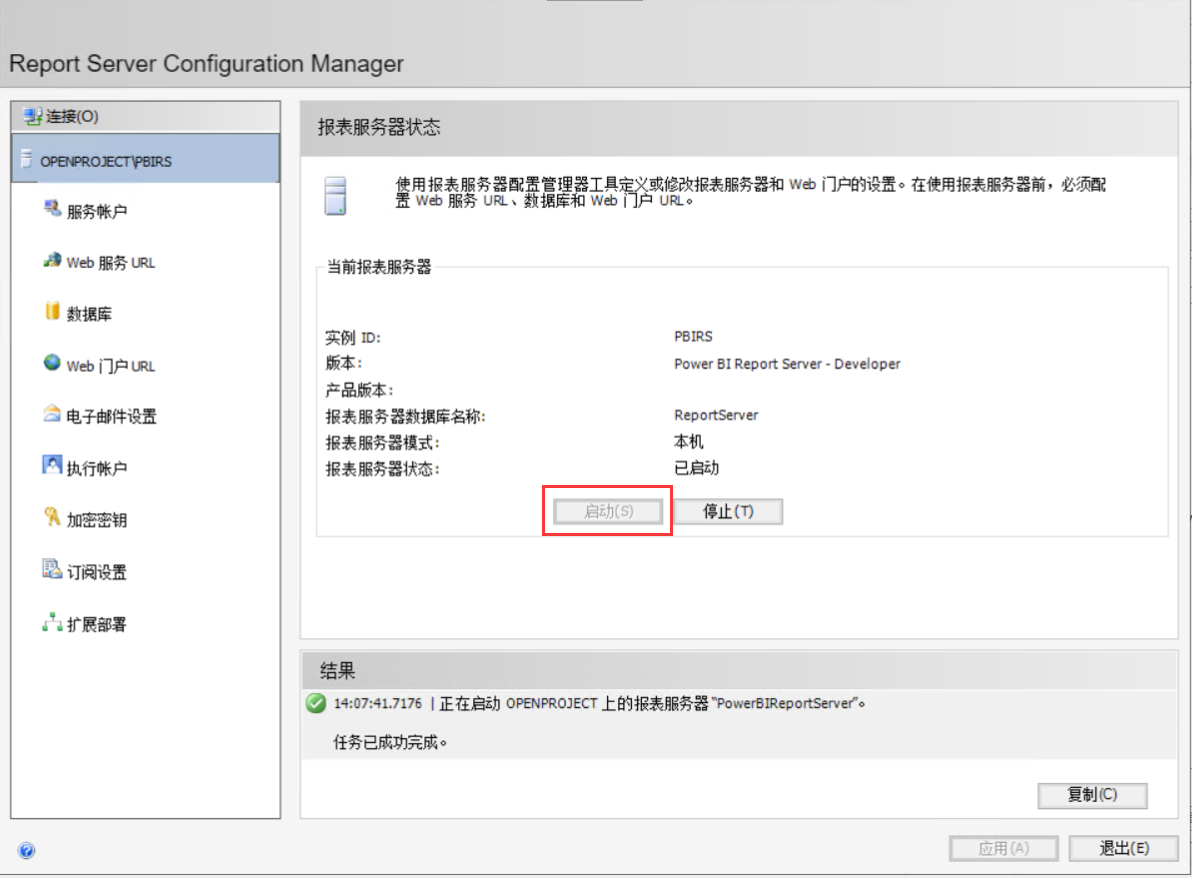
- 重新启动服务器报表
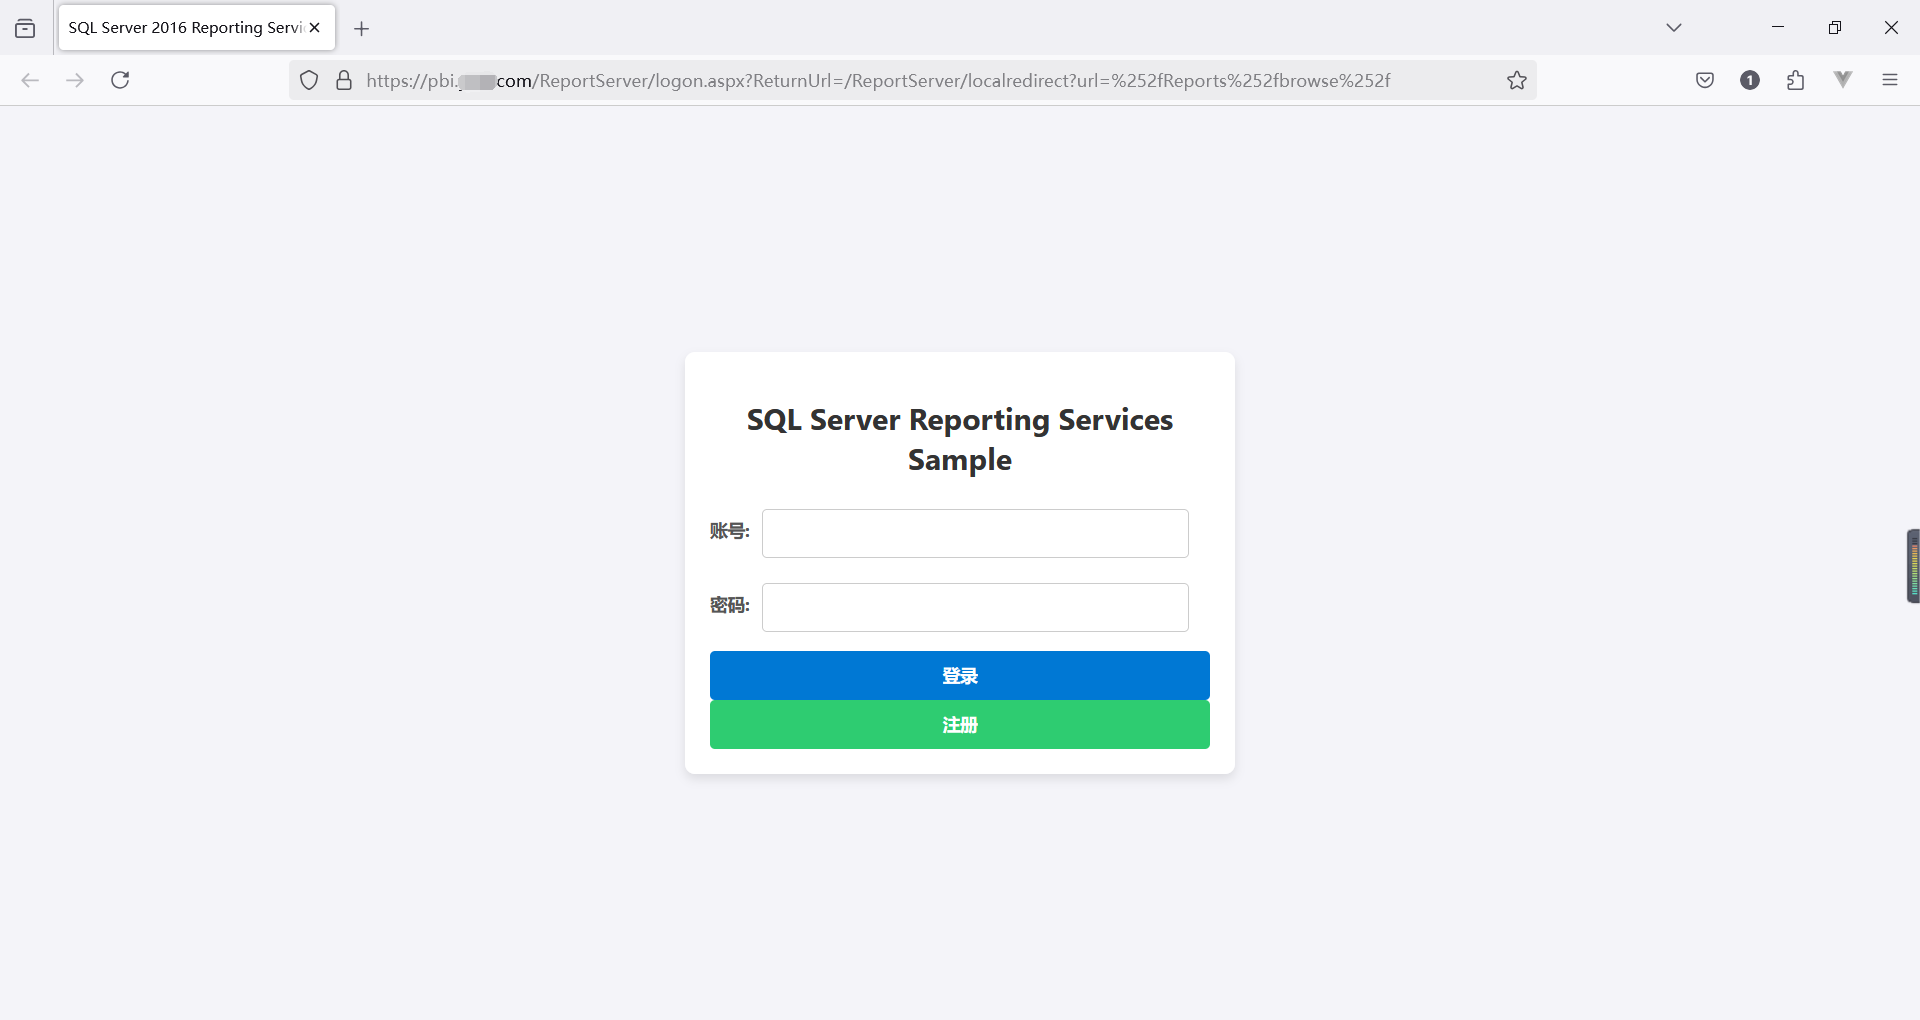
- 在去访问报表服务器的时候,就使用的是自定义 Form 登录了
直接访问地址需要账号密码登录
在其他系统嵌入 iframe 不需要账号密码,直接登录
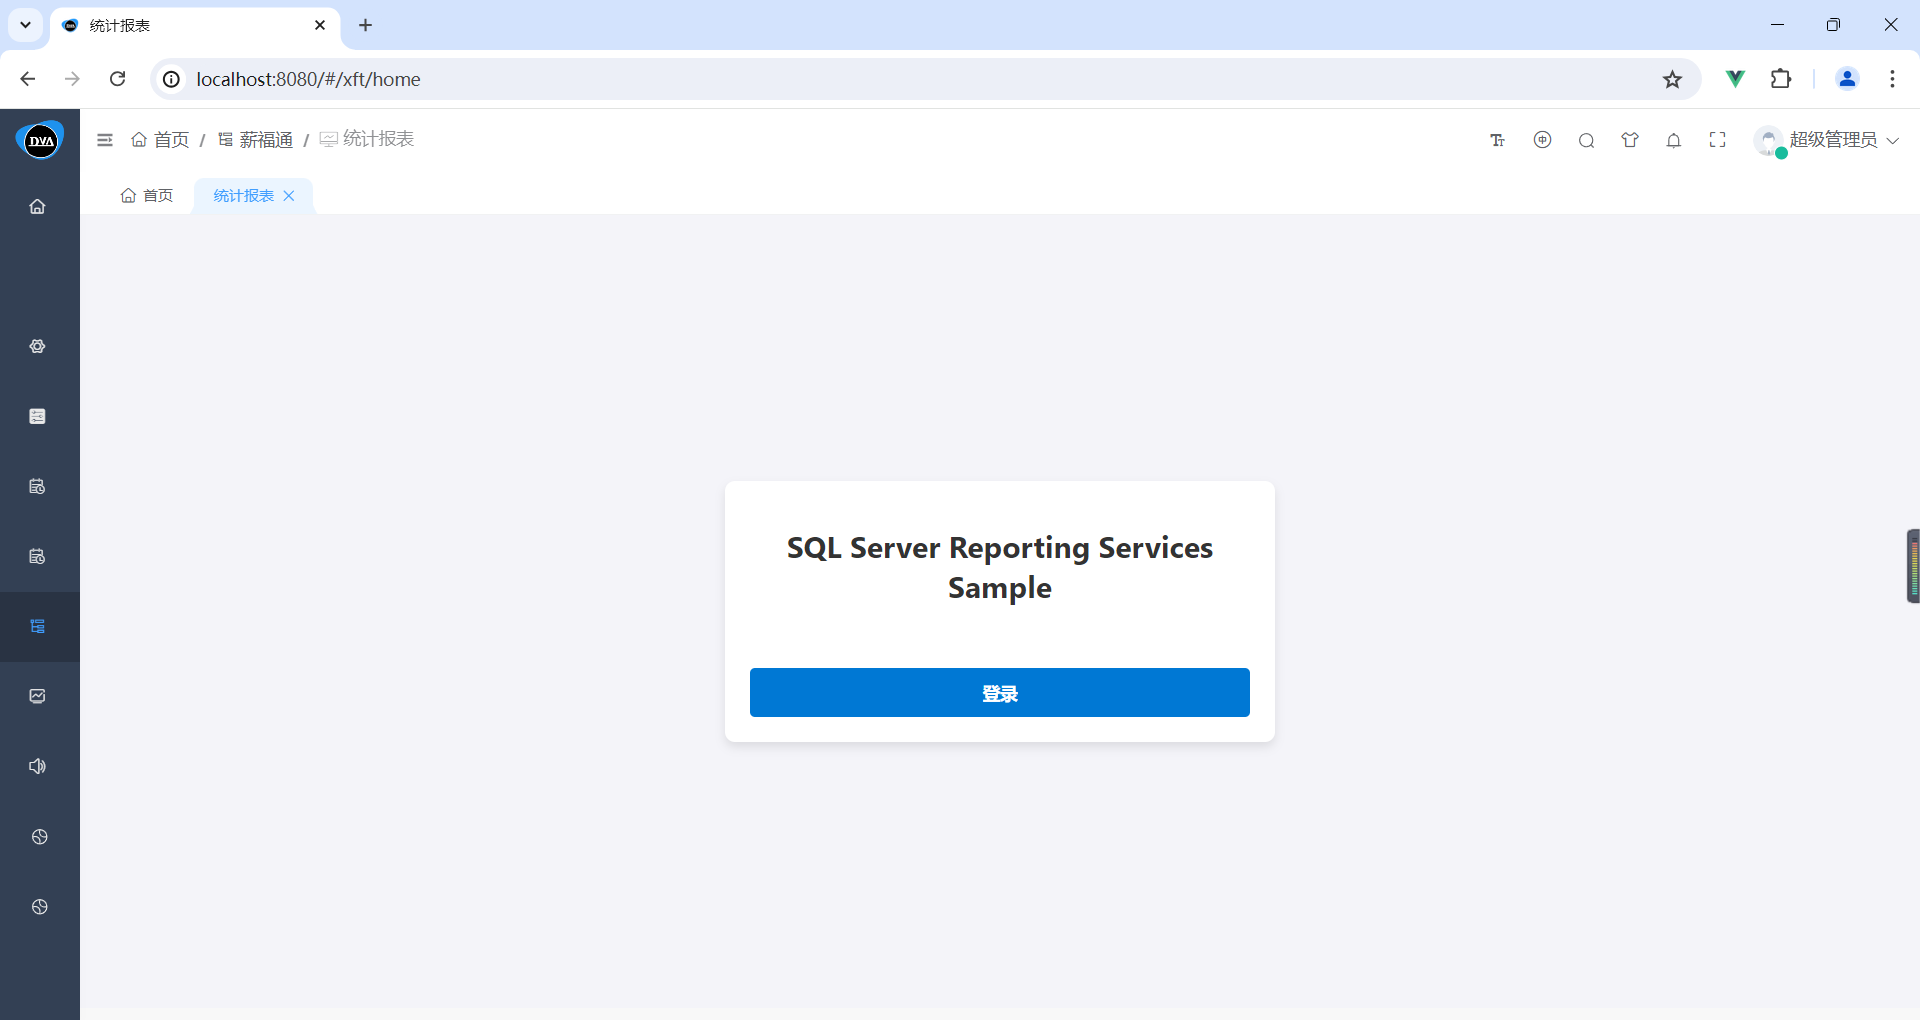
- 点击【登录】,效果完美

总结
Power BI 报表服务器私有部署,并嵌入到内部系统总结:
-
准备一台云服务器
-
在云服务器上安装应用服务
-
需要一个域名和
https证书 -
将域名和报表服务器的IP地址做域名解析
-
报表服务器需要启用
https证书 -
使用 SSMS 连接上
Reporting Services(报表服务器) -
在高级里面修改
CustomHeaders -
将报表服务器的认证由 AD 改成 Form
-
修改 Form 自定义登录 demo 代码
- 美化登录页面
- 修改登录逻辑,区分是直接访问,还是 iframe 嵌入
-
在内部系统的前端采用 iframe 进行嵌套